Love this? Save it for later!
Share the inspiration with your friends
Introduction
“You know that feeling when you open your freezer hoping for a treat, but all you find are those sad, overripe bananas languishing in the back? Well, one lazy Sunday afternoon, I faced that exact moment. I wasn’t in the mood for a complicated recipe or a trip to the store—just something quick, creamy, and sweet. I remembered a quirky tip I overheard at a farmer’s market last summer from a chatty vendor: ‘Freeze your bananas, blend them, and voilà—ice cream!’ I thought, ‘Yeah, right… one ingredient? That can’t be good.’ But hey, I had nothing to lose.
So, I tossed those ripe bananas into the freezer, and later that day, I gave it a whirl. Honestly, I was skeptical, but what came out was shockingly smooth, creamy, and naturally sweet—like frozen custard without the fuss. I made a bit of a mess with the blender, and I forgot to put the lid on tight (classic me), but that first spoonful made my kitchen mishaps completely worth it.
Maybe you’ve been there—wanting an easy, guilt-free treat that doesn’t require a dozen ingredients or a fancy ice cream maker. This recipe stuck with me because it’s foolproof, beginner-friendly, and feels like a secret weapon for banana lovers everywhere. Let me tell you, once you try this creamy beginner banana ice cream with just one simple ingredient, you’ll find yourself reaching for it again and again.
Why You’ll Love This Recipe
After testing this creamy beginner banana ice cream recipe countless times, I can honestly say it’s a game-changer for anyone who’s new to homemade frozen desserts. Here’s why this one-ingredient wonder will steal your heart:
- Quick & Easy: Ready in under 10 minutes—no churning, no waiting, just blend and enjoy.
- Simple Ingredients: Just ripe bananas! No need for cream, sugar, or any extras.
- Perfect for Anytime Treats: Whether it’s a hot summer afternoon or a cozy night in, this ice cream hits the spot.
- Crowd-Pleaser: Kids and adults alike love it—bonus points for sneaking in some fruit!
- Unbelievably Delicious: The natural sweetness and creamy texture feel indulgent without any guilt.
This recipe isn’t just another frozen banana mash-up. The trick lies in freezing the bananas just right and blending them slowly to coax out that luscious creaminess. I’ve tried blending too fast and ended up with banana mush, so patience is key here. Plus, it’s a healthier alternative to traditional ice cream, making it easier to enjoy without second thoughts.
Honestly, this banana ice cream is the kind of treat that makes you pause and savor every bite—no heavy cream or sugar crash, just pure, simple comfort. It’s perfect for those moments when you want to impress your guests without breaking a sweat or when you just want to treat yourself after a long day.
What Ingredients You Will Need
This creamy beginner banana ice cream recipe uses only one simple ingredient, but choosing that ingredient right makes all the difference. Here’s what you need:
- Ripe Bananas: Ideally, bananas that are heavily spotted or even slightly brown. The riper, the sweeter, and the better for natural flavor and creaminess.
Ingredient Tips:
- Use organic bananas whenever possible for the freshest taste and to reduce pesticide exposure.
- Choose bananas that are not overly mushy—just perfectly soft for blending.
- For best results, peel and slice bananas into 1-inch pieces before freezing. This helps the blender handle them better and speeds up the process.
- If you want to experiment, ripe plantains can be frozen and used similarly, but the flavor will be different—more starchy and less sweet.
Since this recipe is just one ingredient, the focus is on quality and ripeness. I usually grab my bananas from my local farmer’s market when they’re discounted due to spots—it’s a win-win for taste and budget!
Equipment Needed
Making this creamy beginner banana ice cream is incredibly simple, and the equipment list is short. Here’s what you’ll want:
- High-Speed Blender or Food Processor: A powerful blender like a Vitamix or Ninja works best to achieve that smooth, creamy texture. If you only have a regular blender, you might need to stop and scrape down the sides more often.
- Freezer-Safe Container: To store any leftovers or to freeze the bananas before blending. I use a glass container with a tight seal to keep freezer odors out.
- Knife and Cutting Board: For slicing the bananas before freezing.
- Spoon or Spatula: To scrape the blended ice cream out of the blender.
If you don’t have a high-speed blender, no worries. A food processor can get the job done, but expect a bit more noise and occasional stops. Also, a hand mixer or immersion blender won’t work here because the bananas need to be processed thoroughly to become creamy.
I’ve found that cleaning the blender right away saves me from stubborn sticky spots (lesson learned the hard way). Budget-friendly blenders can work fine, just be patient and pulse frequently.
Preparation Method
- Peel and Slice Bananas: Start by peeling 3 to 4 ripe bananas and slicing them into about 1-inch chunks. This helps the blender process them evenly. (Prep time: 5 minutes)
- Freeze the Banana Pieces: Lay the banana slices in a single layer on a baking sheet or plate lined with parchment paper. Freeze for at least 2 hours or until solid. Freezing them separately prevents clumping. (Freezing time: 2+ hours)
- Prepare Your Blender: When ready, transfer the frozen banana pieces to your blender or food processor. Make sure the blades are sharp and the container is dry.
- Blend Slowly: Start blending at a low speed, then gradually increase. Initially, the bananas will break down into crumbs, then a thick paste, and finally transform into creamy, soft-serve-like ice cream. This can take 2 to 5 minutes depending on your machine.
- Scrape and Repeat: Pause occasionally to scrape down the sides with a spatula to ensure even blending. This helps avoid lumps and keeps the texture silky.
- Serve Immediately or Freeze: You can enjoy the banana ice cream right away for a soft-serve texture or transfer it to a container and freeze for 30 minutes for a firmer scoop.
Pro Tip: If your blender struggles or overheats, pulse in short bursts and give it a break to cool down. This prevents melting or mushy results. Also, don’t rush—patience yields the best creamy texture!
When it’s done, the ice cream should be smooth, velvety, and cold with a natural sweetness that doesn’t need any toppings (though I won’t judge if you want chocolate chips or nuts!).
Cooking Tips & Techniques
Making creamy banana ice cream with just one ingredient sounds simple, but a few tricks can make a big difference:
- Banana Ripeness Matters: Under-ripe bananas won’t sweeten enough and can taste starchy. Over-ripe bananas give you that rich, naturally sugary flavor.
- Freeze Properly: Freeze the banana slices flat and spaced out. If they freeze in a clump, blending becomes tricky and uneven.
- Blend in Intervals: Don’t try to blitz everything in one go. Short pulses and scraping create a smoother mix and keep your blender happy.
- Don’t Add Liquid: Adding milk or cream can turn this into a smoothie rather than ice cream. Trust me, it’s best pure.
- Use a Sharp Blender Blade: Dull blades just mash and heat the bananas, resulting in a soupy mess. If your blades aren’t sharp, consider sharpening or replacing them for better texture.
I remember once trying to speed things up and threw in frozen chunks straight from a big bag. That blender nearly cried (and so did I) with the loud motor sounds and uneven chunks. Lesson learned: prep and patience are key.
Also, if you want to experiment with texture, try blending half the bananas until smooth and folding in some finely chopped banana pieces for a bit of bite.
Variations & Adaptations
While the classic one-ingredient banana ice cream is stellar on its own, here are a few ways to tweak it:
- Chocolate Banana: Add 1 tablespoon of unsweetened cocoa powder during blending for a rich chocolate twist. You can also toss in a handful of dark chocolate chips just before serving.
- Peanut Butter Swirl: Mix in 2 tablespoons of creamy peanut butter after blending the bananas for a nutty flavor boost. It’s like dessert and protein in one!
- Vegan & Allergy-Friendly: This recipe is naturally vegan and dairy-free. For nut allergies, keep it simple or add allergy-safe mix-ins like pumpkin seeds or shredded coconut.
- Seasonal Fruit Mix-in: Blend frozen berries or mango chunks with the bananas for a fruity medley. Just keep the ratio about 75% banana to 25% other fruit for creaminess.
Personally, I love the peanut butter variation on chilly Sunday mornings. It feels like a hug in a bowl — pure comfort without the extra sugar crash.
Serving & Storage Suggestions
This creamy banana ice cream is best served straight from the blender for that soft-serve feel. If you prefer scoops, pop it in the freezer for 30 minutes to firm up a bit.
Pair this ice cream with crunchy toppings like toasted coconut flakes, chopped nuts, or a drizzle of honey to add texture contrast. It also goes surprisingly well alongside warm desserts like crispy garlic chicken if you’re feeling adventurous — the sweet and savory combo is quite the conversation starter.
Store leftovers in an airtight container in the freezer for up to 2 weeks. When ready to enjoy again, let it sit at room temperature for 5 minutes and give it a quick stir to soften before scooping.
Keep in mind, the texture may harden more than store-bought ice cream over time due to the absence of stabilizers, but it melts back to creamy perfection quickly.
Nutritional Information & Benefits
This banana ice cream is a guilt-free treat, packed with natural goodness. Here’s the scoop on nutrition:
- Calories: Approximately 90-100 per serving (1 cup / 150g)
- Fat: 0g (no added fats)
- Carbohydrates: 23g, mostly natural sugars from bananas
- Fiber: 3g, aiding digestion
- Protein: 1g
Bananas bring potassium, vitamin C, and vitamin B6 to the table, supporting heart health and energy. Since this recipe contains no added sugar, it’s ideal for those looking to reduce refined sugars while still satisfying sweet cravings.
For those watching carbs, the natural sugars in bananas are balanced by fiber and the absence of added fats or sugars, making this a wholesome snack or dessert.
Conclusion
If you’re new to making frozen treats or just want a fuss-free recipe that tastes like a dream, this creamy beginner banana ice cream with one simple ingredient is the way to go. It’s proof that you don’t need a dozen ingredients or fancy gadgets to enjoy a delicious, healthy dessert.
Feel free to tweak it with your favorite mix-ins or toppings, and make it your own. Honestly, I keep coming back to this recipe because it reminds me that simple can be incredibly satisfying.
Give it a try, share your thoughts, or tell me how you customized your version—I love hearing your kitchen stories. Here’s to creamy, dreamy banana ice cream without the hassle!
FAQs
Can I use green bananas for this ice cream?
Green bananas are too starchy and won’t sweeten properly. It’s best to use ripe, spotted bananas for the creamiest, sweetest results.
Do I need an ice cream maker for this recipe?
Nope! Just a good blender or food processor is enough to make this creamy banana ice cream without any special equipment.
How long can I store the banana ice cream in the freezer?
Store it in an airtight container for up to 2 weeks. For best texture, let it soften slightly before scooping.
Can I add other fruits or flavors?
Yes! You can blend in berries, cocoa powder, or nut butters to customize the flavor. Just keep bananas as the main base.
What if my blender isn’t very powerful?
Pulse in short bursts and scrape down the sides often to help your blender process the frozen bananas evenly without overheating.
Pin This Recipe!
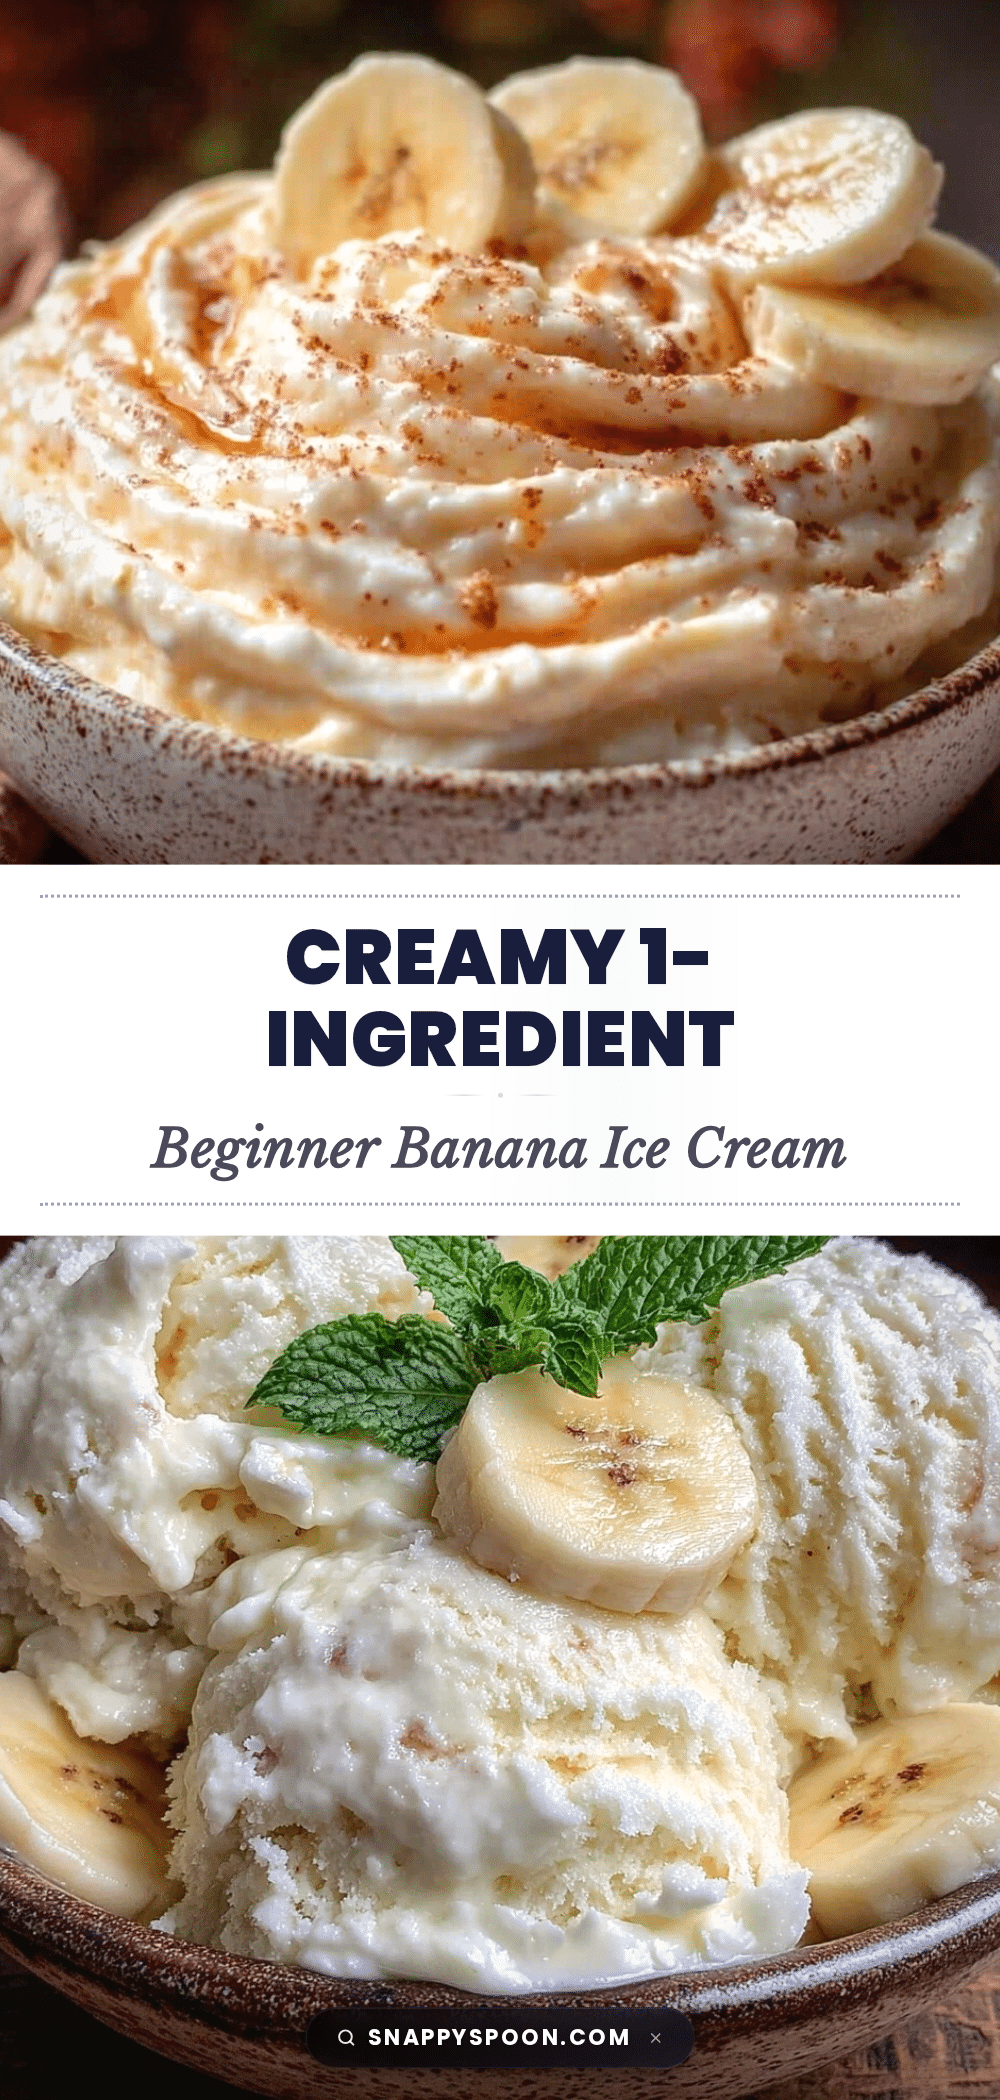
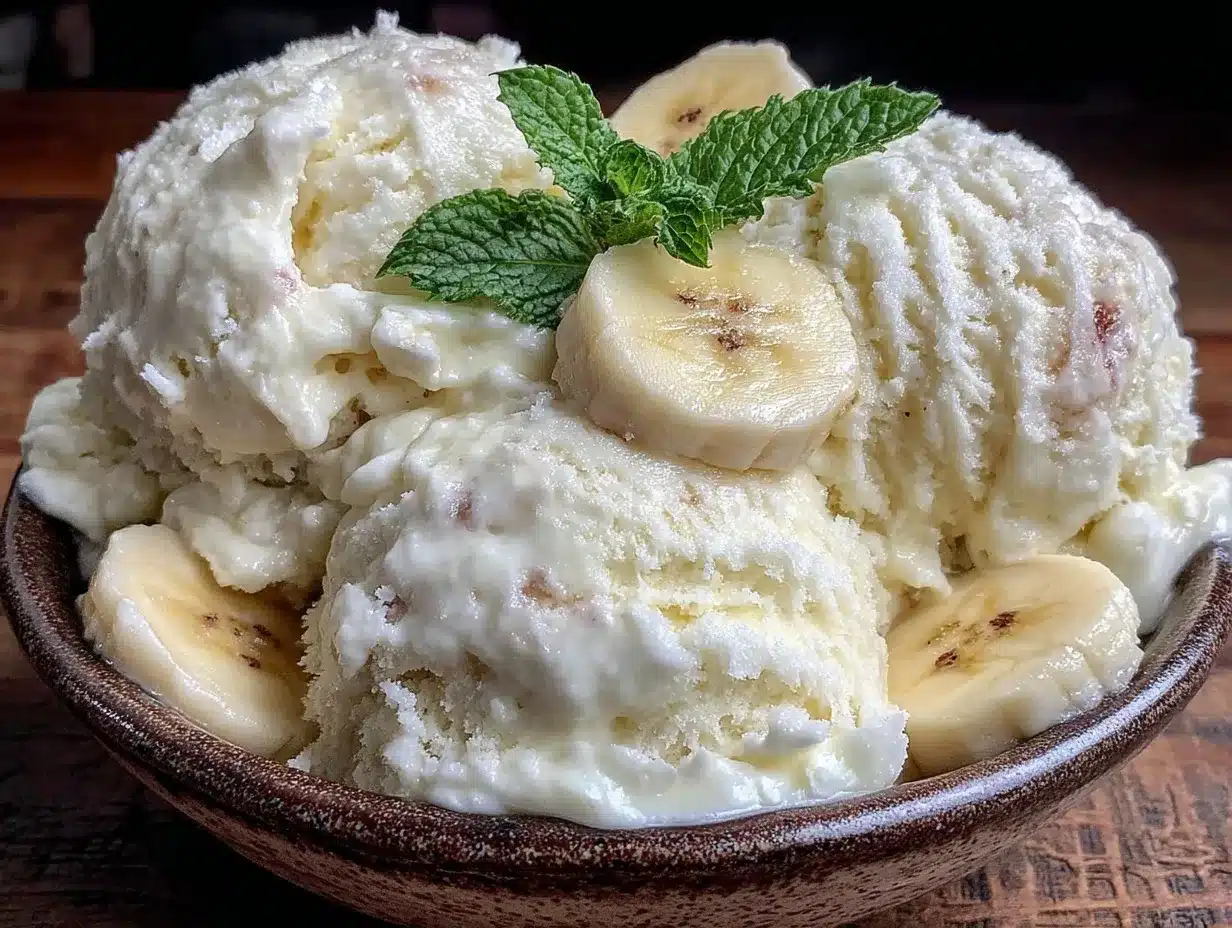
Creamy Beginner Banana Ice Cream Recipe Easy 1 Ingredient Treat

A quick and easy homemade banana ice cream made with just one ingredient—ripe bananas. This creamy, naturally sweet treat requires no churning or added sugar, perfect for beginners and banana lovers.
- Prep Time: 5 minutes
- Cook Time: 2 hours 5 minutes
- Total Time: 2 hours 10 minutes
- Yield: 4 servings 1x
- Category: Dessert
- Cuisine: American
Ingredients
- 3 to 4 ripe bananas (heavily spotted or slightly brown)
Instructions
- Peel and slice 3 to 4 ripe bananas into about 1-inch chunks.
- Lay the banana slices in a single layer on a baking sheet or plate lined with parchment paper and freeze for at least 2 hours or until solid.
- Transfer the frozen banana pieces to a high-speed blender or food processor.
- Blend slowly starting at low speed, gradually increasing until the bananas transform into creamy, soft-serve-like ice cream (about 2 to 5 minutes).
- Pause occasionally to scrape down the sides with a spatula to ensure even blending.
- Serve immediately for soft-serve texture or transfer to a container and freeze for 30 minutes for a firmer scoop.
Notes
Use ripe, heavily spotted bananas for best sweetness and creaminess. Freeze banana slices flat and spaced out to prevent clumping. Blend slowly and scrape sides often to achieve smooth texture. Avoid adding liquids to keep ice cream creamy rather than smoothie-like. If blender overheats, pulse in short bursts and allow to cool.
Nutrition
- Serving Size: 1 cup (150g)
- Calories: 95
- Sugar: 14
- Sodium: 1
- Carbohydrates: 23
- Fiber: 3
- Protein: 1
Keywords: banana ice cream, one ingredient ice cream, easy banana dessert, healthy ice cream, vegan ice cream, dairy-free dessert, frozen banana treat