Love this? Save it for later!
Share the inspiration with your friends
“I’m telling you, the power went out the morning before Mother’s Day brunch last year,” my friend Lisa said, shaking her head with a grin. I was over at her place, helping set the table when she confessed how her carefully planned menu suddenly had to change on the fly. No oven, no problem—she whipped up these easy no-bake chocolate mousse cups from memory, and honestly, they stole the show.
It wasn’t just the chocolatey richness or the silky texture that got me hooked—it was how effortlessly they came together, even when the unexpected happens. You know that feeling when you want to impress your mom but don’t want to spend hours in the kitchen? This recipe is exactly that: fuss-free, no oven needed, and yes, completely decadent.
What makes these mousse cups perfect for Mother’s Day brunch is how light and elegant they feel—yet they satisfy that chocolate craving like nobody’s business. I remember Lisa juggling candles and last-minute coffee while these chilled desserts were setting in the fridge, looking all fancy but actually just five ingredients and zero stress. Maybe you’ve had those days where you want a special treat but just don’t have the time or energy to deal with complicated steps. This recipe is your go-to rescue, and let me tell you, it’s stayed in my rotation ever since.
So here we are, ready to share the magic of easy no-bake chocolate mousse cups that’ll impress moms, grandmas, and anyone lucky enough to get a bite. You’ll see why this simple recipe has a way of turning an ordinary morning into a sweet celebration.
Why You’ll Love This Recipe
Having tested this recipe countless times—sometimes with a toddler on my hip and a dog begging at my feet—I can say it’s truly a gem for busy mornings or last-minute plans. The balance of creamy, rich chocolate with a light, airy mousse texture is hard to beat.
- Quick & Easy: Ready in about 20 minutes, plus chilling time, so you can prep ahead and relax.
- Simple Ingredients: No complicated items—mostly pantry staples you probably have on hand already.
- Perfect for Mother’s Day Brunch: Elegant enough to wow guests but casual enough to make without stress.
- Crowd-Pleaser: Kids, adults, chocolate lovers, skeptics—they all ask for seconds.
- Unbelievably Delicious: The mousse is silky smooth, with just the right balance of sweetness and cocoa richness.
This isn’t your average mousse. The secret? A gentle folding technique that keeps it airy without deflating, plus a splash of espresso to boost the chocolate flavor without tasting like coffee. Honestly, the way it melts in your mouth makes you want to close your eyes and savor every bite—which is exactly what Mom deserves.
Whether you’re a seasoned cook or a brunch rookie, this recipe feels like a little celebration in every cup. And trust me, it’s saved more than one rushed Mother’s Day morning!
What Ingredients You Will Need
This recipe uses simple, wholesome ingredients to deliver bold flavor and satisfying texture without the fuss. Most of these are pantry staples, and substitutions are pretty flexible if needed.
- Dark Chocolate (6 oz / 170 g): Use quality bittersweet or semisweet chocolate. I prefer Ghirardelli for smooth melting.
- Heavy Cream (1 ½ cups / 360 ml): Cold, for whipping to fluffy peaks (can swap for coconut cream for dairy-free).
- Granulated Sugar (2 tbsp): Adjust according to your sweetness preference.
- Instant Espresso Powder (1 tsp): Optional but highly recommended to deepen chocolate flavor without coffee taste.
- Vanilla Extract (1 tsp): Adds warmth and rounds out the flavor.
- Pinch of Salt: Balances sweetness and enhances chocolate notes.
- Optional Toppings: Fresh berries, shaved chocolate, or whipped cream for garnish.
If you’re making this for a gluten-free brunch, rest assured all these ingredients are naturally gluten-free. For a vegan twist, try swapping the heavy cream with chilled coconut cream and use dairy-free dark chocolate.
Look for small-curd, high-quality chocolate bars rather than chips—they melt smoother and give that luxurious mousse texture. Also, make sure your cream is cold for whipping—it really makes a difference in volume and fluffiness.
Equipment Needed
- Mixing Bowls: At least two—one for melting chocolate and one for whipping cream.
- Electric Mixer or Stand Mixer: Essential for whipping the cream to stiff peaks. Hand-whisking is possible but takes a good workout!
- Heatproof Bowl: For melting chocolate over simmering water (double boiler method) or microwave-safe bowl for gentle melting.
- Spatula: A silicone spatula works best for folding the whipped cream into chocolate without losing air.
- Serving Cups or Glasses: Small ramekins, clear dessert cups, or even mason jars add a charming touch.
If you don’t have an electric mixer, a good old-fashioned whisk and patience can do the trick, though it takes longer and your arm might get tired. I remember once using a fork in a pinch—definitely not recommended unless you want an arm workout!
For melting chocolate, I prefer a double boiler—keeps things gentle and prevents burning. But if you’re careful, the microwave in short bursts works fine too.
Preparation Method
- Melt the Chocolate: Chop 6 oz (170 g) of dark chocolate into small pieces. Place in a heatproof bowl over simmering water (double boiler), stirring occasionally until smooth. Alternatively, microwave in 20-second bursts, stirring each time to avoid scorching. Set aside to cool slightly but not harden. (About 5-7 minutes)
- Whip the Cream: Pour 1 ½ cups (360 ml) of cold heavy cream into a chilled mixing bowl. Add 2 tbsp granulated sugar, 1 tsp vanilla extract, 1 tsp instant espresso powder, and a pinch of salt. Using an electric mixer, beat on medium-high speed until soft peaks form. This means when you lift the whisk, the cream holds a peak but slightly curls over. (Around 3-5 minutes)
- Combine Chocolate and Cream: Take about one-third of the whipped cream and stir it into the melted chocolate to lighten the mixture. This prevents deflating the mousse later. Then gently fold in the remaining whipped cream using a spatula. Fold carefully—cut through the center, scoop underneath, and turn over, repeating until well combined but still airy. (5 minutes)
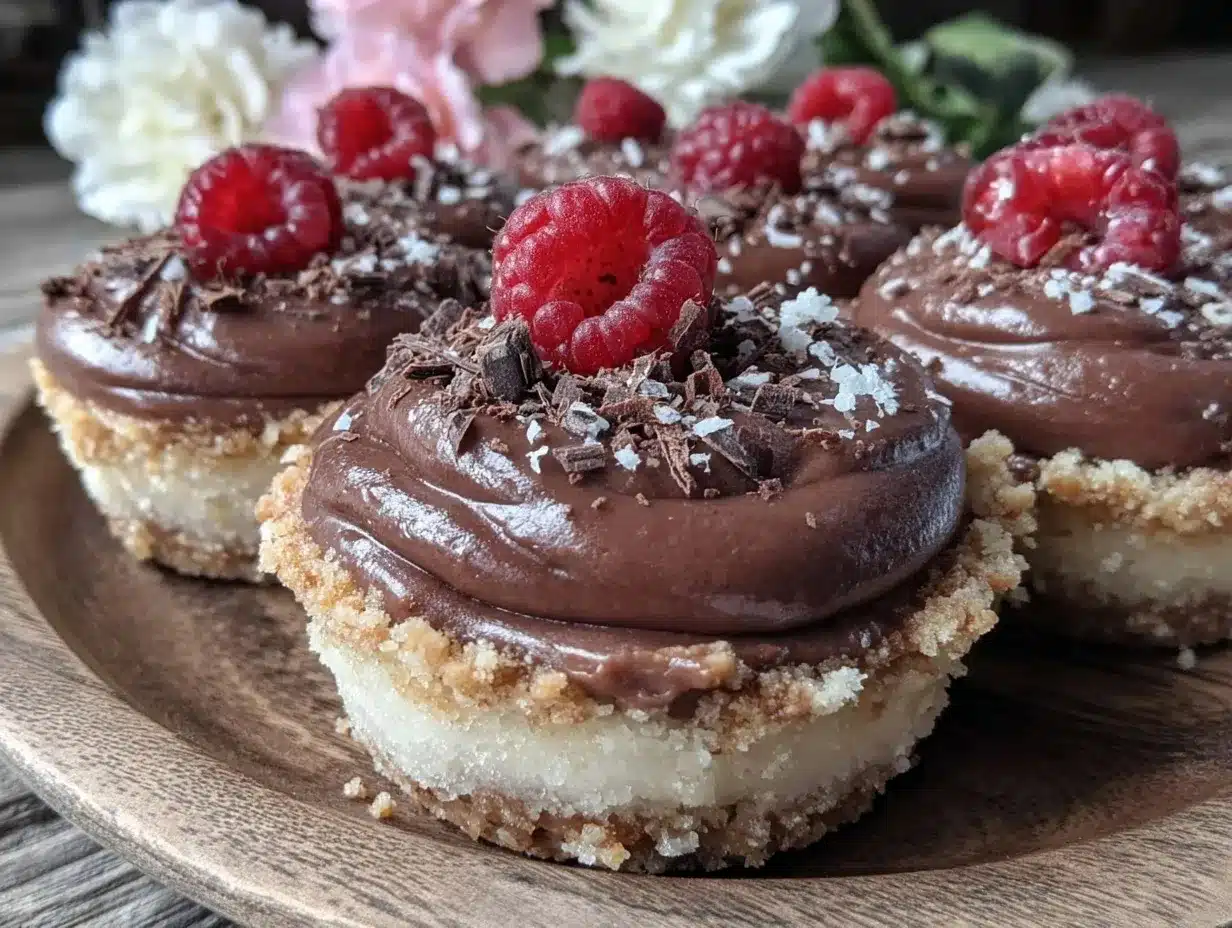
- Portion into Cups: Spoon the mousse into your serving cups or ramekins. Smooth tops with the back of a spoon or leave rustic—it’s all good!
- Chill: Refrigerate for at least 2 hours or until set. This allows the mousse to firm up and flavors to meld beautifully.
- Garnish and Serve: Just before serving, add fresh berries, a dusting of cocoa powder, or shaved chocolate on top for an extra-special touch.
Pro tip: Don’t rush folding—you want to keep as much air as possible for a light texture. Also, make sure the melted chocolate isn’t too hot when mixing with cream, or it’ll melt the whipped cream and become runny.
When I first made this, I accidentally overheated the chocolate and ended up with a lumpy mess. Lesson learned: patience is key!
Cooking Tips & Techniques
Whipping cream to the perfect peak can be tricky, so here’s what I’ve learned from experience:
- Chill your bowl and beaters: It makes whipping faster and fluffier, especially on warm days.
- Watch the peaks: Soft peaks mean the cream holds shape but folds over; stiff peaks stand straight. For mousse, soft to medium peaks work best.
- Folding technique: Avoid stirring or mixing aggressively. Use a gentle folding motion to keep the mousse airy.
- Chocolate temperature: Let melted chocolate cool slightly before mixing with cream. Too hot, and it’ll deflate your mousse.
- Espresso powder: Just a small amount intensifies the chocolate flavor without making it taste like coffee—totally worth it.
- Chilling time: Don’t skip! The mousse needs time to set properly for the right texture.
I once tried skipping the espresso powder to save a step, and the mousse felt flat—lesson learned, it’s a simple trick that makes a big difference.
Also, multitasking helps—start melting chocolate while whipping cream to save time, but keep an eye on both so neither overdoes it.
Variations & Adaptations
This recipe is pretty flexible, which makes it great for different tastes and dietary needs:
- Vegan Version: Use chilled coconut cream instead of heavy cream and vegan dark chocolate. Whip the coconut cream just like regular cream.
- Fruit-Infused Mousse: Fold in a few tablespoons of raspberry or orange puree for a fruity twist that pairs beautifully with chocolate.
- Nutty Crunch: Add a sprinkle of toasted hazelnuts or crushed pistachios on top for texture contrast.
- Spiced Chocolate: Stir in a pinch of cinnamon, cayenne, or chili powder for a warming kick.
- Alcohol-Infused: A splash of coffee liqueur, rum, or brandy can add depth—just a teaspoon or two.
Personally, I love the raspberry puree variation for spring brunches—it adds a fresh zing that brightens the rich chocolate. When I tried making these for a vegan friend, swapping coconut cream worked like a charm and everyone was none the wiser!
Serving & Storage Suggestions
Serve these mousse cups chilled straight from the fridge for the best texture. They look lovely in clear glasses to show off the smooth layers, especially when topped with vibrant berries or a dusting of cocoa powder.
Pair with light brunch dishes like fruit salad, flaky croissants, or even a refreshing mimosa to balance the richness. If you want to try something different, a cup of strong black coffee or herbal tea complements the chocolate beautifully.
Store leftovers covered in the refrigerator for up to 3 days. Avoid freezing—they can lose their silky texture and become grainy when thawed. When reheating is necessary, just let the mousse sit at room temperature for 10 minutes to soften slightly before serving.
Interestingly, the flavors mellow and deepen if you make them a few hours in advance, so prepping the night before Mother’s Day works perfectly and frees you up to enjoy the celebration.
Nutritional Information & Benefits
Each serving of these mousse cups (about ½ cup or 120 ml) contains approximately:
| Calories | 280-320 kcal |
|---|---|
| Fat | 22 g |
| Saturated Fat | 14 g |
| Carbohydrates | 20 g |
| Sugars | 16 g |
| Protein | 3 g |
The key ingredients like dark chocolate offer antioxidants and minerals such as iron and magnesium. Using heavy cream adds richness but also calories, so enjoy these as a special treat. For those watching sugar intake, you can reduce sugar slightly or try a sugar substitute, though it may affect texture.
These mousse cups are naturally gluten-free and can be adapted to dairy-free diets as mentioned earlier. From a wellness perspective, I think of them as a little indulgence that nourishes the soul—perfect for showing love on Mother’s Day.
Conclusion
So, why try these easy no-bake chocolate mousse cups for your next Mother’s Day brunch? Because they’re simple yet impressive, quick to prepare but deliciously satisfying. You can customize them to your liking, from vegan versions to fruity twists, and they always bring a smile to the table.
Honestly, I keep coming back to this recipe because it strikes that perfect balance: fuss-free but feels fancy, rich but light, and every bite reminds me of those unexpected moments when something simple becomes unforgettable. If you decide to make these, tweak the flavors, or add your own twist, I’d love to hear how they turned out for you.
Go ahead, surprise Mom with something sweet that says you care—without the stress. And if you want more brunch inspiration, you might enjoy pairing these with a crispy garlic chicken dish or finishing with a fresh fruit salad. Happy cooking and happy Mother’s Day!
FAQs
Can I make these chocolate mousse cups ahead of time?
Yes! In fact, they taste even better after chilling for a few hours or overnight. Just keep them covered in the fridge.
What can I use if I don’t have espresso powder?
You can skip it or substitute with a teaspoon of strong brewed coffee, but espresso powder intensifies the chocolate without adding a coffee taste.
Is it possible to make this recipe dairy-free?
Absolutely. Use chilled coconut cream instead of heavy cream and dairy-free dark chocolate to make a vegan and dairy-free mousse.
How do I know when the whipped cream is ready?
Stop whipping when the cream forms soft peaks that hold shape but slightly curl when you lift the whisk. Overwhipping can turn it grainy or into butter.
Can I freeze the mousse cups?
Freezing isn’t recommended as it can ruin the mousse’s texture. Best to keep them refrigerated and consume within 3 days.
Pin This Recipe!
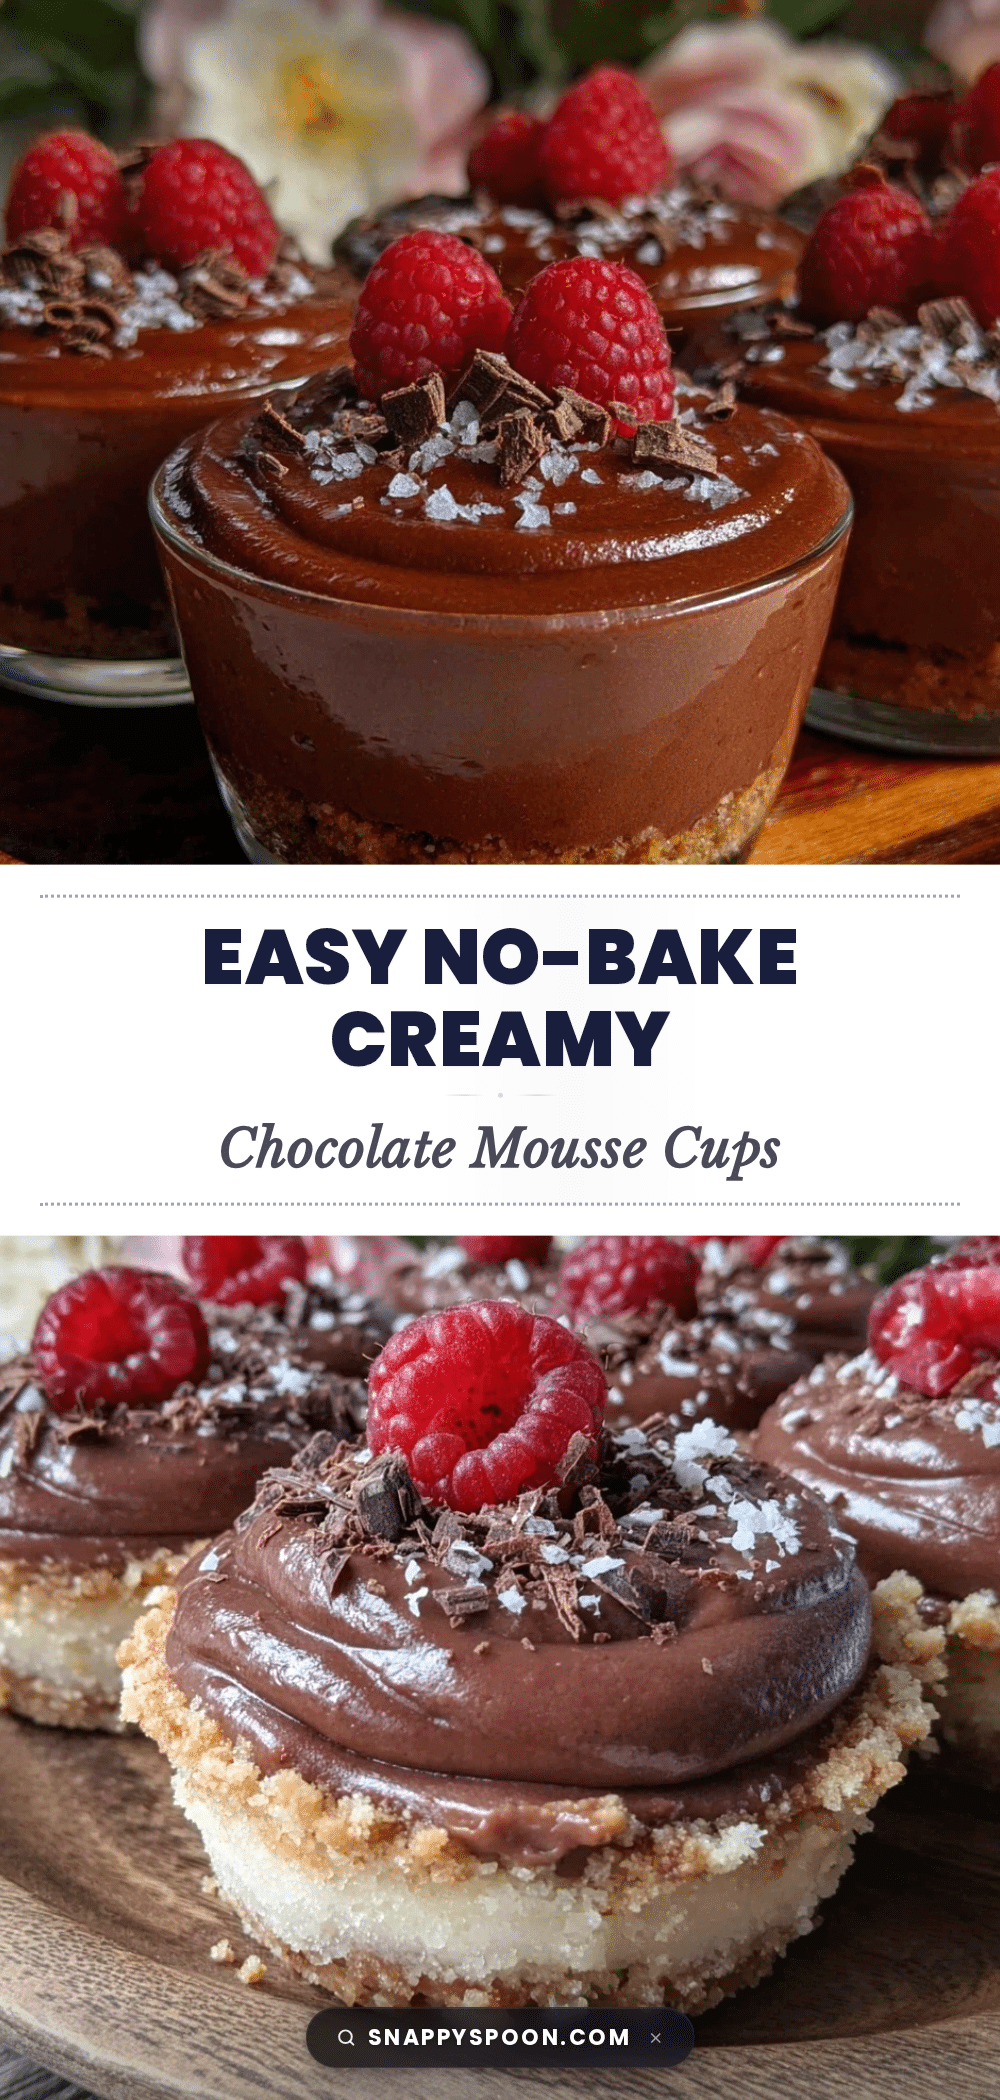
Easy No-Bake Chocolate Mousse Cups

A quick and elegant no-bake chocolate mousse recipe perfect for Mother’s Day brunch, featuring a silky texture and rich chocolate flavor with minimal ingredients and effort.
- Prep Time: 15 minutes
- Cook Time: 5 minutes
- Total Time: 2 hours 20 minutes
- Yield: 6 servings 1x
- Category: Dessert
- Cuisine: American
Ingredients
- 6 oz (170 g) dark chocolate (bittersweet or semisweet)
- 1 ½ cups (360 ml) cold heavy cream (can substitute with coconut cream for dairy-free)
- 2 tbsp granulated sugar
- 1 tsp instant espresso powder (optional)
- 1 tsp vanilla extract
- Pinch of salt
- Optional toppings: fresh berries, shaved chocolate, or whipped cream
Instructions
- Chop 6 oz (170 g) of dark chocolate into small pieces. Melt in a heatproof bowl over simmering water (double boiler), stirring occasionally until smooth, or microwave in 20-second bursts stirring each time. Set aside to cool slightly but not harden (about 5-7 minutes).
- Pour 1 ½ cups (360 ml) of cold heavy cream into a chilled mixing bowl. Add 2 tbsp granulated sugar, 1 tsp vanilla extract, 1 tsp instant espresso powder, and a pinch of salt. Using an electric mixer, beat on medium-high speed until soft peaks form (around 3-5 minutes).
- Take about one-third of the whipped cream and stir it into the melted chocolate to lighten the mixture. Then gently fold in the remaining whipped cream using a spatula, folding carefully to keep the mousse airy (about 5 minutes).
- Spoon the mousse into serving cups or ramekins. Smooth tops with the back of a spoon or leave rustic.
- Refrigerate for at least 2 hours or until set to allow the mousse to firm up and flavors to meld.
- Just before serving, garnish with fresh berries, a dusting of cocoa powder, or shaved chocolate.
Notes
Chill your bowl and beaters for fluffier whipped cream. Use a gentle folding technique to keep mousse airy. Let melted chocolate cool slightly before mixing with cream to avoid deflating. Espresso powder enhances chocolate flavor without coffee taste. Refrigerate at least 2 hours for best texture. Avoid freezing to maintain silky texture.
Nutrition
- Serving Size: About ½ cup (120 ml)
- Calories: 280320
- Sugar: 16
- Fat: 22
- Saturated Fat: 14
- Carbohydrates: 20
- Protein: 3
Keywords: no-bake, chocolate mousse, easy dessert, Mother's Day brunch, quick dessert, chocolate cups, mousse cups, no oven dessert