Love this? Save it for later!
Share the inspiration with your friends
“I wasn’t planning on making dessert that day,” I admit, “but then my neighbor, Mrs. Callahan, popped by unexpectedly with a basket of fresh garden tomatoes.” It was a random Tuesday afternoon, and honestly, I was more focused on dinner prep than sweets. But she insisted I try her favorite quick treat—something she called Easy No-Bake Oreo Cheesecake Bars. At first, I was skeptical. No-bake? Oreo? Cheesecake? It sounded almost too simple to be good, but curiosity got the better of me.
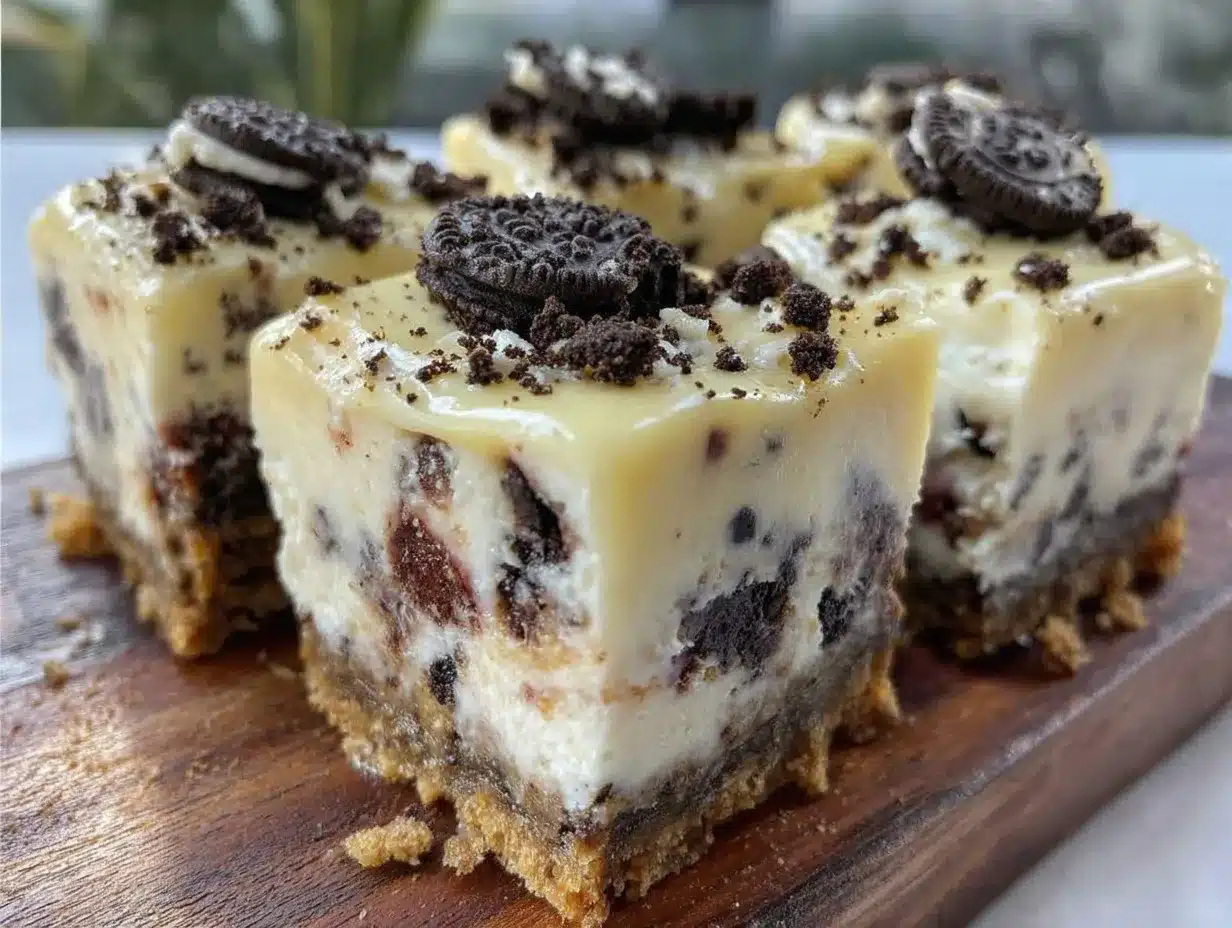
Mrs. Callahan pulled out this slightly cracked Pyrex dish and started assembling the bars right on my kitchen counter. No oven, no fuss. Just crushed Oreos, cream cheese, whipped cream, and a few pantry staples. I kept sneaking little tastes as she worked, and let me tell you—the texture was dreamy, the flavor balanced between sweet and tangy, with that unmistakable Oreo crunch. It reminded me of lazy summer afternoons where dessert felt like an indulgence but never a chore.
That day, I learned that sometimes the best recipes come from the simplest moments—unexpected visits, casual conversations, and a little bit of improvisation. Since then, these easy no-bake Oreo cheesecake bars have become my go-to for quick indulgence, especially when life gets busy and I need a dessert that’s impressive but effortless. Maybe you’ve been there, too—craving something sweet but not wanting to spend hours in the kitchen. If so, I think you’re going to love this recipe as much as I do.
Why You’ll Love This Recipe
Having whipped up these Easy No-Bake Oreo Cheesecake Bars countless times (and tested with a crowd of dessert lovers), I can confidently say this recipe hits all the right notes. Here’s why it’s a keeper:
- Quick & Easy: Ready in under 20 minutes, no oven required—perfect for those last-minute dessert cravings or busy weeknights.
- Simple Ingredients: Uses everyday pantry staples plus everyone’s favorite cookies. No hunting for exotic items.
- Perfect for Gatherings: Whether it’s a potluck, birthday party, or casual coffee date, these bars are sure to impress without stress.
- Crowd-Pleaser: Kids and adults alike can’t get enough of the creamy texture combined with the chocolatey Oreo crunch.
- Unbelievably Delicious: The balance of tangy cream cheese and sweet whipped cream layered on a crunchy Oreo crust makes for a seriously satisfying bite.
What sets this recipe apart? Honestly, it’s the effortless blend of textures—the crumbly Oreo base paired with a luscious, smooth filling that doesn’t weigh you down. Plus, I’ve found that folding the whipped cream gently into the cream cheese mixture keeps the bars light and airy, not dense. It’s the kind of dessert that makes you close your eyes after the first bite, savoring every moment. This isn’t just another cheesecake bar; it’s the kind of treat you come back to whenever you want to enjoy something sweet but fuss-free.
What Ingredients You Will Need
This recipe uses straightforward ingredients you probably already have on hand, making it wonderfully accessible. Here’s a quick rundown of what you’ll need and why:
- Oreo Cookies: About 24 cookies, crushed (including the filling). These form the crunchy, chocolatey crust. I prefer using the classic original Oreos for that authentic flavor.
- Unsalted Butter: 6 tablespoons (85g), melted. Helps bind the Oreo crumbs into a firm crust.
- Cream Cheese: 16 ounces (450g), softened. The star of the filling, providing creaminess and tang.
- Powdered Sugar: ¾ cup (90g). Adds sweetness without graininess; be sure to sift if your powdered sugar is clumpy.
- Vanilla Extract: 1 teaspoon. Just a hint to round out the flavors.
- Heavy Whipping Cream: 1 cup (240ml), cold. Whipped to soft peaks and folded into the cream cheese mixture to keep the bars light.
Optional but recommended:
- Additional crushed Oreos for topping—adds a nice decorative crunch.
Substitution tips:
- Use gluten-free Oreo alternatives if you need a gluten-free version.
- You can swap heavy cream for coconut cream for a dairy-free option, but the texture will be slightly different.
- If you want a less sweet crust, reduce the number of Oreos or omit the filling before crushing.
Equipment Needed
To make these bars, you won’t need anything fancy, which is part of the charm. Here’s what I use:
- 8×8 inch baking pan or dish: Glass or metal works fine. I prefer glass because I can see the layers.
- Mixing bowls: One for the crust and one for the filling.
- Electric mixer or stand mixer: To beat the cream cheese and whip the heavy cream. You can also whisk by hand if you’re feeling ambitious, but it takes longer.
- Food processor or rolling pin: For crushing the Oreos. I use a food processor for speed, but a zip-top bag and rolling pin work great if you don’t have one.
- Rubber spatula: For folding the whipped cream gently into the filling.
If you’re on a budget or tight on space, just know that the rolling pin and a sturdy plastic bag can replace a food processor. Keeping the equipment minimal makes cleanup a breeze, which I appreciate after a long day.
Preparation Method
- Crush the Oreos: Place 24 Oreos (including filling) into a food processor and pulse until fine crumbs form. If you don’t have a processor, put the cookies in a large zip-top bag and gently crush them with a rolling pin until you have evenly crushed crumbs. This should take about 5 minutes.
- Make the crust: Transfer the Oreo crumbs into a medium bowl. Add 6 tablespoons (85g) melted unsalted butter and stir until the crumbs are evenly coated and resemble wet sand. Press this mixture firmly into the bottom of an 8×8 inch (20×20 cm) baking dish, making sure it’s evenly packed. Use the bottom of a glass or measuring cup to help. Chill in the fridge for 10 minutes to set.
- Prepare the filling: In a large bowl, beat 16 ounces (450g) softened cream cheese with ¾ cup (90g) powdered sugar and 1 teaspoon vanilla extract until smooth and creamy. This will take about 2-3 minutes with an electric mixer.
- Whip the cream: In a separate bowl, whip 1 cup (240ml) cold heavy cream until soft peaks form—this means when you lift the whisk, the peaks gently hold their shape but curl over. This usually takes about 3-4 minutes.
- Fold whipped cream into cream cheese: Gently fold the whipped cream into the cream cheese mixture using a rubber spatula. This should be done slowly and carefully to keep the filling light and airy. Avoid overmixing, or the mixture will deflate.
- Assemble the bars: Spread the filling evenly over the chilled Oreo crust. Smooth the top with your spatula. If you like, sprinkle with extra crushed Oreos for garnish.
- Chill to set: Refrigerate the bars for at least 3 hours, ideally overnight. This allows the filling to firm up and the flavors to meld.
- Serve: Once set, cut into 12 squares and enjoy! If your knife sticks, dip it briefly in hot water and wipe dry before slicing.
Pro tip: Sometimes I forget to soften the cream cheese ahead of time (don’t ask how many times!). If that happens, microwave it in short bursts of 10 seconds until just soft but not melted. It saves time and keeps the texture perfect.
Cooking Tips & Techniques
Making no-bake desserts might sound foolproof, but trust me, a few tricks make all the difference:
- Softening cream cheese: This is key. If it’s too cold, the filling will be lumpy. Let it sit at room temperature for 30 minutes or microwave in short bursts.
- Folding whipped cream: Use a gentle folding motion—cut through the middle of the mixture, scoop around the sides, and repeat. This keeps the bars fluffy rather than dense.
- Crushing Oreos evenly: If you crush them too fine, the crust can be too compact; too chunky, and it won’t hold together. A balance is best.
- Chilling time: Don’t rush this step. The longer the bars chill, the cleaner they cut and the better the texture.
- Multitasking: While the crust chills, whip the cream and prep the filling to save time.
One time, I accidentally overwhipped the cream and ended up with butter! Lesson learned: watch for soft peaks, not stiff or dry. Also, if your bars are too soft after chilling, a quick 15-minute freeze helps firm them up without freezing solid.
Variations & Adaptations
This recipe is super adaptable, so feel free to mix it up:
- Mint Oreo Cheesecake Bars: Swap classic Oreos for Mint Oreos and add a few drops of peppermint extract to the filling for a refreshing twist.
- Peanut Butter Oreo Bars: Stir ½ cup (125g) creamy peanut butter into the cream cheese mixture for a rich, nutty flavor that pairs beautifully with chocolate.
- Fruit-Topped Version: After chilling, top the bars with fresh raspberries or sliced strawberries for a pop of color and freshness.
For a dairy-free adaptation, try using dairy-free cream cheese and coconut whipped cream, though the texture will be a bit different. If you want to bake the crust slightly before adding the filling (for extra crunch), bake the crust at 350°F (175°C) for 8 minutes and cool completely first.
Personally, I’ve played around with adding espresso powder to the crust for a mocha vibe—it’s subtle but delicious!
Serving & Storage Suggestions
These Easy No-Bake Oreo Cheesecake Bars taste best chilled but can be taken out 10 minutes before serving to soften slightly. Serve them on a pretty platter with a fork, maybe alongside a cup of coffee or cold milk.
They pair beautifully with light fruit salads or even a drizzle of caramel sauce for extra indulgence. For a party, I like to arrange them with fresh berries and mint leaves for a pop of color.
To store, cover the bars tightly with plastic wrap or an airtight container and keep refrigerated for up to 4 days. They also freeze well—wrap individual bars in parchment and place in a freezer-safe container for up to 2 months. Thaw overnight in the fridge before serving.
Flavors deepen after chilling overnight, so if you can wait, that’s the sweet spot. Just don’t blame me if you sneak a few bites straight from the fridge!
Nutritional Information & Benefits
Each bar (assuming 12 servings) contains approximately:
| Calories | 320 kcal |
|---|---|
| Fat | 22 g |
| Carbohydrates | 30 g |
| Protein | 4 g |
| Sugar | 22 g |
While these bars are definitely a treat, they also offer some nutritional perks. The cream cheese provides a good source of calcium and protein, and the heavy cream adds vitamin A. Using Oreos, while indulgent, contributes to the dessert’s signature flavor and crunchy texture.
This dessert is gluten-containing due to the Oreos but can be adapted with gluten-free cookie options. It’s not low-carb or low-sugar but perfect as an occasional indulgence that satisfies sweet cravings without a ton of effort.
Conclusion
Easy No-Bake Oreo Cheesecake Bars are one of those recipes that stick with you because they’re simple, delicious, and totally fuss-free. Whether you’re feeding a crowd or just need a quick sweet fix, these bars deliver every time. I love how you can customize them with mix-ins or toppings to suit your mood or occasion.
Honestly, I keep a stash of Oreos in the pantry just so I can whip these up whenever the craving hits. I hope you find this recipe just as comforting and convenient as I do. Give it a try, make it your own, and I’d love to hear how your batch turns out!
Feel free to share your twists or questions in the comments below—let’s make dessert time fun and easy together.
FAQs
Can I use a different cookie instead of Oreos for the crust?
Yes! You can substitute with any chocolate sandwich cookies or even graham crackers, though the flavor and texture will differ slightly.
How long can I store these cheesecake bars in the fridge?
They keep well for up to 4 days when covered properly in the refrigerator.
Is it necessary to chill the bars overnight?
While 3 hours of chilling is the minimum, overnight chilling helps the bars set better and improves the flavor.
Can I freeze these bars?
Absolutely! Wrap bars individually and freeze for up to 2 months. Thaw in the fridge before serving.
What if I don’t have heavy cream?
You can try using whipped topping or coconut cream for a non-dairy alternative, but the texture may be less rich and fluffy.
Pin This Recipe!
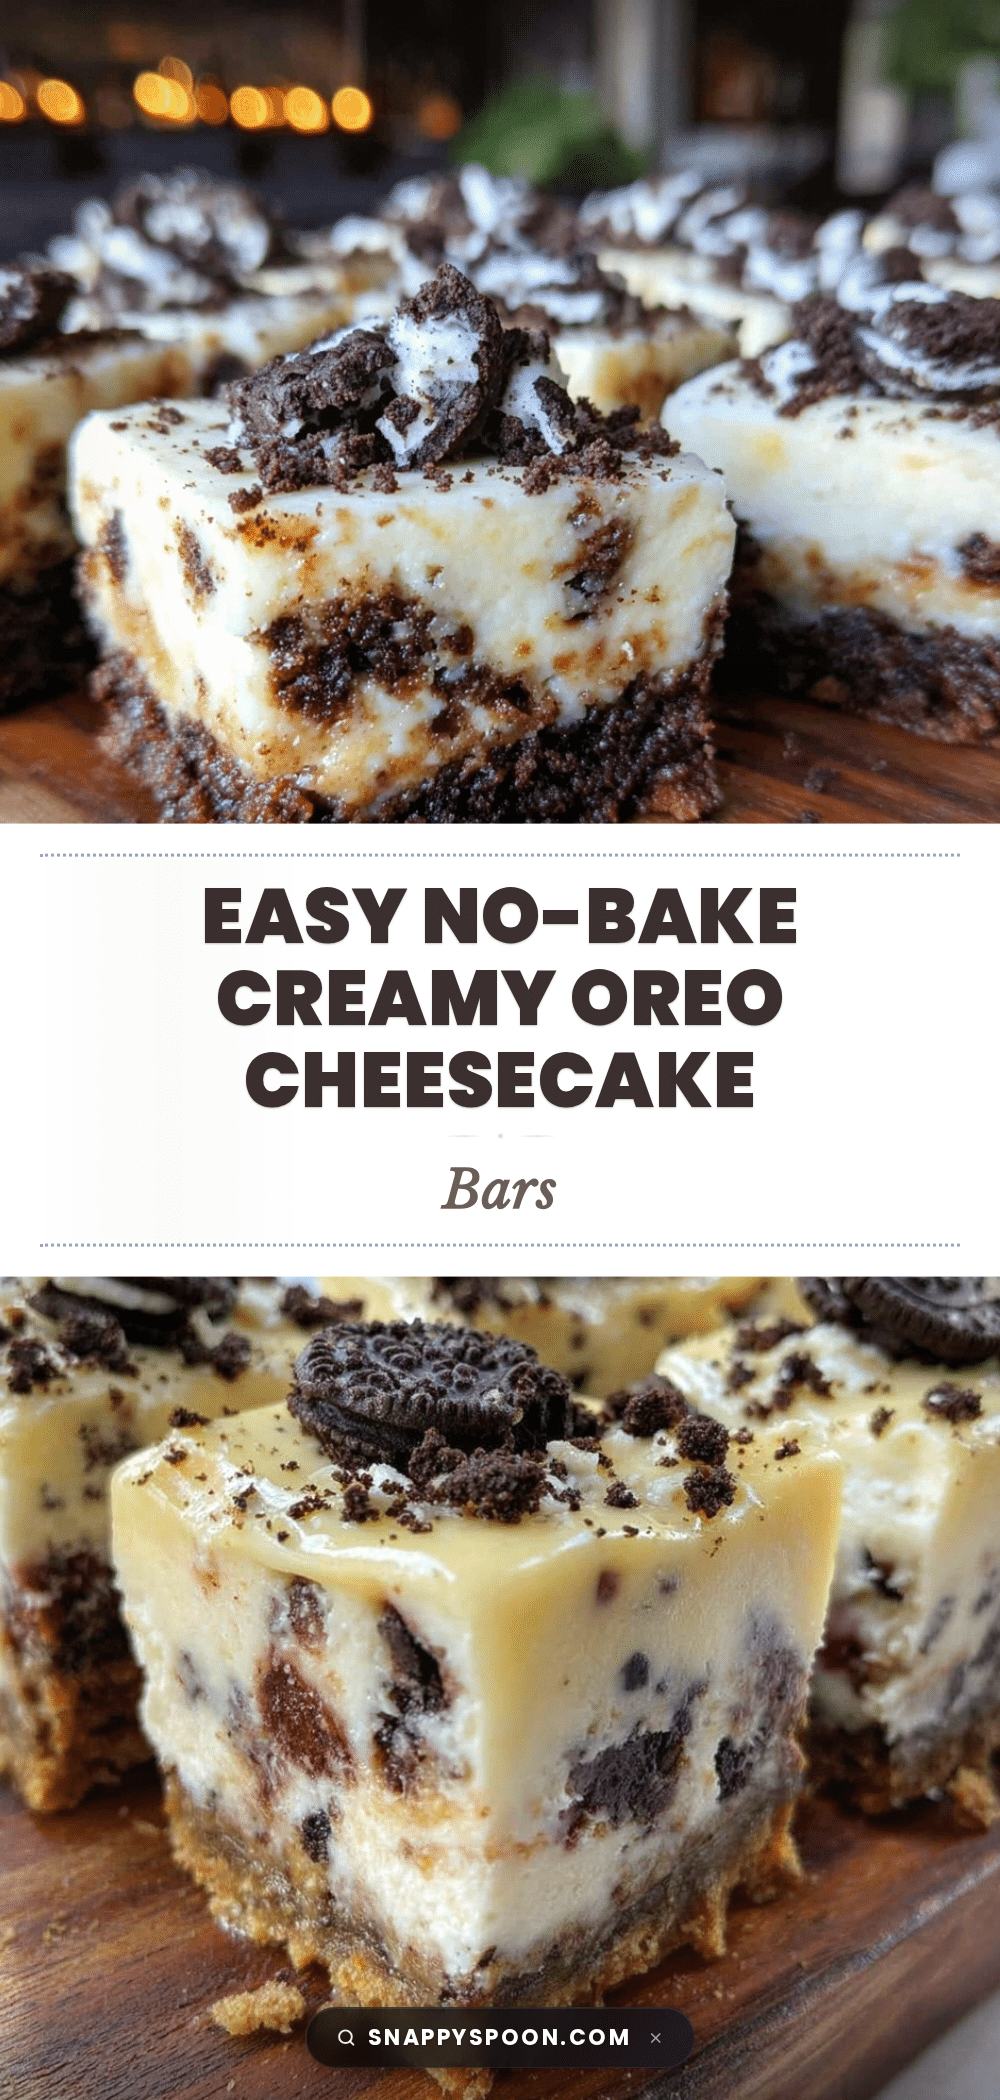
Easy No-Bake Oreo Cheesecake Bars
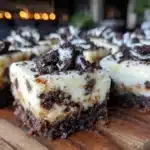
A quick and delicious no-bake dessert featuring a crunchy Oreo crust and a light, creamy cheesecake filling. Perfect for busy days and gatherings.
- Prep Time: 15 minutes
- Cook Time: 0 minutes
- Total Time: 3 hours 15 minutes
- Yield: 12 servings 1x
- Category: Dessert
- Cuisine: American
Ingredients
- 24 Oreo cookies, crushed (including filling)
- 6 tablespoons (85g) unsalted butter, melted
- 16 ounces (450g) cream cheese, softened
- 3/4 cup (90g) powdered sugar
- 1 teaspoon vanilla extract
- 1 cup (240ml) heavy whipping cream, cold
- Optional: additional crushed Oreos for topping
Instructions
- Crush the Oreos: Place 24 Oreos (including filling) into a food processor and pulse until fine crumbs form. Alternatively, crush in a zip-top bag with a rolling pin until evenly crushed (about 5 minutes).
- Make the crust: Transfer Oreo crumbs to a medium bowl. Add melted butter and stir until crumbs are evenly coated and resemble wet sand. Press firmly into the bottom of an 8×8 inch baking dish. Chill in the fridge for 10 minutes to set.
- Prepare the filling: Beat softened cream cheese with powdered sugar and vanilla extract until smooth and creamy (2-3 minutes with an electric mixer).
- Whip the cream: In a separate bowl, whip cold heavy cream until soft peaks form (3-4 minutes).
- Fold whipped cream into cream cheese mixture gently using a rubber spatula to keep filling light and airy.
- Assemble the bars: Spread filling evenly over chilled Oreo crust. Smooth the top and sprinkle with extra crushed Oreos if desired.
- Chill to set: Refrigerate bars for at least 3 hours, ideally overnight.
- Serve: Cut into 12 squares. For easier slicing, dip knife in hot water and wipe dry before cutting.
Notes
Soften cream cheese before mixing to avoid lumps. Fold whipped cream gently to keep filling light. Chill bars at least 3 hours or overnight for best texture. If bars are too soft after chilling, freeze for 15 minutes to firm up. Use gluten-free Oreo alternatives for gluten-free version. Coconut cream can replace heavy cream for dairy-free option but texture will differ.
Nutrition
- Serving Size: 1 bar (1/12th of rec
- Calories: 320
- Sugar: 22
- Fat: 22
- Carbohydrates: 30
- Protein: 4
Keywords: no-bake, Oreo, cheesecake bars, quick dessert, easy dessert, no oven dessert, creamy, chocolate, crowd-pleaser