Love this? Save it for later!
Share the inspiration with your friends
Introduction
“I never thought canned baked beans could taste this good,” my friend Mark said last Saturday as we sat on his porch, watching the sun dip below the city skyline. Honestly, I was a bit skeptical too. Canned beans have always been my go-to lazy dinner side, but they often felt flat and boring—until that evening. Mark, who’s no chef but loves quick fixes, had whipped up a batch of baked beans that had me sneaking spoonfuls straight from the pot. The secret? A few simple add-ins and tweaks that turned the humble can into a dish bursting with flavor and personality.
What makes this story even more relatable is that it happened on a hectic weeknight. The kind where you’re juggling work emails, trying to figure out what’s for dinner, and the clock’s ticking louder than usual. You know that feeling when you just want something comforting but fast? Yeah, that’s exactly how these Easy Flavorful Baked Beans from a Can Upgrade came about. No fancy ingredients, no long simmering times—just a few pantry staples and a handful of tricks that make all the difference.
Maybe you’ve been there: staring at the can, wondering if there’s a way to make those beans taste homemade without actually starting from scratch. Well, let me tell you, this recipe stayed with me because it’s honest, straightforward, and surprisingly satisfying. It’s the kind of dish that feels like a warm hug after a long day, yet doesn’t demand hours of your time or a kitchen full of gadgets. So, if you’re ready to give canned baked beans a second chance, read on. This is your new secret weapon for easy, flavorful meals that come together in no time.
Why You’ll Love This Recipe
After testing countless variations and tasting through many trial batches, I can confidently say this recipe hits the sweet spot between convenience and taste. Here’s why it’s become a staple in my kitchen:
- Quick & Easy: Ready in under 30 minutes, perfect for those busy weeknights or last-minute dinners.
- Simple Ingredients: Uses pantry staples you probably already have—no need for a special grocery run.
- Perfect for Casual Gatherings: Whether it’s a backyard BBQ, potluck, or cozy family dinner, these beans fit right in.
- Crowd-Pleaser: Kids and adults alike keep coming back for seconds (and sometimes thirds).
- Unbelievably Delicious: The balance of smoky, sweet, and tangy flavors is just right—never too overpowering.
What sets this recipe apart is the layering of flavors achieved through simple upgrades—like adding a splash of apple cider vinegar for brightness or a touch of smoked paprika for depth, which you won’t find in your average canned beans. Plus, blending a bit of Dijon mustard gives the sauce a subtle kick that ties everything together beautifully.
This isn’t just another canned beans recipe; it’s my version that’s been tweaked, tested, and tweaked again to make sure every bite feels satisfying and homemade. If you’ve ever thought canned beans were just “meh,” this recipe will make you rethink everything. It’s comfort food with soul, ready in a flash, and guaranteed to impress without stress.
What Ingredients You Will Need
This recipe uses simple, wholesome ingredients to deliver bold flavor and satisfying texture without the fuss. Most of these are pantry staples, and many can be swapped to suit your preferences or dietary needs.
- For the Beans Base:
- 2 cans (15 oz / 425 g each) baked beans (choose your favorite brand; I prefer Bush’s for its texture)
- For Flavor & Depth:
- 1 medium yellow onion, finely chopped (adds sweetness and body)
- 2 cloves garlic, minced (for aromatic punch)
- 2 tablespoons tomato paste (boosts richness)
- 2 tablespoons brown sugar (for balanced sweetness; light or dark both work)
- 1 tablespoon apple cider vinegar (adds tang and brightness)
- 1 tablespoon Dijon mustard (gives subtle spice and complexity)
- 1 teaspoon smoked paprika (imparts a smoky flavor without needing a smoker)
- 1/2 teaspoon black pepper, freshly ground
- 1/4 teaspoon cayenne pepper (optional, for a little heat)
- For Cooking:
- 1 tablespoon olive oil or unsalted butter (for sautéing)
Pro tips: If you’re using organic canned beans, they tend to have a firmer texture which I personally like. Also, if you want to keep this vegan, just skip the butter and use olive oil instead. For a gluten-free version, double-check your canned beans label and tomato paste as some brands add gluten-containing thickeners.
Equipment Needed
- Medium-sized skillet or saucepan (about 10-inch/25 cm diameter) – I find a non-stick skillet works best to avoid sticking while sautéing onions and garlic.
- Wooden spoon or silicone spatula for stirring – something heat-resistant and flexible helps get every bit of flavor mixed.
- Measuring spoons and cups for accuracy – especially for the brown sugar and vinegar to keep balance right.
- Cutting board and sharp knife for prepping onions and garlic – a small, good-quality paring knife makes prep quick and safe.
- Baking dish or oven-safe skillet (optional) – if you want to put the beans in the oven for a caramelized top layer, this comes in handy.
If you don’t have a skillet, a small heavy-bottomed pot will work fine. Personally, I have a cast iron skillet that I love for this recipe because it holds heat well and gives a nice crust when baked. For budget-friendly options, non-stick pans from brands like T-fal or Cuisinart do a solid job without breaking the bank. And cleaning is a breeze—honestly, that’s part of why I come back to this recipe so often.
Preparation Method
- Prep the aromatics (5 minutes): Finely chop one medium yellow onion and mince two garlic cloves. The onion adds natural sweetness while the garlic brings warmth. You want your knife work to be fairly fine to ensure they cook evenly and melt into the sauce.
- Sauté onion and garlic (7 minutes): Heat 1 tablespoon olive oil or butter in your skillet over medium heat. Add the chopped onions and cook until soft and translucent, about 5 minutes. Toss in the garlic and cook for another 1-2 minutes until fragrant but not browned—burnt garlic turns bitter, so watch closely.
- Add tomato paste and spices (2 minutes): Stir in the tomato paste, smoked paprika, black pepper, and cayenne (if using). Cook for about 2 minutes to let the tomato paste caramelize slightly, which amps up the flavor. You’ll notice the mixture darkening and smelling richer—that’s what you want.
- Combine beans and seasonings (2 minutes): Pour in the two cans of baked beans (including the sauce), then add brown sugar, Dijon mustard, and apple cider vinegar. Stir everything gently to combine. You want to blend the flavors without mashing the beans too much.
- Simmer gently (10-12 minutes): Lower the heat to medium-low and let the beans simmer uncovered. This step thickens the sauce and allows the flavors to develop. Stir occasionally to prevent sticking. The sauce should thicken slightly and become glossy.
- Optional baking step (15 minutes): For an extra touch, transfer the beans to an oven-safe dish or keep them in the skillet if ovenproof. Bake in a preheated oven at 350°F (175°C) for 15 minutes to get a caramelized top. I love this step for potlucks or when I have a bit more time.
- Final taste and adjust (1 minute): Give the beans a final stir, and taste for seasoning. Add a pinch more salt, pepper, or a splash more vinegar if you want a brighter tang. Serve hot.
Some days, I’ve accidentally skipped the baking step when I was pressed for time, and honestly, it’s still delicious. But if you want that golden crust and slightly sticky top, don’t skip it! Oh—and one time I forgot to drain excess liquid from the beans before adding them, which made the sauce too runny. A quick simmer fixed that, so don’t worry if it’s a bit loose when you start.
Cooking Tips & Techniques
Here are some kitchen-tested tips to get your baked beans tasting just right:
- Don’t rush the sautéing: Taking the time to properly soften onions and garlic creates a sweet, mellow base. It’s worth the few extra minutes.
- Balance sweetness and acidity: The brown sugar and apple cider vinegar work together to keep the sauce lively and layered. Adjust to your taste but don’t skip either.
- Layer your spices: Adding smoked paprika early lets it bloom in the oil, making the smoky flavor more pronounced without overpowering the dish.
- Simmer uncovered: This thickens the sauce naturally. If it gets too thick, a splash of water or broth can help loosen it.
- Use a gentle hand stirring: Beans are delicate; vigorous stirring can break them down and make the dish mushy.
- Multitasking: You can prep your side salad or set the table while the beans simmer—maximizing your time in the kitchen.
- Leftover magic: These beans taste even better the next day, so don’t hesitate to make extra.
One rookie mistake I made when first trying this was using regular mustard instead of Dijon. It made the sauce too sharp. Dijon adds a smoother, more balanced tang. Also, if you’re in a hurry, you can skip the fresh onion and garlic and add a teaspoon of onion powder and garlic powder instead—although fresh always wins for flavor.
Variations & Adaptations
You can easily customize this recipe based on what you love or what you have on hand:
- Smoky BBQ Twist: Add 2 tablespoons of your favorite BBQ sauce and a splash of liquid smoke to the mix for that classic backyard flavor.
- Spicy Kick: Swap cayenne pepper for chipotle chili powder, or stir in chopped jalapeños for a smoky heat that wakes up the palate.
- Vegetarian & Vegan Boost: Use olive oil instead of butter and add a handful of sautéed bell peppers or mushrooms for extra veggies.
- Sweet & Tangy Maple: Replace brown sugar with pure maple syrup and add a teaspoon of mustard seeds for a subtle crunch and sweetness.
- Hearty Meat Addition: Stir in cooked and crumbled bacon, sausage, or diced ham right before serving for a protein boost.
Once, I tried using molasses instead of brown sugar, and while it gave a deep richness, it was a bit overpowering for my taste. Just a tablespoon works if you want to try it. Also, if you’re avoiding canned goods, you can use slow-cooked navy beans instead, but you’ll need to adjust the seasoning and cooking times accordingly.
Serving & Storage Suggestions
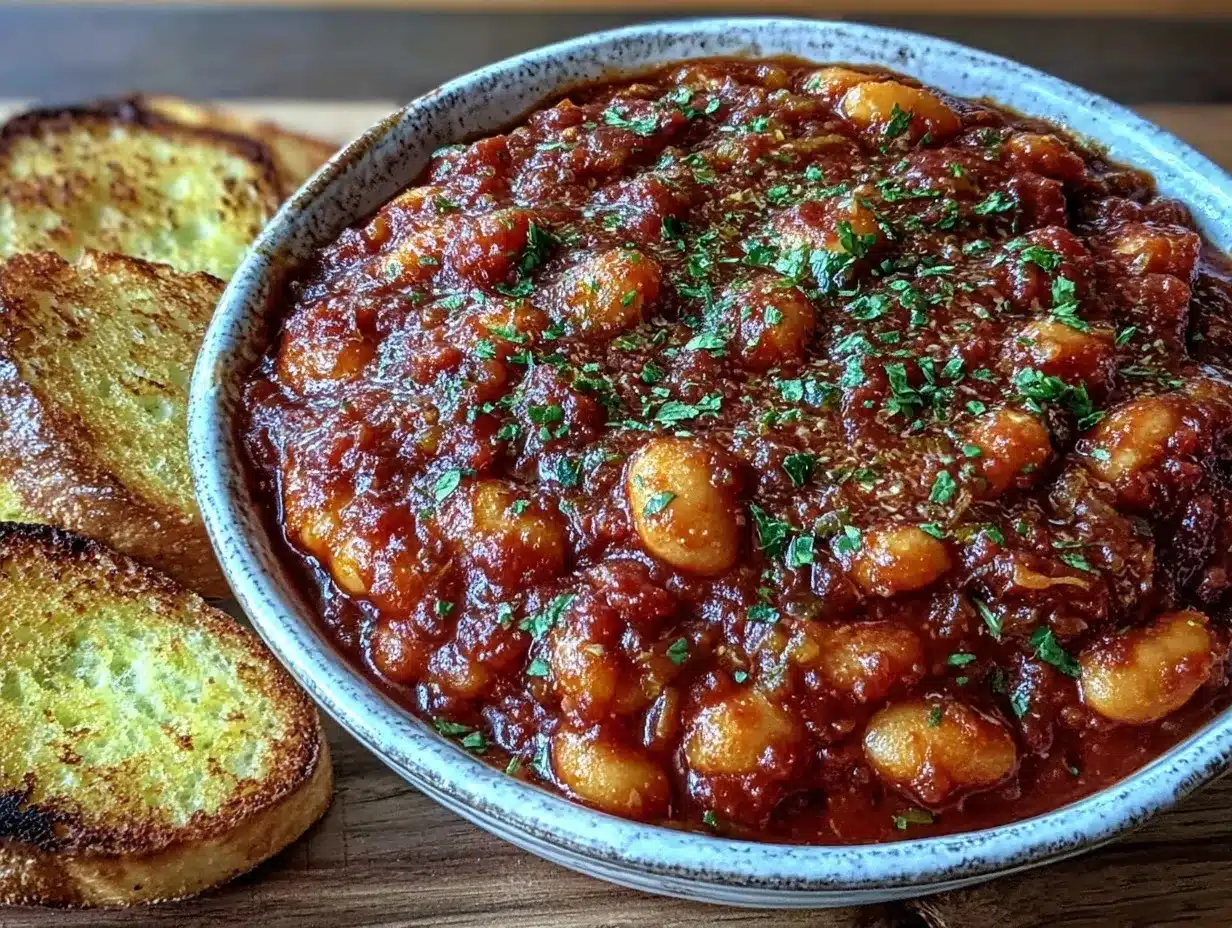
These beans are best served hot, straight from the skillet or baking dish. I like to garnish with a sprinkle of fresh chopped parsley or green onions for a pop of color and freshness. They make a fantastic side to grilled meats, roasted vegetables, or even a simple green salad. For a comforting meal, try spooning them over mashed potatoes or toasted sourdough bread.
Leftovers keep well in an airtight container in the fridge for up to 4 days. Reheat gently on the stove over low heat, stirring occasionally, or microwave in short bursts to avoid drying out. If the sauce thickens too much during storage, just add a splash of water or broth when reheating.
Freezing is also an option—transfer cooled beans to a freezer-safe container and freeze for up to 3 months. Thaw overnight in the fridge and reheat as usual. Flavors actually deepen after a day or two in the fridge, making leftovers even tastier.
Nutritional Information & Benefits
This upgraded canned baked beans recipe offers more than just taste. A typical serving (about 1 cup or 240 ml) contains roughly 250 calories, 10 grams of protein, and 8 grams of fiber, making it a satisfying and nourishing side dish.
Key ingredients like navy beans provide plant-based protein and fiber, which support digestive health and keep you feeling full. The addition of onions and garlic adds antioxidants, while the moderate use of brown sugar and vinegar keeps sugar levels in check.
This recipe can easily fit into vegetarian, vegan, and gluten-free diets depending on the ingredient choices. Just watch out for added sugars in canned beans if you’re monitoring your intake closely. Overall, it’s a wholesome comfort food with subtle nutritional benefits.
Conclusion
So there you have it—an easy, flavorful baked beans recipe that turns a humble can into something truly special. It’s proof that with just a few simple tricks, you can upgrade everyday ingredients into dishes that taste like you spent hours making them. I love this recipe because it’s honest, flexible, and downright delicious every single time.
Feel free to customize it with your favorite spices or add-ins to make it your own. And hey, if you try it, I’d love to hear how you tweaked it to fit your tastes! Drop a comment below or share your favorite way to enjoy these baked beans. Trust me, once you give this a shot, canned beans won’t be the same in your kitchen again.
Happy cooking and happy eating!
Frequently Asked Questions
Can I use any type of canned beans for this recipe?
While traditional baked beans work best because of their sauce, you can experiment with other white beans like navy or great northern beans. Just adjust seasoning and add a bit more tomato paste or sugar to mimic the baked bean flavor.
How long can I store leftover baked beans?
Store leftovers in an airtight container in the fridge for up to 4 days. For longer storage, freeze for up to 3 months. Reheat gently to keep the texture intact.
Can I make this recipe gluten-free?
Yes! Most canned baked beans are gluten-free, but always check the label. Use gluten-free tomato paste and mustard to be safe.
What can I serve with these baked beans?
They pair perfectly with grilled meats, roasted veggies, cornbread, or even on top of toast for a quick meal.
Can I prepare this recipe ahead of time?
Absolutely! It tastes even better the next day. Prepare it a day ahead and reheat before serving to let the flavors meld beautifully.
Pin This Recipe!
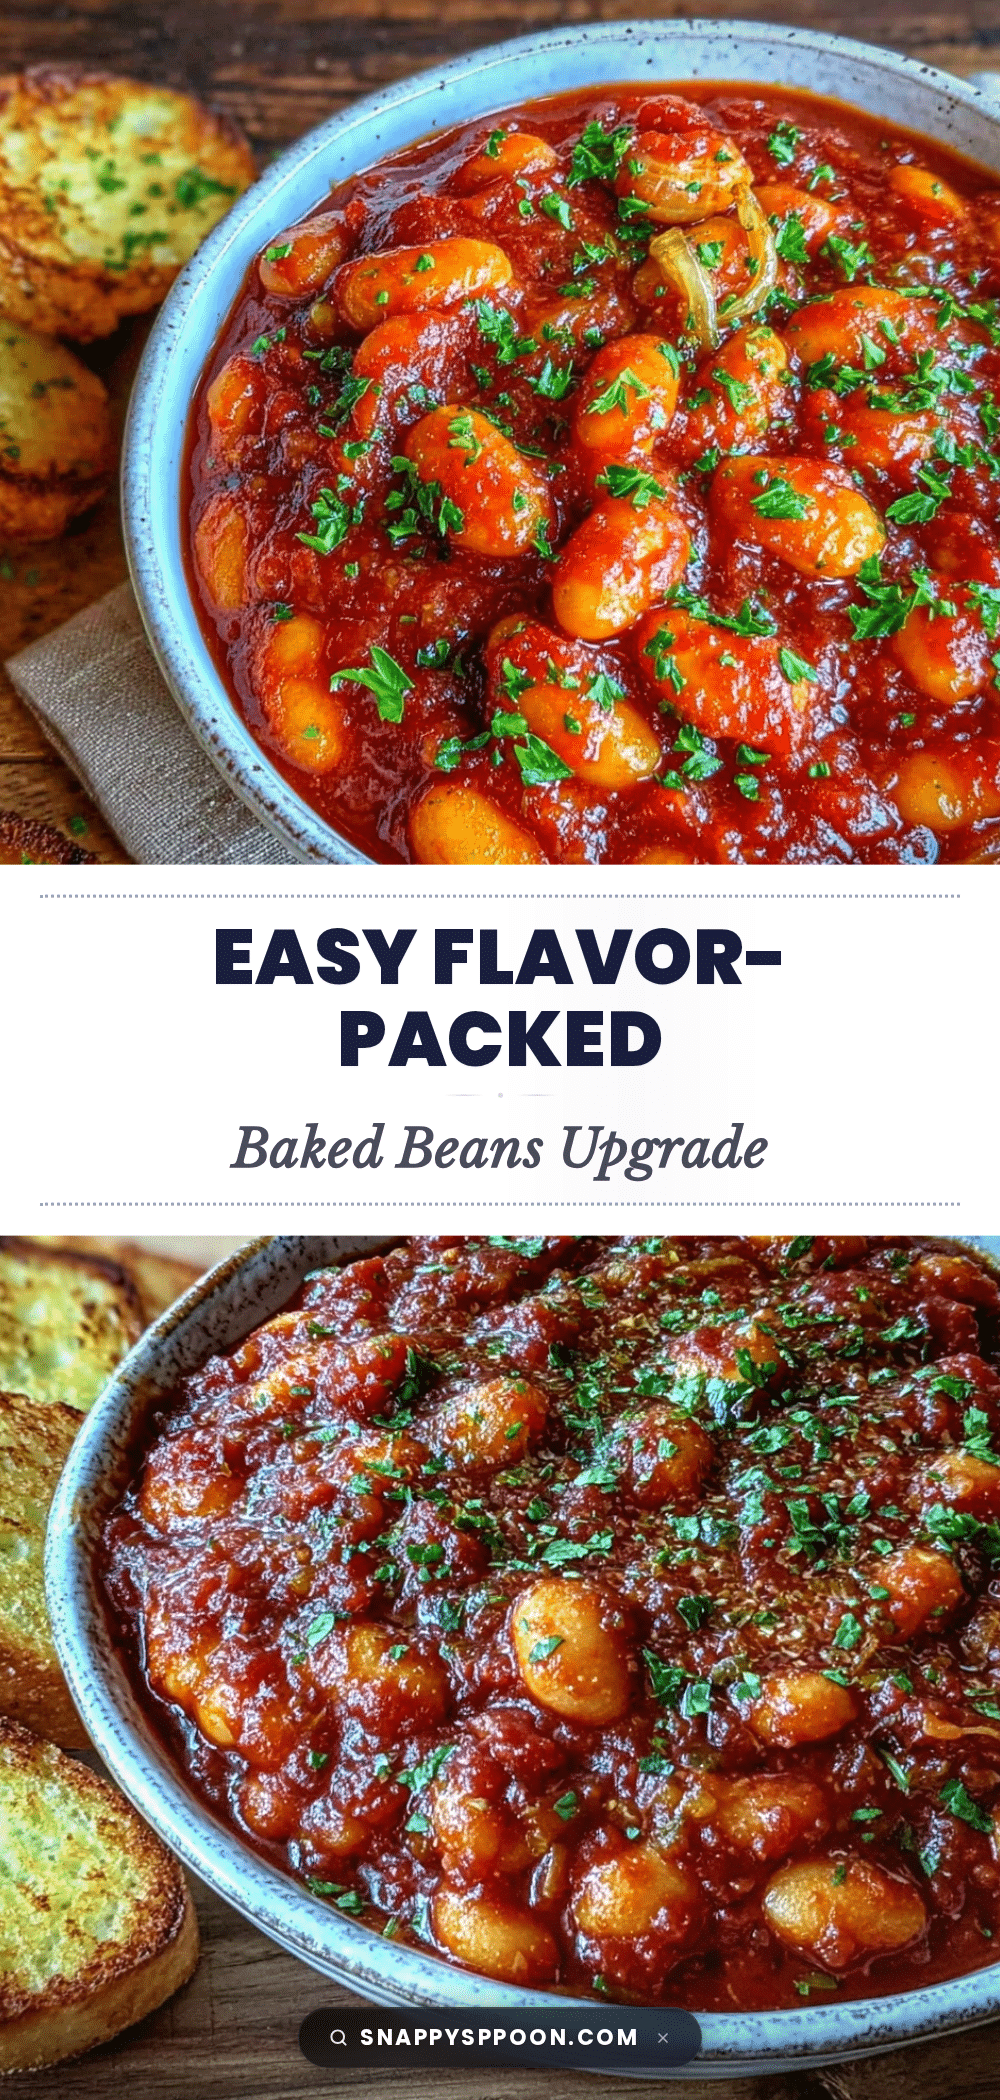
Easy Flavorful Baked Beans Recipe Upgrade 5 Ways to Elevate Canned Beans

A quick and easy recipe that transforms canned baked beans into a flavorful, homemade-tasting dish using simple pantry staples and a few clever upgrades.
- Prep Time: 5 minutes
- Cook Time: 24 minutes
- Total Time: 29 minutes
- Yield: 4 servings 1x
- Category: Side Dish
- Cuisine: American
Ingredients
- 2 cans (15 oz / 425 g each) baked beans
- 1 medium yellow onion, finely chopped
- 2 cloves garlic, minced
- 2 tablespoons tomato paste
- 2 tablespoons brown sugar
- 1 tablespoon apple cider vinegar
- 1 tablespoon Dijon mustard
- 1 teaspoon smoked paprika
- 1/2 teaspoon black pepper, freshly ground
- 1/4 teaspoon cayenne pepper (optional)
- 1 tablespoon olive oil or unsalted butter
Instructions
- Finely chop one medium yellow onion and mince two garlic cloves.
- Heat 1 tablespoon olive oil or butter in a skillet over medium heat. Add chopped onions and cook until soft and translucent, about 5 minutes.
- Add garlic and cook for another 1-2 minutes until fragrant but not browned.
- Stir in tomato paste, smoked paprika, black pepper, and cayenne pepper (if using). Cook for about 2 minutes to caramelize the tomato paste.
- Pour in the two cans of baked beans (including the sauce), then add brown sugar, Dijon mustard, and apple cider vinegar. Stir gently to combine.
- Lower heat to medium-low and simmer uncovered for 10-12 minutes, stirring occasionally until sauce thickens and becomes glossy.
- Optional: Transfer beans to an oven-safe dish or keep in skillet if ovenproof. Bake at 350°F (175°C) for 15 minutes to caramelize the top.
- Give the beans a final stir, taste, and adjust seasoning with salt, pepper, or vinegar as desired. Serve hot.
Notes
If using organic canned beans, they tend to have a firmer texture. For vegan version, use olive oil instead of butter. Check canned beans and tomato paste labels for gluten if needed. Avoid burnt garlic to prevent bitterness. Optional baking step adds a caramelized top. Leftovers taste better the next day. Adjust sweetness and acidity to taste.
Nutrition
- Serving Size: About 1 cup (240 ml)
- Calories: 250
- Sugar: 12
- Sodium: 600
- Fat: 5
- Saturated Fat: 1
- Carbohydrates: 40
- Fiber: 8
- Protein: 10
Keywords: baked beans, canned beans, easy recipe, quick side dish, flavorful beans, pantry staples, weeknight dinner