Love this? Save it for later!
Share the inspiration with your friends
Introduction
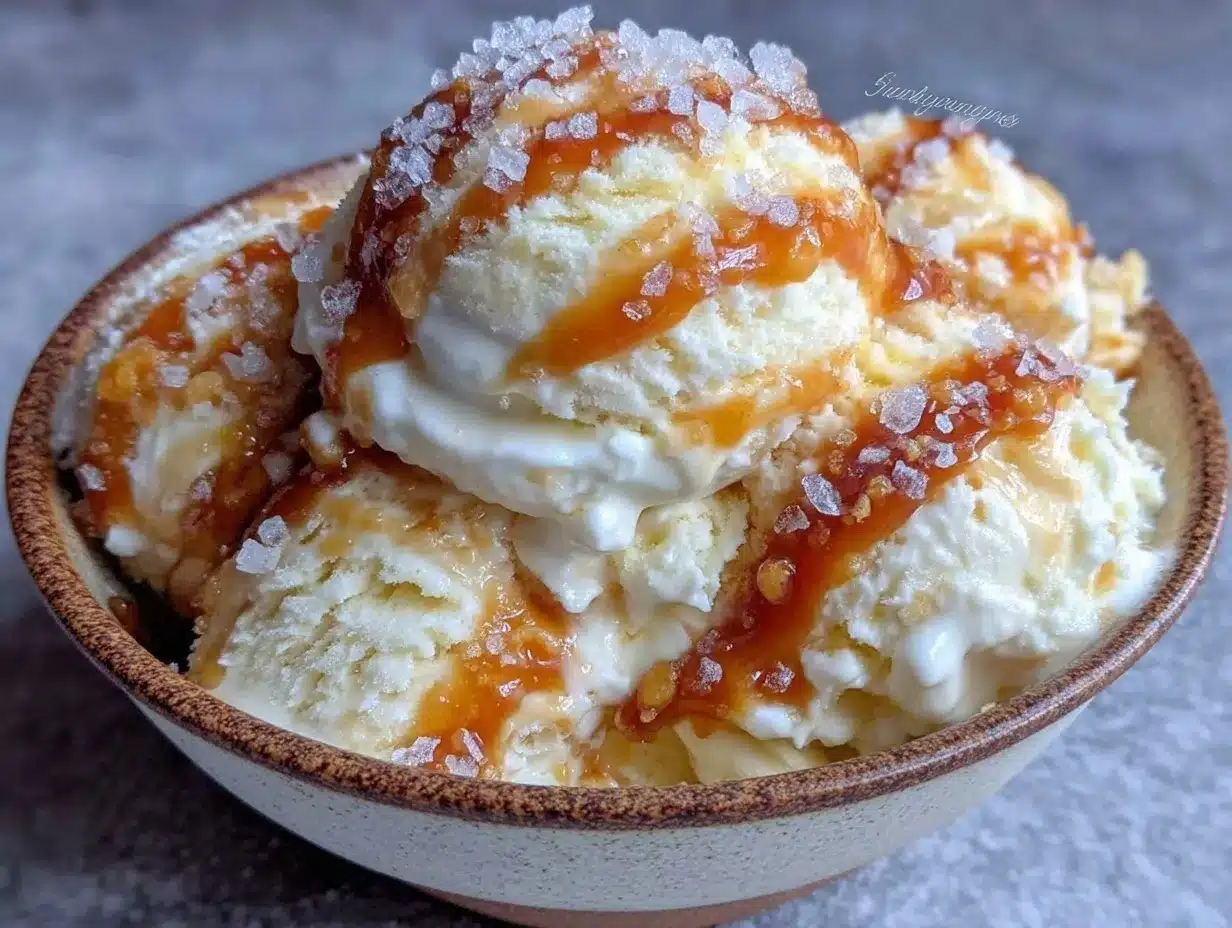
My roommate had refused to eat any homemade ice cream for years. Seriously, she claimed it was always either too icy or too sweet — never the smooth, rich treat she craved. Then one restless Sunday afternoon, I decided to whip up this creamy no-churn salted caramel ice cream recipe just for myself, figuring she’d steer clear as usual. But, well, I caught her sneaking a second scoop before the bowl even hit the freezer. Honestly, that moment caught me off guard — no fancy ice cream maker, no long churning, just simple ingredients coming together.
Let me tell you, the sizzle of caramel bubbling on the stove, that warm, buttery aroma filling the kitchen, and the way the ice cream came out with that perfect velvety texture made me rethink what homemade ice cream could be. Maybe you’ve been there — hesitant to try making ice cream at home because it sounds complicated or you don’t have the gadgets. This recipe stays with me because it proves you don’t need all the fuss to get something utterly satisfying. Plus, it’s that salty-sweet combo that keeps pulling you in for one more bite, long after you tell yourself to stop.
Why You’ll Love This Recipe
After testing countless versions and tweaking small details, this no-churn salted caramel ice cream recipe stands out for a bunch of reasons. It’s the kind of dessert that feels fancy but is honestly so straightforward to pull off.
- Quick & Easy: Ready to eat in just a few hours, no special equipment needed.
- Simple Ingredients: Uses pantry staples like heavy cream, sweetened condensed milk, and sugar — nothing exotic.
- Perfect for Any Occasion: Whether it’s a last-minute treat or a weekend indulgence, it fits right in.
- Crowd-Pleaser: Kids, grown-ups, and even ice cream skeptics love the rich, balanced flavor.
- Unbelievably Delicious: The salted caramel swirl adds that perfect hit of salty sweetness, making each spoonful memorable.
This isn’t just another ice cream recipe — it’s the one I reach for when I want creamy texture without fussing over an ice cream maker. The trick? Making the caramel just right, so it’s not too burnt or too sweet, and folding it gently into whipped cream for a dreamy, airy result. It’s comfort food in a bowl, but with an elegant twist. If you’ve ever wished for a homemade ice cream that’s both rich and effortless, honestly, this might just be it.
What Ingredients You Will Need
This recipe keeps things straightforward, using familiar ingredients that come together to create that luscious salted caramel flavor and creamy texture you want from homemade ice cream.
- Heavy Cream (2 cups / 480 ml): Chilled for whipping to soft peaks — the base for creamy texture.
- Sweetened Condensed Milk (1 can, 14 oz / 396 g): Adds sweetness and richness, no granulated sugar needed here.
- Granulated Sugar (1 cup / 200 g): For making the caramel sauce — use a trusted brand like Domino or C&H for consistent results.
- Unsalted Butter (4 tbsp / 57 g): Adds richness and smoothness to the caramel.
- Sea Salt (1 tsp): Enhances the salted caramel flavor — flaky sea salt like Maldon works beautifully.
- Vanilla Extract (1 tsp): Adds depth and warmth to the overall flavor profile.
If you want to get creative, you can swap out the sea salt for smoked salt for a different spin. Also, for a dairy-free twist, try using coconut cream instead of heavy cream and a coconut-based condensed milk alternative (though texture will vary slightly). In summer, fresh caramelized peaches on top make a lovely addition, but honestly, this base recipe is solid enough on its own.
Equipment Needed
- Mixing Bowls: At least two — one for whipping cream and one for mixing condensed milk and caramel.
- Electric Mixer or Hand Whisk: For whipping the cream to soft peaks. I once tried this by hand and ended up with sore arms — electric is a lifesaver.
- Heavy-Bottomed Saucepan: Essential for making the caramel evenly without burning.
- Rubber Spatula: For gentle folding, preserving the airy whipped cream texture.
- Loaf Pan or Airtight Container: For freezing the ice cream. A metal pan freezes faster, but plastic containers work fine too.
- Measuring Cups and Spoons: Accuracy makes all the difference with caramel sugar ratios.
You don’t need any fancy ice cream machines here, which makes this recipe perfect if you’re short on space or just don’t want more gadgets cluttering your kitchen.
Preparation Method
- Make the Salted Caramel: In a heavy-bottomed saucepan over medium heat, melt 1 cup (200 g) granulated sugar. Stir constantly with a wooden spoon or heatproof spatula as it melts and turns a deep amber color. Be patient — don’t rush or it will burn. (Approx. 10 minutes)
- Add Butter: Remove from heat and carefully whisk in 4 tablespoons (57 g) unsalted butter until melted and combined. The mixture will bubble vigorously; that’s normal.
- Stir in Salt and Vanilla: Add 1 teaspoon sea salt and 1 teaspoon vanilla extract, stirring until smooth. Let caramel cool slightly.
- Whip the Cream: In a cold mixing bowl, use an electric mixer to whip 2 cups (480 ml) heavy cream until soft peaks form, about 3-5 minutes. Don’t overwhip, or you’ll end with butter!
- Combine with Condensed Milk: In another bowl, mix 1 can (14 oz / 396 g) sweetened condensed milk with half of the cooled caramel.
- Fold Together: Gently fold the condensed milk mixture into the whipped cream using a rubber spatula, preserving the airy texture.
- Swirl in Remaining Caramel: Pour the rest of the caramel on top and swirl lightly with a knife for a marbled effect — don’t overmix or you’ll lose that beautiful contrast.
- Freeze: Transfer mixture to a loaf pan or airtight container. Cover and freeze for at least 6 hours or overnight until firm.
- Serve: Let sit at room temperature for 5 minutes before scooping for easy serving.
Pro tip: If your caramel hardens too much before mixing, warm it gently over low heat to soften. Also, keep an eye on the caramel color — if it’s too dark, it’ll taste bitter; too light, and it’s bland. That’s the sweet spot you want.
Cooking Tips & Techniques
Getting caramel right is the trickiest part, honestly. I once scorched a batch because I walked away for a second—lesson learned! Keep stirring constantly and use medium heat to prevent burning.
Whipping cream to soft peaks is another key step. Stop whipping as soon as you see soft peaks form — it should hold shape but still look silky. Overwhipping leads to grainy texture or even butter. I like to chill my bowl and beaters for 15 minutes before starting, especially in warmer kitchens.
Folding is where patience pays off. Use a light hand and fold just until combined. This keeps the ice cream airy and creamy, not dense.
Lastly, don’t rush the freezing time. Even if it’s tempting, rushing can mean icy texture. Six hours minimum is ideal, but overnight is best if you can wait.
Variations & Adaptations
- Chocolate Swirl: Add melted dark chocolate ribbons alongside the caramel for a chocolate-caramel combo.
- Nutty Twist: Fold in toasted pecans or almonds before freezing for a delightful crunch.
- Dairy-Free Version: Use coconut cream and a dairy-free condensed milk substitute to keep it creamy without dairy.
- Spiced Caramel: Add a pinch of cinnamon or cayenne to the caramel for warmth or a subtle kick.
Personally, I tried adding chopped candied ginger once — it added a surprising zing that cut through the richness nicely. Feel free to experiment with mix-ins or toppings that suit your mood or season.
Serving & Storage Suggestions
This salted caramel ice cream is best served slightly softened, so let it sit out for 5 to 10 minutes before scooping. It pairs beautifully with warm apple pie, brownies, or a simple drizzle of extra caramel sauce on top.
Store leftovers in an airtight container in the freezer for up to 2 weeks. Avoid frequent temperature changes to prevent ice crystals. When reheating for serving, microwaving for 10-15 seconds softens it just enough without melting.
Interestingly, the flavors mellow and deepen after a day or two in the freezer, making it even more delicious if you can wait that long. Just remember to give it a gentle stir before refreezing if you notice any texture changes.
Nutritional Information & Benefits
A typical serving (about 1/2 cup or 120 ml) contains roughly:
| Calories | 300-350 |
|---|---|
| Fat | 20-25g |
| Sugar | 30-35g |
| Protein | 3-4g |
While this is definitely an indulgence, the use of real ingredients like heavy cream and butter provides fats that help absorption of fat-soluble vitamins. The sea salt adds trace minerals. Just keep portions in mind if you’re watching sugar intake.
For those with lactose intolerance or dairy allergies, the dairy-free variation using coconut cream offers a rich alternative. Naturally gluten-free and without artificial additives, this recipe fits well into many diets.
Conclusion
This creamy no-churn salted caramel ice cream recipe is proof that homemade ice cream doesn’t have to be intimidating or complicated. It’s a recipe that wins over skeptics (like my roommate) and satisfies your sweet tooth with a perfectly balanced salty-sweet flavor and smooth texture.
Feel free to tweak the salt levels or swirl in your favorite mix-ins to make it your own. Honestly, once you try this, you may find yourself reaching for it whenever you need a quick, impressive dessert without the fuss.
If you make it, I’d love to hear how it turned out for you — leave a comment or share your favorite variations. Here’s to many creamy, caramel-filled spoonfuls ahead!
FAQs
- Can I make this salted caramel ice cream without an electric mixer? Yes, but whipping cream by hand takes time and effort. Using a chilled bowl and whisk helps, but an electric mixer speeds things up.
- How do I store leftover ice cream? Keep it in an airtight container in the freezer for up to two weeks to maintain freshness and texture.
- Can I use regular sugar instead of sweetened condensed milk? Sweetened condensed milk is key for creaminess and sweetness here; substituting with regular sugar alone will change texture and flavor.
- What if my caramel hardens before mixing? Gently warm it over low heat to soften before folding into the cream mixture.
- Is this recipe suitable for lactose-intolerant individuals? The dairy-free version using coconut cream and dairy-free condensed milk substitutes works well for lactose intolerance.
Pin This Recipe!
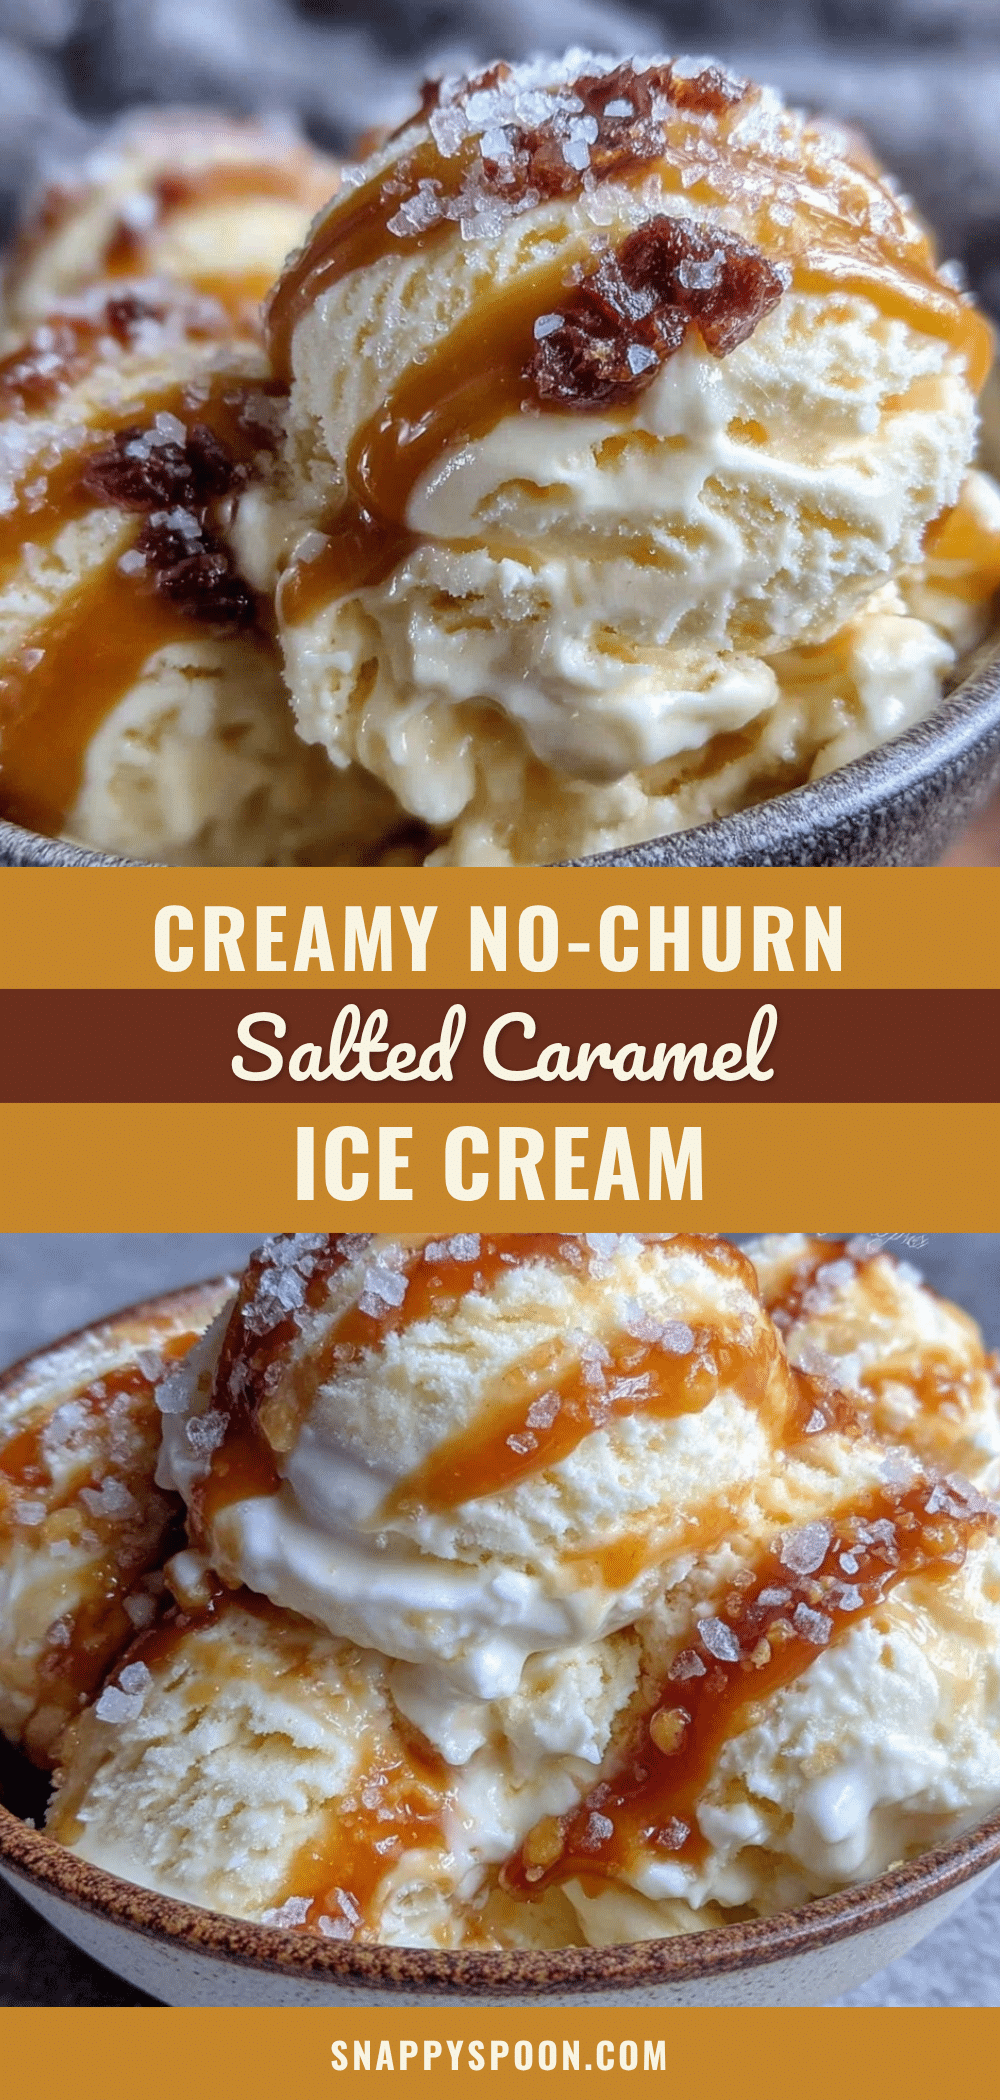
Creamy No-Churn Salted Caramel Ice Cream

A rich and velvety no-churn salted caramel ice cream recipe that requires no ice cream maker and uses simple pantry ingredients for a perfect salty-sweet homemade dessert.
- Prep Time: 15 minutes
- Cook Time: 10 minutes
- Total Time: 6 hours 25 minutes
- Yield: 8 servings 1x
- Category: Dessert
- Cuisine: American
Ingredients
- 2 cups (480 ml) heavy cream, chilled
- 1 can (14 oz / 396 g) sweetened condensed milk
- 1 cup (200 g) granulated sugar
- 4 tbsp (57 g) unsalted butter
- 1 tsp sea salt
- 1 tsp vanilla extract
Instructions
- In a heavy-bottomed saucepan over medium heat, melt 1 cup (200 g) granulated sugar, stirring constantly until it turns a deep amber color (about 10 minutes).
- Remove from heat and whisk in 4 tablespoons (57 g) unsalted butter until melted and combined; mixture will bubble vigorously.
- Stir in 1 teaspoon sea salt and 1 teaspoon vanilla extract, then let the caramel cool slightly.
- In a cold mixing bowl, whip 2 cups (480 ml) heavy cream with an electric mixer until soft peaks form (3-5 minutes).
- In another bowl, mix 1 can (14 oz / 396 g) sweetened condensed milk with half of the cooled caramel.
- Gently fold the condensed milk and caramel mixture into the whipped cream using a rubber spatula, preserving the airy texture.
- Pour the remaining caramel on top and swirl lightly with a knife for a marbled effect without overmixing.
- Transfer the mixture to a loaf pan or airtight container, cover, and freeze for at least 6 hours or overnight until firm.
- Before serving, let the ice cream sit at room temperature for 5 minutes to soften for easy scooping.
Notes
If caramel hardens before mixing, gently warm it over low heat to soften. Avoid overwhipping cream to prevent turning it into butter. Chill bowl and beaters before whipping for best results. Freeze for at least 6 hours or overnight for best texture. Use flaky sea salt like Maldon for best flavor. Variations include adding chocolate swirl, nuts, or spices like cinnamon or cayenne.
Nutrition
- Serving Size: 1/2 cup (120 ml)
- Calories: 325
- Sugar: 32.5
- Sodium: 210
- Fat: 22.5
- Saturated Fat: 14
- Carbohydrates: 32.5
- Protein: 3.5
Keywords: no-churn ice cream, salted caramel, homemade ice cream, easy dessert, no ice cream maker, creamy ice cream