Love this? Save it for later!
Share the inspiration with your friends
I was digging through my fridge last Tuesday, searching for something—anything—to go with the pulled pork sandwiches I had planned for dinner, when my hand brushed against a jar in the back corner. That jar. The one with the slightly crooked lid and the brine that had turned a pale, cloudy green. I pulled it out and unscrewed the cap, and that smell hit me—sharp, vinegary, with a whisper of dill and garlic—and suddenly I was twelve years old, standing in my neighbor Mrs. Kowalski’s sweltering kitchen, watching her pack green beans into mason jars like she was tucking them in for a long nap.
Mrs. Kowalski was Polish, had a laugh like a rusty hinge, and grew dill in coffee cans on her back porch. She didn’t measure anything. She just threw garlic cloves in, added a sprinkle of red pepper flakes, and poured hot brine over the beans until they were submerged. Then she’d tap the jar on the counter, hard, and say, “There. Now they know their home.” I didn’t get it then. I was just a kid who liked watching her because she never told me to stop hovering. Honestly, I think she liked having an audience.
I forgot about those beans for years. Then I moved into my first apartment, tried to recreate them from memory, and failed miserably. The beans were soggy. The brine was bland. I mean, I actually cried over a jar of pickles—let me tell you, that’s a low point. But I kept trying. I called my mom, who called Mrs. Kowalski’s daughter, who sent me a recipe scribbled on a napkin. That napkin is now stained and crumpled, but it’s taped inside my kitchen cabinet. And these Quick Dilly Green Beans? This is the version I finally got right. Maybe you’ve been there—chasing a taste you can almost remember but can’t quite name. This is that taste. And now you can make it in about fifteen minutes.
Why You’ll Love This Recipe
Let me be honest with you—there are a million pickle recipes out there. Some take weeks. Some require weird equipment. Some taste like nothing but vinegar and regret. This one is different. I’ve tested it about seven times (my neighbors are very, very tired of green beans), and every single batch came out crisp, tangy, and just salty enough. Here’s why this recipe works:
- Quick & Easy : From start to fridge in under 20 minutes. No canning experience required. No boiling water baths. No stress.
- Simple Ingredients : You probably already have vinegar, salt, and garlic in your kitchen. The only special thing is fresh dill—and honestly, dried works in a pinch.
- Perfect for Summer : Farmers markets are overflowing with green beans right now. Grab a bunch and put them to good use before they go limp in your crisper drawer.
- Crowd-Pleaser : I brought a jar to a barbecue last month and watched three people fight over the last bean. Three. Adults.
- Unbelievably Crisp : The secret is blanching the beans first—just 30 seconds in boiling water—then shocking them in ice water. That little step keeps them crunchy for weeks.
This isn’t just another pickle recipe. It’s the one you’ll come back to again and again because it actually works. The brine is perfectly balanced—not too sour, not too salty, with just enough garlic to make things interesting. And the best part? You can eat them the next day. No waiting around for weeks. Instant gratification, pickle-style.
What Ingredients You Will Need
This recipe uses pantry staples and fresh produce to create something that tastes way more complicated than it actually is. The ingredients are simple, but each one plays a role in that perfect crunch and tang.
For the green beans:
- 1 pound fresh green beans (look for firm, bright green beans without brown spots—I prefer thin haricots verts if you can find them, but regular green beans work great too)
- 4 cups water (for blanching—use filtered if your tap water has a strong taste)
- 2 cups ice (for the ice bath—don’t skip this, it’s what keeps them crunchy)
For the brine:
- 1 cup white vinegar (5% acidity is standard—I use Heinz, but any brand works)
- 1 cup water (again, filtered if possible)
- 1 tablespoon kosher salt (I use Diamond Crystal—if you use Morton’s, reduce to 2 teaspoons because it’s saltier)
- 1 tablespoon granulated sugar (optional—I add it for balance, but you can leave it out for a more traditional tangy pickle)
For the flavorings (per jar):
- 2-3 cloves garlic (smashed slightly with the side of your knife—this releases more flavor than slicing)
- 1 teaspoon whole black peppercorns (adds a subtle warmth)
- 1/2 teaspoon red pepper flakes (adjust based on your heat tolerance—I use 1/2 teaspoon for a mild kick)
- 2-3 sprigs fresh dill (or 1 teaspoon dried dill weed—fresh is better for texture, but dried works in a pinch)
- 1/2 teaspoon mustard seeds (optional, but I love the little pops of flavor they add)
Ingredient notes: If you’re using dried dill, add it to the brine while it’s still hot so it rehydrates a bit. For the garlic, don’t use pre-minced jarred garlic—it tastes flat and won’t give you that punchy flavor. Trust me on this one. I learned the hard way when I was in a hurry and ended up with sad, flavorless pickles.
Equipment Needed
You don’t need much for this recipe, which is part of why I love it. Here’s what you’ll need:
- 2 pint-sized mason jars (wide mouth is easier to pack, but regular works too—I use Ball brand)
- A medium pot (for blanching the beans and making the brine)
- A large bowl (for the ice bath)
- A slotted spoon or tongs (to transfer the beans from boiling water to ice water)
- A small saucepan (for the brine)
- A liquid measuring cup (for measuring the brine ingredients)
- A funnel (optional but helpful for pouring brine into jars without spilling everywhere)
- A cutting board and knife (for trimming the beans and smashing garlic)
If you don’t have mason jars, you can use any glass jar with a tight-fitting lid—just make sure it’s clean. I’ve used repurposed pasta sauce jars before, and they work fine. Just wash them well and make sure there are no lingering smells. Budget tip: start saving jars now. I have a whole cabinet of them, and my husband thinks I’m hoarding. I prefer to call it “strategic preparedness.”
Preparation Method
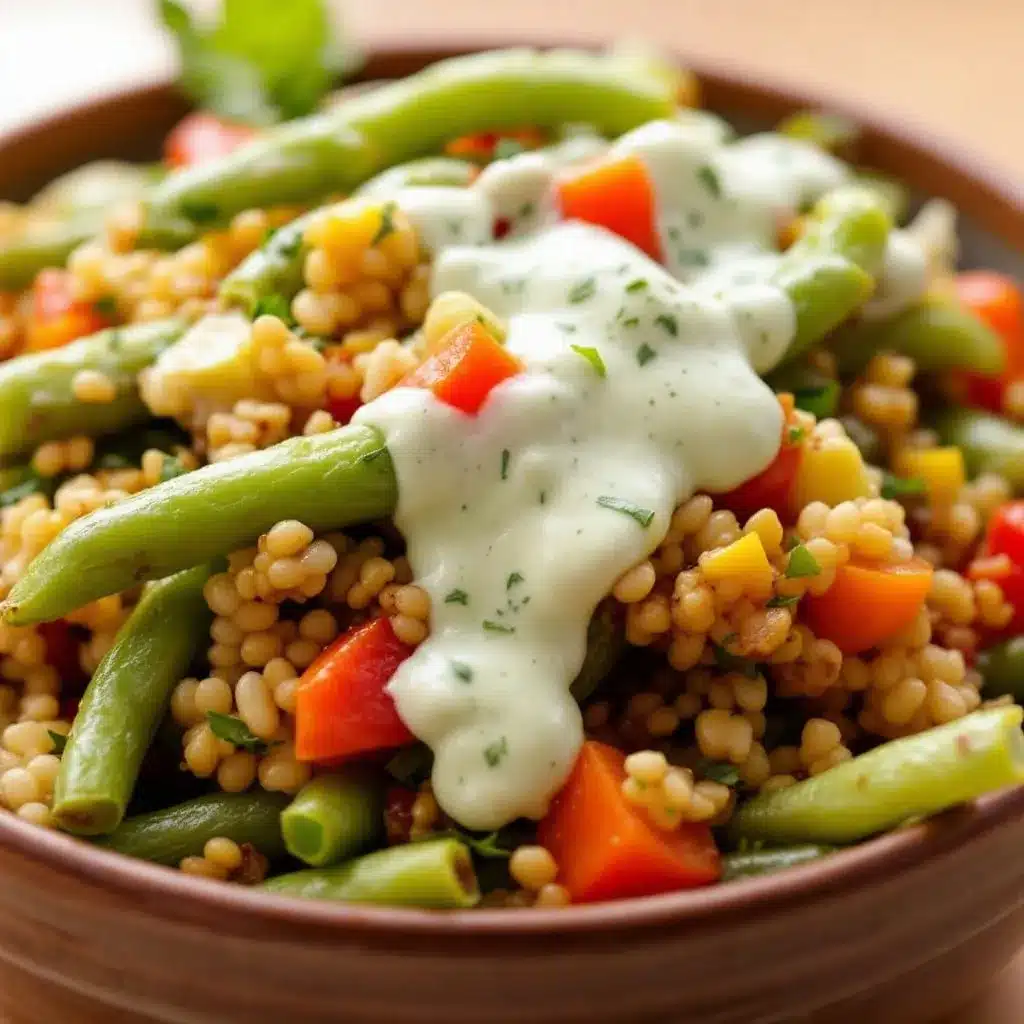
- Prepare the green beans. Wash your green beans thoroughly under cold running water. Trim off the stem ends—just the little pointy bit, not the tail. You can leave the tails on for a rustic look, or trim them off if you’re feeling fancy. I leave mine on because I’m lazy and it looks charming.
- Blanch the beans. Bring 4 cups of water to a rolling boil in a medium pot. While that’s heating up, fill a large bowl with 2 cups of ice and about 2 cups of cold water. Once the water is boiling, drop in the green beans. Set a timer for exactly 30 seconds. Do not walk away. Do not check your phone. Thirty seconds is all they need—any longer and they’ll start to soften, and nobody wants floppy pickles.
- Shock the beans. Using a slotted spoon or tongs, immediately transfer the beans to the ice water bath. This stops the cooking process and locks in that bright green color and crunch. Let them sit in the ice water for at least 2 minutes, stirring occasionally so they all get cold. Drain them well and pat them dry with a clean kitchen towel or paper towels.
- Prepare the brine. In a small saucepan, combine 1 cup white vinegar, 1 cup water, 1 tablespoon kosher salt, and 1 tablespoon sugar (if using). Bring to a boil over medium-high heat, stirring occasionally to dissolve the salt and sugar. Once it’s boiling, remove it from the heat and let it cool for about 5 minutes. You want it hot, but not boiling, when you pour it over the beans—boiling brine can cook the beans further and make them soft.
- Pack the jars. Divide the garlic cloves, peppercorns, red pepper flakes, dill sprigs, and mustard seeds evenly between your two pint jars. Then pack the blanched green beans into the jars, standing them upright if possible. You want them snug but not crammed—if you pack them too tight, the brine won’t circulate properly. I usually fill the jar about 3/4 full, then add a few more beans to fill the gaps.
- Pour the brine. Carefully pour the warm brine over the beans, leaving about 1/2 inch of headspace at the top of each jar. Use a chopstick or butter knife to gently poke around the inside of the jar to release any air bubbles. Tap the jar on the counter a few times—Mrs. Kowalski would approve.
- Seal and refrigerate. Wipe the rims of the jars clean with a damp paper towel, then screw on the lids. Let the jars cool to room temperature on the counter (about 30 minutes), then transfer them to the refrigerator. And here’s the hard part: wait at least 24 hours before opening them. I know. It’s torture. But the flavors need time to meld. If you open them too early, they’ll taste like vinegar-soaked beans instead of actual pickles.
Cooking Tips & Techniques
I’ve made this recipe enough times to know exactly where things can go wrong. Here are the lessons I learned the hard way so you don’t have to:
Don’t skip the ice bath. I know it’s an extra step, and I know you’re busy, but this is the single most important thing for keeping your beans crunchy. I tried skipping it once because I was in a rush, and the beans turned out sad and limp. Never again.
Cut your beans to fit your jars. Before you blanch them, hold a green bean up next to your jar and see how tall it is. If it’s too long, trim the tail end until it fits with about 1/2 inch of headspace. You don’t want beans sticking out of the brine—they’ll get moldy.
Taste your brine before you pour it. Dip a clean spoon in and take a tiny sip. It should taste salty and sour, like a really aggressive pickle. If it tastes flat, add more salt. If it’s too sharp, add a pinch more sugar. You can adjust it now, but once it’s in the jar, you’re committed.
Label your jars. I know this sounds silly, but I once had a jar of dilly beans and a jar of bread-and-butter pickles sitting next to each other in the fridge, and I grabbed the wrong one for a sandwich. Tragedy. Write the date on the lid with a Sharpie so you know when you made them.
Let them rest. The beans will taste good after 24 hours, but they’re best after 3-5 days. The flavors deepen, the garlic mellows out, and the beans absorb just enough brine to be perfect. I always make a double batch so I can eat one jar early and save the other for later.
Variations & Adaptations
One of the best things about this recipe is how flexible it is. Here are some variations I’ve tried and loved:
Spicy Dilly Beans: Double the red pepper flakes and add a sliced jalapeño to each jar. I did this for a Super Bowl party, and they disappeared faster than the wings. Seriously.
Garlic-Lover’s Version: Use 5-6 cloves of garlic per jar instead of 2-3. Smash them well so the flavor infuses quickly. My husband calls these “vampire repellent” beans.
Herb Swap: Not a dill fan? Try using fresh tarragon or thyme instead. Tarragon gives them a slightly licorice-like flavor that’s surprisingly good with the vinegar. I made a batch with tarragon last summer and served them with grilled fish—perfection.
Low-Sodium Option: Reduce the salt to 1 teaspoon per cup of brine. They won’t keep as long (about 2 weeks instead of a month), but they’ll still be delicious. I do this when I’m watching my salt intake but still want that pickle fix.
Add Some Sweetness: If you like sweet pickles, double the sugar to 2 tablespoons. I tried this once on a whim and ended up eating the entire jar in one sitting. No regrets.
Serving & Storage Suggestions
These dilly beans are incredibly versatile. Here’s how I like to serve them:
As a snack: Straight from the jar, cold and crunchy. I eat them standing in front of the open fridge door at 11 PM. Don’t judge.
On a charcuterie board: They add a bright, tangy contrast to rich cheeses and cured meats. I always include a small bowl of them when I’m hosting—they’re the first thing to go.
Alongside sandwiches: They’re amazing with pulled pork, grilled cheese, or a classic turkey club. The acidity cuts through the richness perfectly.
In salads: Chop them up and toss them into a potato salad or pasta salad for extra crunch and flavor. I did this for a potluck last month, and someone asked for the recipe for the “green bean things.”
Storage: Keep the jars sealed in the refrigerator. They’ll stay good for up to 4-6 weeks, though I doubt they’ll last that long. The beans will soften slightly over time, but they’ll still be delicious. If you notice any mold or off smells, toss them immediately—but honestly, I’ve never had that happen.
Reheating: Don’t. These are served cold. If you want hot dilly beans, you’re making a different recipe entirely.
Nutritional Information & Benefits
Green beans are a surprisingly nutritious vegetable. Here’s what you’re getting in a serving (about 1/2 cup of beans):
- Calories: Approximately 30-40 calories per serving
- Fiber: About 2 grams—great for digestion
- Vitamin C: 10% of your daily needs—supports immune health
- Vitamin K: 15% of your daily needs—important for bone health
- Manganese: 10% of your daily needs—supports metabolism
Dietary considerations: This recipe is naturally vegan, gluten-free, and dairy-free. It’s also low in calories and fat. The only potential allergen is the vinegar (some people are sensitive to sulfites), but that’s rare. If you’re watching your sodium intake, use the low-sodium variation I mentioned above.
Honestly, I don’t make these because they’re healthy—I make them because they’re delicious. But it’s nice to know that my midnight fridge raids come with a side of vitamins.
Conclusion
These Quick Dilly Green Beans are the kind of recipe that makes you feel like you actually know what you’re doing in the kitchen. They’re simple enough for a beginner, but impressive enough to bring to a party. And every time I open a jar and smell that familiar vinegary dill punch, I think of Mrs. Kowalski and her coffee-can dill plants. I think she’d be proud of this version.
I’d love to hear how yours turn out. Did you add extra garlic? Did you try the tarragon version? Did you eat the entire jar in one sitting like I definitely did? Drop a comment below and let me know. And if you’re feeling generous, share this recipe with a friend who needs a little more crunch in their life. Happy pickling!
Frequently Asked Questions
Can I use frozen green beans instead of fresh?
I wouldn’t recommend it. Frozen green beans have already been blanched, so they’ll turn out mushy when you try to pickle them. Stick with fresh for the best texture.
How long do these dilly beans last in the fridge?
They’ll stay good for 4-6 weeks if kept sealed and refrigerated. The flavor actually gets better after the first week. Just make sure the beans stay submerged in the brine—if any are sticking out, they can get moldy.
Can I can these for long-term storage?
This recipe is designed for refrigerator pickles only. If you want to can them for shelf-stable storage, you’ll need to follow a tested canning recipe with proper processing times and equipment. Don’t just wing it—botulism is not a fun surprise.
Why are my pickles soft?
Two likely culprits: you either blanched the beans too long (stick to exactly 30 seconds), or you used old beans that were already starting to go limp. Fresh, firm beans are key.
Can I reuse the brine?
Technically yes, but the flavor will be weaker the second time around. I usually make a fresh batch of brine for each batch of beans. It’s quick enough that it’s not worth the compromise.
Pin This Recipe!
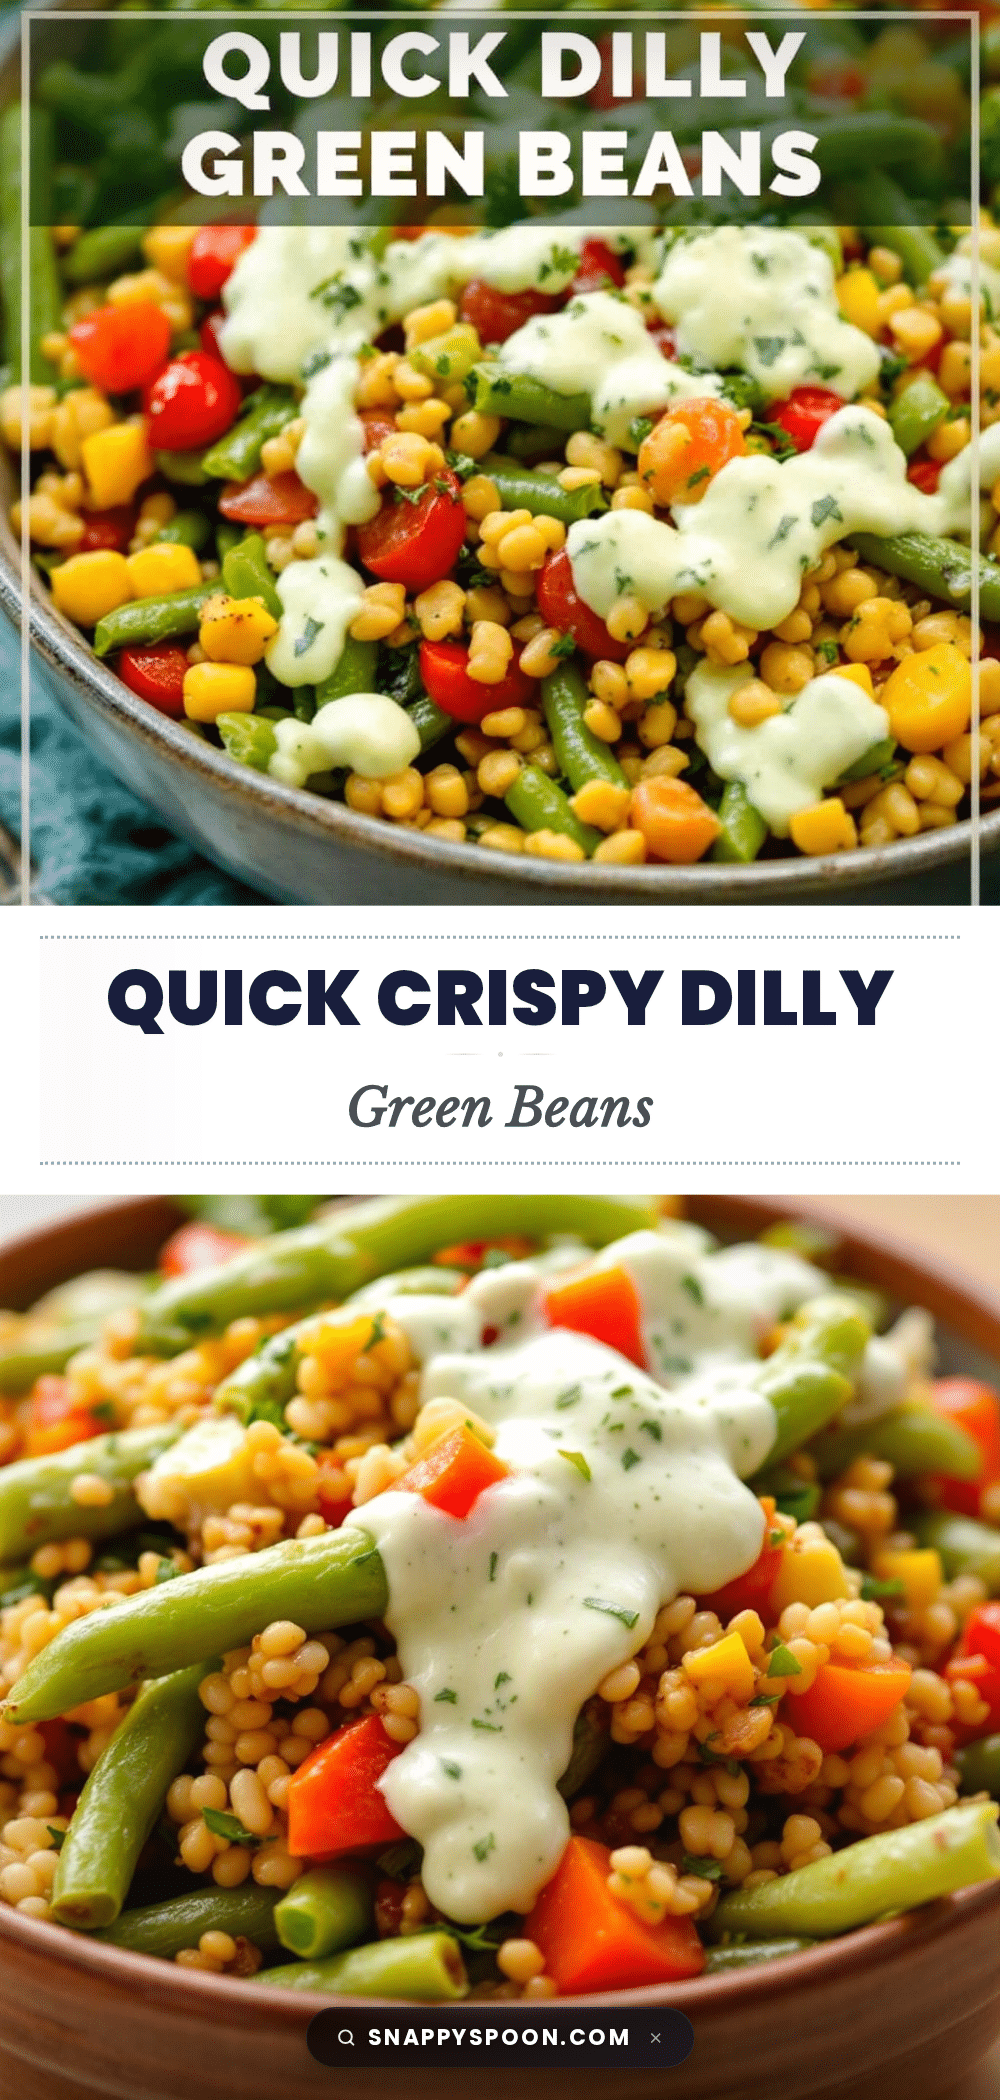
Easy Refrigerator Dill Green Beans Recipe

Quick and easy refrigerator dill green beans that are crisp, tangy, and ready in under 20 minutes. Perfect as a snack, on a charcuterie board, or alongside sandwiches.
- Prep Time: 15 minutes
- Cook Time: 5 minutes
- Total Time: 20 minutes
- Yield: 2 pint jars (about 8 servings) 1x
- Category: Appetizer
- Cuisine: American
Ingredients
- 1 pound fresh green beans (haricots verts preferred)
- 4 cups water (for blanching)
- 2 cups ice (for ice bath)
- 1 cup white vinegar (5% acidity)
- 1 cup water (for brine)
- 1 tablespoon kosher salt (Diamond Crystal; reduce to 2 teaspoons if using Morton’s)
- 1 tablespoon granulated sugar (optional)
- 2–3 cloves garlic (smashed)
- 1 teaspoon whole black peppercorns
- 1/2 teaspoon red pepper flakes
- 2–3 sprigs fresh dill (or 1 teaspoon dried dill weed)
- 1/2 teaspoon mustard seeds (optional)
Instructions
- Wash green beans and trim stem ends. Leave tails on for rustic look.
- Bring 4 cups water to a rolling boil. Fill a large bowl with 2 cups ice and 2 cups cold water.
- Blanch beans in boiling water for exactly 30 seconds. Do not overcook.
- Immediately transfer beans to ice water bath using a slotted spoon or tongs. Let sit for at least 2 minutes, then drain and pat dry.
- In a small saucepan, combine 1 cup white vinegar, 1 cup water, 1 tablespoon kosher salt, and 1 tablespoon sugar (if using). Bring to a boil, stirring to dissolve. Remove from heat and let cool for 5 minutes.
- Divide garlic, peppercorns, red pepper flakes, dill, and mustard seeds evenly between two pint-sized mason jars.
- Pack blanched green beans into jars, standing upright. Fill snugly but not crammed.
- Pour warm brine over beans, leaving 1/2 inch headspace. Use a chopstick to release air bubbles. Tap jars on counter.
- Wipe rims, screw on lids, and let cool to room temperature (about 30 minutes). Refrigerate for at least 24 hours before eating. Best after 3-5 days.
Notes
Don’t skip the ice bath—it keeps beans crunchy. Taste brine before pouring; adjust salt or sugar as needed. Label jars with date. Beans keep 4-6 weeks refrigerated. For spicy version, double red pepper flakes and add sliced jalapeño. For garlic-lover’s version, use 5-6 cloves per jar. For low-sodium, reduce salt to 1 teaspoon per cup of brine (keeps about 2 weeks).
Nutrition
- Serving Size: 1/2 cup
- Calories: 35
- Sugar: 3
- Sodium: 350
- Carbohydrates: 7
- Fiber: 2
- Protein: 2
Keywords: dilly beans, refrigerator pickles, green beans, quick pickles, easy pickles, dill pickles, summer recipe, no canning