Love this? Save it for later!
Share the inspiration with your friends
This was supposed to be a green smoothie. You know the kind—the virtuous, dark-green concoction that makes you feel like you’ve got your life together. I had the spinach ready, the frozen banana peeled, and a vague sense of ambition that only lasts about ten minutes on a Tuesday morning. But somewhere between grabbing the almond milk and realizing I was out of my usual protein powder, the plan started to crack. I reached for the peanut butter jar instead of the vanilla protein, and honestly? I was already running late and didn’t have the energy to fight my own kitchen. What came out was nothing like the plan—and better.
I poured this thick, nutty, ridiculously creamy mixture into a bowl, threw some granola and banana slices on top, and took a bite standing over the counter. I mean, I actually stopped mid-chew. It was like breakfast and dessert had a baby, and that baby was somehow good for me. That morning, I didn’t feel like a person who had just failed at making a smoothie. I felt like someone who had accidentally invented a new favorite thing. And let me tell you, maybe you’ve been there—standing in your kitchen, staring at a slightly weird creation, wondering if you’re a genius or just hungry. Turns out, both.
This Creamy Protein Peanut Butter Smoothie Bowl is now my go-to. It’s the breakfast that makes me want to get out of bed, even on days when my alarm feels personal. It’s thick enough to eat with a spoon, packed with protein to keep you full, and has that peanut butter flavor that honestly just makes everything better. I keep making it because it’s forgiving, flexible, and somehow always turns out perfect—even when I start with a mistake.
Why You’ll Love This Recipe
This isn’t just another smoothie bowl recipe. I’ve tested this one about a dozen times—sometimes with too much liquid (soup bowl, anyone?), sometimes with not enough peanut butter (tragic). What I landed on is the Goldilocks version: just right. Here’s why this one stands out.
- Quick & Easy: Comes together in under 5 minutes. No cooking, no waiting, just blend and eat. Perfect for chaotic mornings when you need something fast that doesn’t taste like cardboard.
- Simple Ingredients: You probably already have frozen bananas, peanut butter, and milk in your kitchen. No fancy superfood powders or trips to a specialty store required.
- Perfect for Meal Prep: Make the base ahead of time and freeze it in portions. When you’re ready, just blend with a splash of milk and you’re good to go.
- Crowd-Pleaser: Kids love it because it tastes like a milkshake. Adults love it because it has 20+ grams of protein and keeps you full until lunch.
- Unbelievably Creamy: The secret is using frozen bananas and a specific blending technique that gives you that soft-serve texture. No ice needed, no watery results.
What makes this recipe different from the rest is the texture. I spent weeks tweaking the ratio of liquid to frozen fruit, and I finally cracked it. It’s thick enough to hold toppings without turning into a puddle, but not so thick that you break your blender. Plus, the peanut butter isn’t just a flavor—it’s the backbone of the creaminess. I’ve tried this with almond butter and cashew butter too, and while they’re good, peanut butter is the star here.
This bowl is the kind of breakfast that makes you close your eyes after the first bite. It’s comfort food reimagined—healthier, faster, but with the same soul-soothing satisfaction. Perfect for impressing yourself on a Tuesday, or turning a simple morning into something memorable.
What Ingredients You Will Need
This recipe uses simple, wholesome ingredients to deliver that thick, creamy texture and bold peanut butter flavor. Most of these are pantry staples, which makes it an easy choice for busy mornings.
- Frozen Bananas (2 medium, sliced and frozen): This is the backbone of the bowl. Frozen bananas create that thick, soft-serve texture without needing ice. Make sure they’re spotty and ripe before freezing—green bananas won’t give you the sweetness or creaminess you want.
- Unsweetened Almond Milk (½ cup, or more as needed): I prefer unsweetened almond milk because it’s light and lets the peanut butter shine. You can use oat milk for extra creaminess, or regular dairy milk if that’s what you have.
- Peanut Butter (2 tablespoons, creamy): Use a natural peanut butter with no added sugar or oil for the best flavor and texture. I’ve tested this with Skippy and with homemade peanut butter, and both work—but the natural kind gives a deeper, roasted taste.
- Vanilla Protein Powder (1 scoop): This adds the protein boost and a hint of sweetness. I recommend a plant-based vanilla protein powder for a neutral flavor. Whey protein works too, but add a little more milk to keep it from getting too thick.
- Greek Yogurt (¼ cup, plain): Adds tanginess and extra creaminess. It also boosts the protein content. Use dairy-free coconut yogurt if you need a vegan option.
- Honey or Maple Syrup (1 tablespoon, optional): Depending on how sweet your bananas are, you might want a little extra sweetness. I usually skip this if my bananas are super ripe.
- Pinch of Salt: This is non-negotiable. A tiny pinch of salt makes the peanut butter flavor pop and balances the sweetness.
For the toppings, feel free to go wild or keep it simple. My usual lineup includes sliced banana, a drizzle of peanut butter, granola, and a sprinkle of chia seeds. Sometimes I add dark chocolate chips if I’m feeling fancy.
Equipment Needed
You don’t need a lot of fancy gear for this recipe, which is part of why I love it. Here’s what you’ll need:
- High-Speed Blender: A Vitamix or Ninja works great. If your blender is on the weaker side, let the frozen bananas thaw for 5 minutes before blending—it helps avoid burning out the motor.
- Spatula: You’ll need this to scrape down the sides of the blender. Trust me, you don’t want to leave half the smoothie stuck to the bottom.
- Freezer-Safe Bag or Container: For freezing your banana slices. I use a simple ziplock bag and lay the slices flat so they don’t clump together.
- Bowl: Any cereal bowl works, but a wider, shallow bowl shows off the toppings better. I use a ceramic bowl that I picked up at a thrift store—it’s nothing special, but it makes the bowl look pretty.
- Measuring Spoons and Cups: For accuracy, especially with the peanut butter. I’ve eyeballed it before and ended up with a bowl that was more peanut butter than smoothie. Not terrible, but not balanced.
If you don’t have a high-speed blender, a food processor can work in a pinch. Just be prepared to scrape down the sides more often and add a little extra liquid to get things moving.
Preparation Method
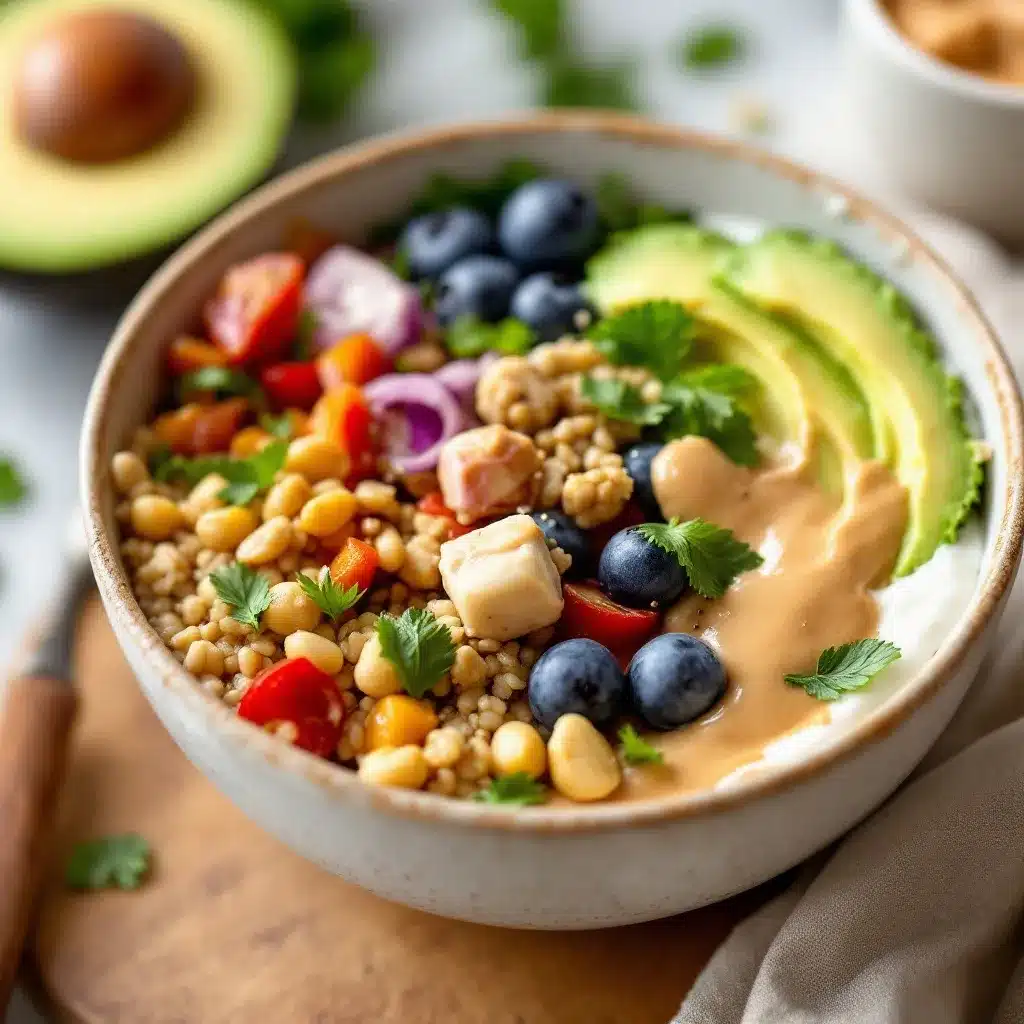
This comes together fast, so have your toppings ready before you start blending. Here’s the step-by-step process that I’ve perfected through trial and error.
- Prep Your Bananas (5 minutes, done in advance): Peel two ripe bananas, slice them into coins about ½-inch thick, and lay them flat on a parchment-lined baking sheet. Freeze for at least 2 hours, or overnight. Once frozen, transfer to a freezer bag. This prevents them from clumping into one giant banana iceberg.
- Gather Your Ingredients (2 minutes): Measure out your almond milk, peanut butter, protein powder, Greek yogurt, and optional sweetener. Having everything ready makes the blending process smooth and stress-free.
- Blend the Base (2 minutes): Add the almond milk to your blender first—this helps the blades move more easily. Then add the frozen banana slices, peanut butter, protein powder, Greek yogurt, and a pinch of salt. Start on low speed and gradually increase to high. Use the tamper (if your blender has one) to push the ingredients down toward the blades. If it sounds like your blender is struggling, add another tablespoon of almond milk.
- Scrape and Repeat (1 minute): Stop the blender and scrape down the sides with a spatula. You’ll likely see some banana chunks stuck up there. Blend again on high for another 30 seconds until the mixture is completely smooth and thick. It should look like soft-serve ice cream—thick enough to hold its shape but still scoopable.
- Taste and Adjust (30 seconds): Taste the smoothie base. If it needs more sweetness, add your honey or maple syrup and blend briefly. If it’s too thick, add a splash more milk. If you want more peanut butter flavor, add another half tablespoon. This is your bowl—make it yours.
- Assemble the Bowl (2 minutes): Scoop the smoothie into your bowl. Use the back of a spoon to create swirls and waves on the surface—this helps the toppings stick and makes it look pretty. Add your toppings in layers: sliced banana, a drizzle of warm peanut butter (microwave it for 10 seconds for that dreamy drizzle), granola, chia seeds, and maybe a few dark chocolate chips.
- Serve Immediately: This bowl waits for no one. The frozen bananas start to melt as soon as they hit the bowl, so eat it right away for the best texture. I usually take a picture first, but I don’t judge if you dig in immediately.
Cooking Tips & Techniques
I’ve made this bowl more times than I can count, and I’ve learned a few tricks along the way. Some of these came from mistakes, and some came from sheer stubbornness.
- The Frozen Banana Trick: Don’t skip the step of freezing the banana slices flat on a baking sheet. I once just threw whole peeled bananas into a freezer bag, and they froze into one solid lump. I had to chisel them apart with a butter knife. Not my finest moment.
- Liquid Order Matters: Always put the liquid in the blender first. It helps the blades grab the frozen fruit and prevents air pockets. If you put the bananas in first, you might end up with a blender that sounds like it’s chewing rocks.
- Don’t Over-Blend: Once the mixture is smooth and thick, stop. Over-blending can warm up the ingredients and turn your thick bowl into a runny smoothie. You want it cold and scoopable, not warm and soupy.
- Peanut Butter Tip: If your natural peanut butter has separated (oil on top), stir it well before measuring. Otherwise, you might end up with a bowl that’s too oily and not peanut-buttery enough. I learned this the hard way.
- Make It Thicker: If you want an even thicker bowl, use less almond milk—start with ⅓ cup instead of ½ cup. You can always add more, but you can’t take it out.
- Batch Prep: I sometimes make double the base and freeze it in individual portions. When I want a quick breakfast, I just throw a frozen block into the blender with a splash of milk. It works perfectly and saves me 5 minutes on busy mornings.
Variations & Adaptations
One of the best things about this bowl is how flexible it is. Here are some variations I’ve tried and loved.
- Chocolate Peanut Butter Bowl: Add 1 tablespoon of unsweetened cocoa powder to the blender. It turns the bowl into a chocolate-peanut butter dream. I add a few dark chocolate chips on top for extra indulgence.
- Vegan Version: Use dairy-free yogurt (coconut or soy-based) and a plant-based protein powder. The texture stays just as creamy, and the flavor is still amazing. I’ve tested this with oat milk and coconut yogurt, and it’s my go-to for vegan mornings.
- Berry Peanut Butter Bowl: Swap one frozen banana for ½ cup of frozen strawberries or mixed berries. The tartness of the berries balances the rich peanut butter perfectly. Plus, you get a beautiful purple-pink color.
- Low-Carb Option: Replace the banana with ½ cup of frozen avocado and ½ cup of frozen cauliflower rice. Sounds weird, I know, but it gives you that same creamy texture without the carbs. Add an extra tablespoon of peanut butter for flavor.
- Spiced Peanut Butter Bowl: Add ½ teaspoon of cinnamon and a pinch of nutmeg to the blender. It gives the bowl a warm, cozy flavor that’s perfect for fall mornings. I top it with toasted coconut flakes.
- Extra Protein Boost: Add a tablespoon of chia seeds or hemp hearts to the blender. They blend in seamlessly and add fiber and omega-3s. I do this when I know I have a long day ahead and need sustained energy.
Serving & Storage Suggestions
This bowl is best eaten immediately, but I’ve found a few ways to work around that when life gets in the way.
Serving Temperature: Serve the bowl cold, straight from the blender. The texture is best when it’s still thick and scoopable. If you let it sit too long, it will start to melt and become runny.
Presentation: I like to use a wide, shallow bowl to show off the toppings. Create swirls on the surface with the back of a spoon, then layer your toppings in sections. A drizzle of peanut butter on top makes it look restaurant-worthy.
Complementary Dishes: This bowl is a meal on its own, but if you’re serving it for brunch, pair it with a side of scrambled eggs or a slice of whole-grain toast. For a sweet-savory combo, I sometimes add a sprinkle of flaky sea salt on top.
Storage: If you have leftover smoothie base (unlikely, but possible), pour it into a freezer-safe container and freeze for up to 1 month. When you’re ready to eat, let it thaw for 10 minutes at room temperature, then stir vigorously. The texture won’t be as creamy as fresh, but it’s still good.
Reheating: Don’t microwave this bowl—it will turn into a puddle. If it’s too frozen to eat, let it sit on the counter for 5-10 minutes until it softens slightly.
Flavor Development: The flavors actually meld together nicely after sitting for a few minutes. If you can wait 2-3 minutes after assembling, the toppings settle in and every bite has a little bit of everything.
Nutritional Information & Benefits
This bowl isn’t just delicious—it’s packed with nutrients that keep you full and energized. Here’s a rough estimate for one serving (without toppings):
- Calories: ~420
- Protein: 24g
- Fat: 16g (mostly healthy fats from peanut butter)
- Carbohydrates: 52g (with natural sugars from bananas)
- Fiber: 8g
Health Benefits: Bananas are rich in potassium and vitamin B6, which support heart health and energy metabolism. Peanut butter provides healthy monounsaturated fats and protein, which help keep you full. Greek yogurt adds probiotics for gut health and extra protein. Chia seeds (if you add them) are packed with omega-3 fatty acids and fiber.
Dietary Considerations: This recipe is naturally gluten-free (check your protein powder label). It can be made vegan by using plant-based yogurt and protein powder. It’s also nut-free if you swap peanut butter for sunflower seed butter.
Allergens: Contains peanuts (obviously), dairy (if using Greek yogurt), and may contain traces of gluten depending on your protein powder. Always check labels if you’re serving someone with allergies.
I love that this bowl feels indulgent but is actually packed with good-for-you ingredients. It’s the kind of breakfast that makes you feel like you’re treating yourself while also taking care of your body.
Conclusion
This Creamy Protein Peanut Butter Smoothie Bowl started as a happy accident, but it’s become a staple in my kitchen. It’s proof that sometimes the best recipes come from mistakes—and that a little peanut butter can fix almost anything. Whether you’re looking for a quick breakfast, a post-workout refuel, or a treat that doesn’t derail your goals, this bowl delivers.
I encourage you to make this recipe your own. Play with the toppings, adjust the sweetness, try different protein powders. The beauty of this bowl is that it’s forgiving and flexible. And honestly, it’s hard to mess up something that tastes this good.
I’d love to hear how yours turns out. Drop a comment below with your favorite topping combination, or tag me in your photos if you share them online. Happy blending, friends—and remember, sometimes the best breakfasts are the ones you didn’t plan.
Frequently Asked Questions
Can I make this smoothie bowl without a high-speed blender?
Yes, but you’ll need to let the frozen bananas thaw for 5-10 minutes first. A regular blender can handle it, just be patient and scrape down the sides frequently. A food processor also works well.
Can I use powdered peanut butter instead of regular peanut butter?
You can, but the texture won’t be as creamy. Powdered peanut butter lacks the natural oils that give this bowl its richness. If you use it, add a tablespoon of coconut oil or extra yogurt to compensate.
How do I make this bowl thicker?
Use less liquid—start with ⅓ cup of almond milk instead of ½ cup. You can also add an extra frozen banana or a handful of frozen cauliflower rice for bulk without changing the flavor.
Can I prep this the night before?
I don’t recommend blending it the night before, as it will separate and become watery. Instead, prep the banana slices and measure out your dry ingredients. In the morning, just blend and go.
Is this smoothie bowl good for weight loss?
It can be, thanks to the high protein and fiber content that keeps you full. Just be mindful of portion sizes and toppings. Stick to one serving and skip the extra sweetener if you’re watching your sugar intake.
Pin This Recipe!
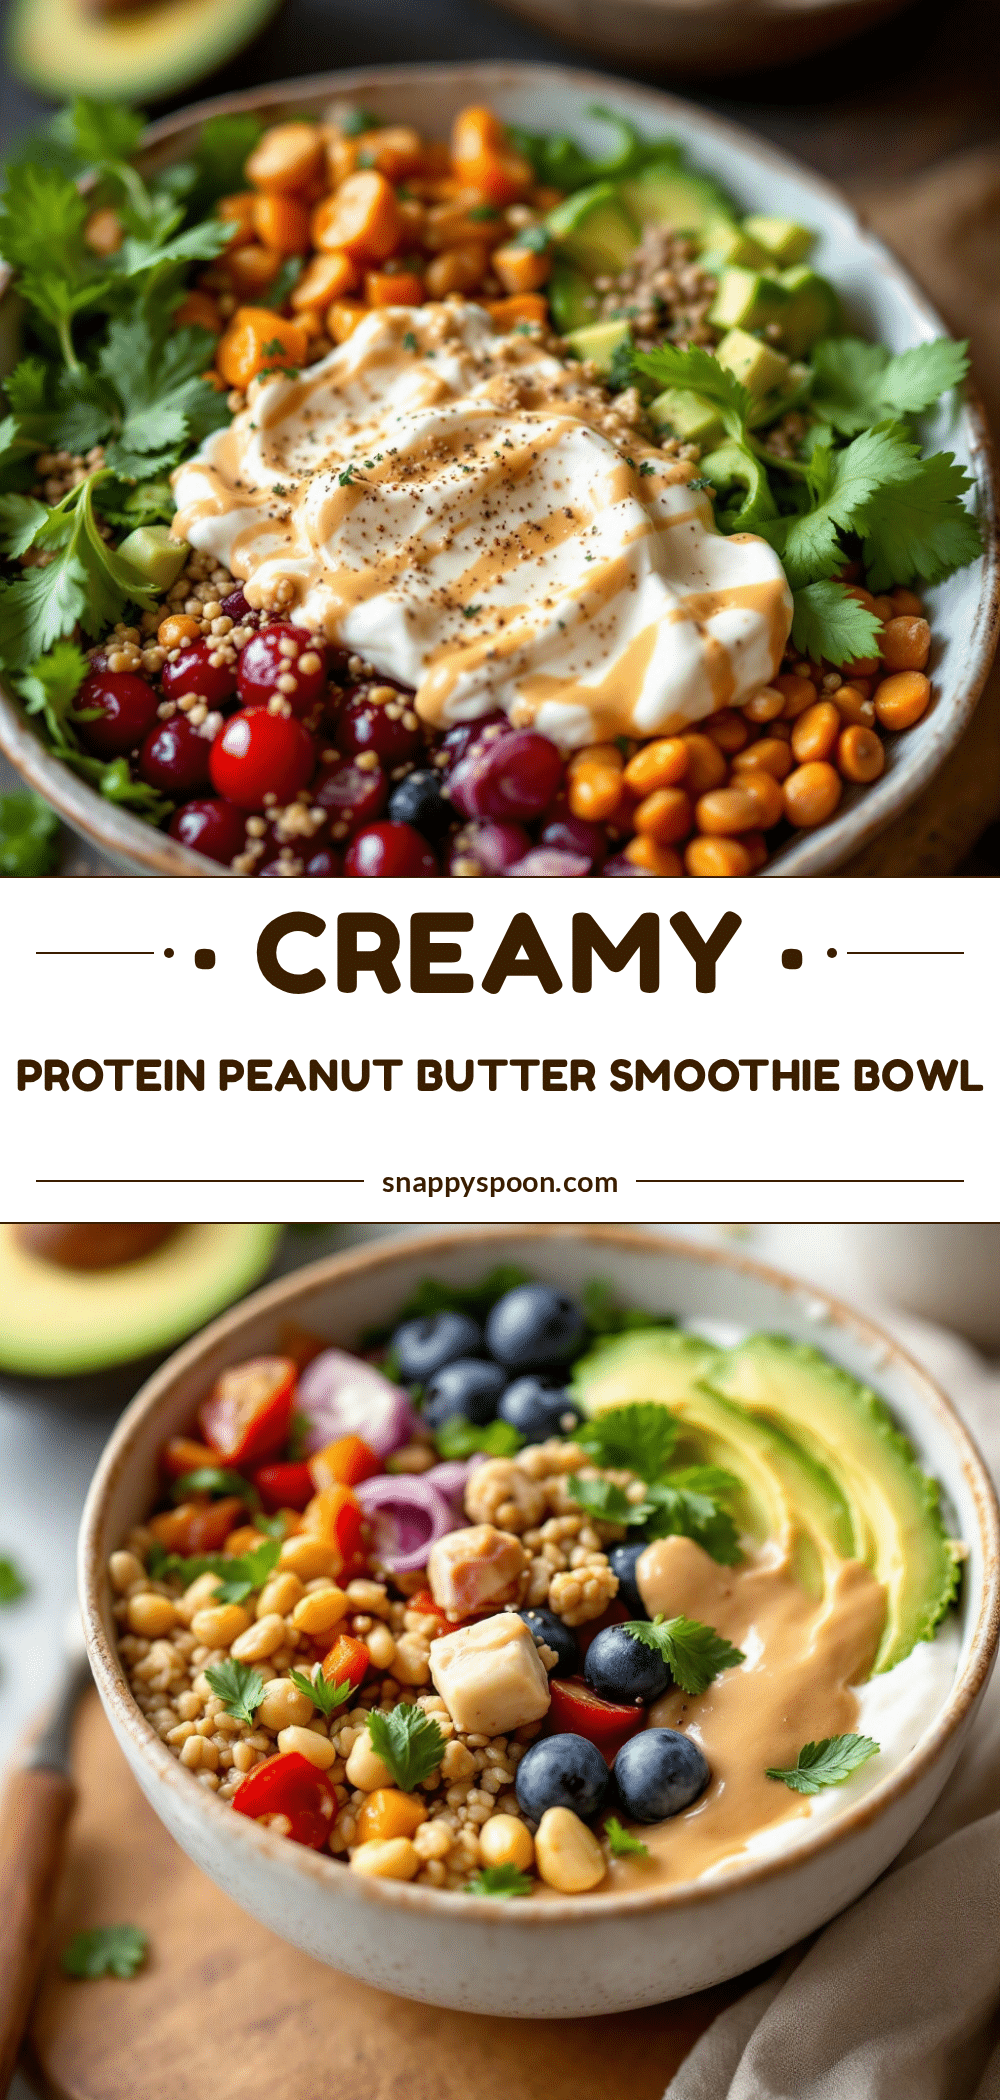
Creamy Protein Peanut Butter Smoothie Bowl: Best Easy Breakfast
This thick, nutty, and ridiculously creamy smoothie bowl is packed with protein and peanut butter flavor. It’s a quick and easy breakfast that tastes like dessert but is good for you.
- Prep Time: 5 minutes
- Cook Time: 0 minutes
- Total Time: 5 minutes
- Yield: 1 serving 1x
- Category: Breakfast
- Cuisine: American
Ingredients
- 2 medium frozen bananas, sliced and frozen
- ½ cup unsweetened almond milk, or more as needed
- 2 tablespoons creamy peanut butter
- 1 scoop vanilla protein powder
- ¼ cup plain Greek yogurt
- 1 tablespoon honey or maple syrup (optional)
- Pinch of salt
Instructions
- Prep your bananas: Peel two ripe bananas, slice them into coins about ½-inch thick, and lay them flat on a parchment-lined baking sheet. Freeze for at least 2 hours, or overnight. Once frozen, transfer to a freezer bag.
- Gather your ingredients: Measure out your almond milk, peanut butter, protein powder, Greek yogurt, and optional sweetener.
- Blend the base: Add the almond milk to your blender first, then add the frozen banana slices, peanut butter, protein powder, Greek yogurt, and a pinch of salt. Start on low speed and gradually increase to high. Use the tamper to push ingredients down toward the blades. If it sounds like your blender is struggling, add another tablespoon of almond milk.
- Scrape and repeat: Stop the blender and scrape down the sides with a spatula. Blend again on high for another 30 seconds until the mixture is completely smooth and thick, like soft-serve ice cream.
- Taste and adjust: Taste the smoothie base. If it needs more sweetness, add your honey or maple syrup and blend briefly. If it’s too thick, add a splash more milk. If you want more peanut butter flavor, add another half tablespoon.
- Assemble the bowl: Scoop the smoothie into your bowl. Use the back of a spoon to create swirls and waves on the surface. Add your toppings in layers: sliced banana, a drizzle of warm peanut butter, granola, chia seeds, and maybe a few dark chocolate chips.
- Serve immediately: Eat right away for the best texture.
Notes
For a thicker bowl, use ⅓ cup almond milk instead of ½ cup. If your natural peanut butter has separated, stir it well before measuring. Don’t over-blend to keep it cold and scoopable. This bowl is best eaten immediately.
Nutrition
- Serving Size: 1 bowl
- Calories: 420
- Sugar: 28
- Sodium: 250
- Fat: 16
- Saturated Fat: 3
- Carbohydrates: 52
- Fiber: 8
- Protein: 24
Keywords: smoothie bowl, peanut butter, protein, breakfast, easy, creamy, healthy, quick