Love this? Save it for later!
Share the inspiration with your friends
There used to be a tiny Japanese market tucked behind a laundromat on the corner of 14th and Broadway that made the most incredible bento boxes. When they closed their doors two summers ago—a “For Lease” sign taped crookedly over the paper lanterns—I honestly felt a little lost. The owner, a quiet older woman named Yumi, had this way of packing lunch that turned a simple meal into something you looked forward to all morning. Her turkey and cheese bento was my go-to, especially on days when I needed a little comfort in a box. After seventeen tries—some embarrassingly sad, a few that fell apart before noon—I finally cracked the code.
The first version I made was a disaster. I used deli turkey that was too wet, regular bread that got soggy by 10 AM, and cheese slices that slid around like they were on ice skates. I mean, honestly, it looked like a toddler packed it. But Yumi’s bento had this perfect balance—neat little compartments, flavors that held up, and that satisfying feeling of opening a lunch that was made with care. It took me a while to realize the secret wasn’t just the ingredients; it was the assembly, the timing, and the little tricks she used to keep everything fresh.
This Easy Bento-Style Turkey and Cheese Lunch Box is my love letter to that little market. It’s not a replica—it’s better, because I’ve adapted it for real life. For busy mornings when you’re packing lunches at 6 AM with one eye still half-closed. For days when you need lunch to actually taste good, not just survive until dinner. Maybe you’ve been there, staring at a sad desk salad, wishing for something that feels like a treat but doesn’t take an hour to prepare. This is that lunch. And honestly, it’s become my favorite thing to pack—not just because it tastes great, but because every time I open the container, I remember that little market and the woman who taught me that lunch can be a small, beautiful ritual.
Why You’ll Love This Recipe
Let me tell you why this bento-style lunch box has completely changed my midday routine. I’ve tested this on myself, my picky nephew, and even my skeptical coworker who swears by takeout—and it passed every test with flying colors.
- Ready in 10 Minutes: No joke. Once you’ve done it a couple times, you can assemble this entire lunch in under ten minutes flat. Perfect for those mornings when every second counts.
- Simple Ingredients: Turkey, cheese, crackers, and a few fresh veggies—that’s it. No fancy grocery store runs, no obscure ingredients you’ll use once and forget about.
- Perfect for Work or School: Whether you’re packing for yourself or your kids, this bento holds up beautifully. No reheating required, no messy spills, just grab and go.
- Customizable for Any Palate: Picky eater? Swap the cheese. Gluten-free? Use rice crackers. The formula is flexible, and I’ll show you how.
- Stays Fresh All Day: The secret is in the layering and separation. Each component stays crisp and tasty until lunchtime—no sad, soggy sandwiches here.
What makes this different from every other lunch box recipe? It’s the method, honestly. Most people just throw ingredients in a container and hope for the best. But this bento-style approach uses a few simple techniques—like patting the turkey dry, using a barrier ingredient, and packing in a specific order—that make everything taste better. It’s not just another lunch; it’s your best lunch. The kind that makes you close your eyes after the first bite, even if you’re sitting at your desk. It’s comfort food reimagined—faster, fresher, and with the same soul-soothing satisfaction you’d get from a restaurant version.
What Ingredients You Will Need
This recipe uses simple, wholesome ingredients to deliver a lunch that feels special without any fuss. Most of these are probably already in your fridge and pantry, which is exactly the point.
- Turkey Slices (4-6 slices, about 4 oz / 113 g): Look for oven-roasted or smoked turkey from the deli counter. I prefer Boar’s Head or Applegate for the best flavor and texture. Pat them dry with a paper towel before using—this is crucial for preventing sogginess.
- Cheese Slices (2-3 slices, about 2 oz / 56 g): Cheddar, provolone, or Swiss work beautifully. For a creamier option, try havarti. If you’re dairy-free, use your favorite plant-based cheese slices—just make sure they’re firm enough to hold their shape.
- Crackers (about 12-15, roughly 1 oz / 28 g): I love using whole wheat butter crackers or simple saltines. For a gluten-free version, rice crackers or seed crackers are fantastic. The key is choosing crackers that are sturdy enough to hold toppings without crumbling.
- Lettuce Leaves (2-3 large leaves): Romaine or butter lettuce work best. They act as a barrier between the meat and crackers, preventing moisture transfer. Wash and dry them thoroughly—wet lettuce is the enemy of a good bento.
- Cherry Tomatoes (4-5, halved, about 3 oz / 85 g): These add a pop of color and acidity. Grape tomatoes work too. In summer, I swap in halved Sungold tomatoes for extra sweetness.
- Cucumber Slices (about 6-8 slices, 2 oz / 56 g): English cucumbers are best because they’re less watery. Regular cucumbers work fine, just peel them first and pat dry.
- Hummus (2-3 tablespoons, about 1 oz / 28 g): For dipping veggies or spreading on crackers. I recommend Sabra or homemade if you have time. Any creamy dip works—try tzatziki, ranch, or even guacamole.
- Fruit (optional, about 1/2 cup / 75 g): Apple slices, grapes, or berries add sweetness and balance. Toss apple slices in a little lemon juice to prevent browning.
- Small Treat (optional): A few dark chocolate chips, a square of chocolate, or a couple of almonds—just something little to make the lunch feel special.
See what I mean? Nothing crazy. The beauty of this recipe is that you can use what you have. No turkey? Use ham or chicken. No hummus? Use cream cheese or mustard. The structure stays the same, and the possibilities are endless.
Equipment Needed
You don’t need much for this recipe, which is part of why I love it. Here’s what I use:
- Bento Box or Divided Container (about 4-cup / 950 ml capacity): A container with separate compartments is ideal. I use a Yumbox or a simple Bentgo box. If you don’t have one, use a regular lunch container with silicone muffin cups to create compartments.
- Sharp Knife: For slicing turkey, cheese, and veggies. A good chef’s knife makes everything easier, but any sharp knife works.
- Cutting Board: I prefer a wooden board, but plastic is fine too. Just make sure it’s clean and dry.
- Paper Towels: For patting ingredients dry. This step is non-negotiable, trust me.
- Small Container or Silicone Cup (about 2 oz / 60 ml): For the hummus or dip. Reusable silicone cups are perfect and eco-friendly.
- Ice Pack (optional but recommended): If you’re packing this for later in the day, an ice pack keeps everything fresh and safe.
I’ve made this with just a regular Tupperware and some cupcake liners, and it worked fine. Don’t let fancy equipment stop you. The important thing is keeping ingredients separated so nothing gets soggy.
Preparation Method
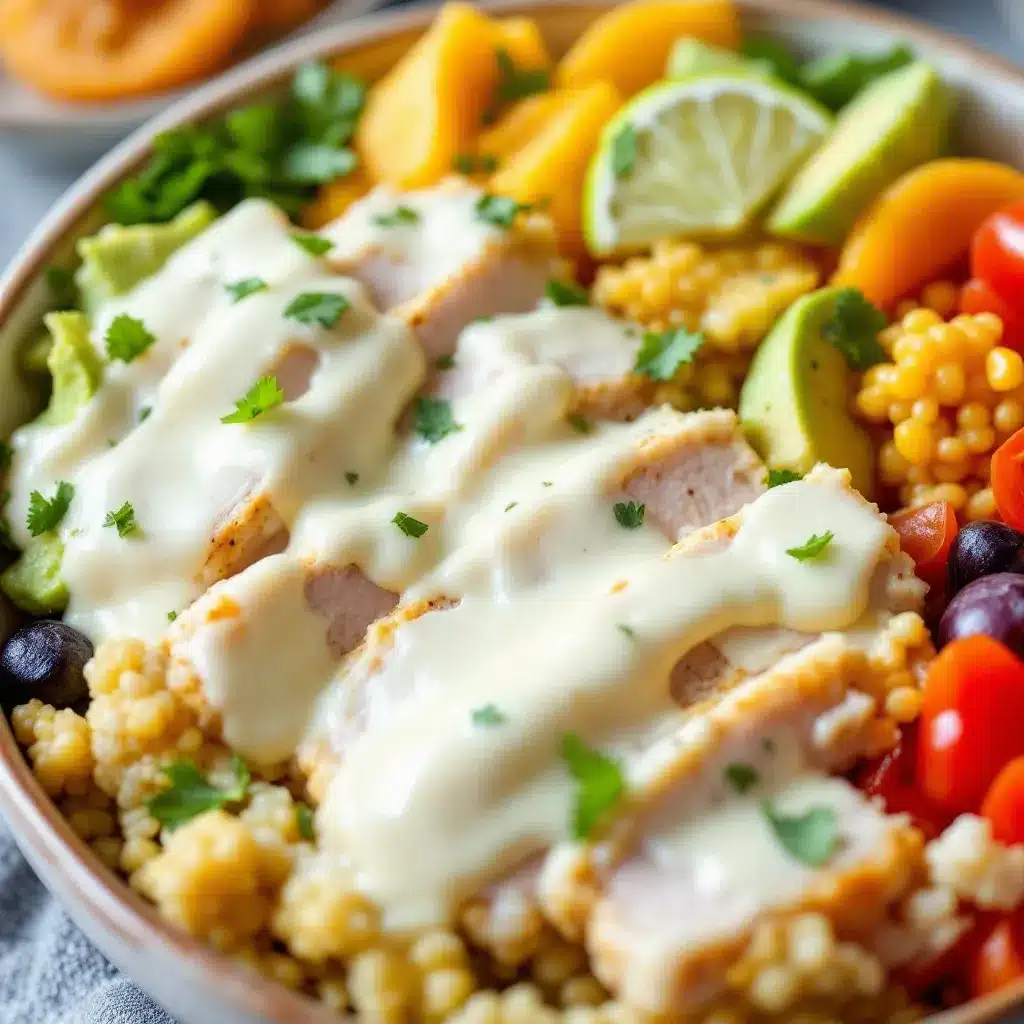
- Prep Your Ingredients (5 minutes): Start by taking everything out of the fridge. Pat the turkey slices dry with a paper towel—this removes excess moisture that would make your crackers soggy. Slice the cheese into bite-sized pieces, about 1-inch squares. Wash and dry the lettuce leaves thoroughly; spin them in a salad spinner or pat them dry. Halve the cherry tomatoes and slice the cucumber into thin rounds. If you’re using apple slices, toss them in a little lemon juice to prevent browning.
- Layer the Lettuce Barrier (1 minute): Place one or two lettuce leaves in the largest compartment of your bento box. This creates a moisture barrier between the wetter ingredients and the dry ones. I learned this trick from Yumi—she used shiso leaves, but lettuce works perfectly. The lettuce also adds a nice crunch when you eat it.
- Roll the Turkey and Cheese (2 minutes): Take a slice of turkey, lay a piece of cheese on top, and roll it up tightly. Repeat with the remaining slices. This creates neat little pinwheels that are easy to grab and eat. If you want to get fancy, you can slice each roll into 1-inch rounds to show off the spiral pattern. Place the rolls on top of the lettuce barrier.
- Pack the Crackers (1 minute): In a separate compartment, arrange the crackers in a single layer. Don’t stack them—they’ll break. If you’re using a container without dividers, put the crackers in a small silicone cup or wrap them in a paper napkin to keep them separate.
- Add the Veggies and Dip (2 minutes): Place the cherry tomatoes and cucumber slices in another compartment. Spoon the hummus into a small container or silicone cup and nestle it among the veggies. The hummus acts as a dip for both the veggies and the crackers, which adds variety to each bite.
- Include the Extras (1 minute): If you’re adding fruit or a small treat, place them in the remaining compartments. Keep sweet items separate from savory ones to prevent flavor mixing. A few grapes or berries add a nice burst of sweetness at the end of the meal.
- Final Check and Seal (1 minute): Give the box a gentle shake to make sure everything is secure. Close the lid tightly and add an ice pack if you’re not eating within two hours. That’s it—your lunch is ready!
The whole process takes about 12 minutes your first time, but after a few tries, you’ll breeze through it in under 10. I like to pack these the night before when I have a busy morning ahead. Just keep the crackers separate until you’re ready to eat if you’re packing ahead.
Cooking Tips & Techniques
After making this bento more times than I can count, I’ve picked up a few tricks that make a real difference. Here are the ones I wish I’d known from the start:
The Moisture Problem: This is the number one issue with packed lunches. Wet ingredients make everything sad. Pat everything dry—turkey, lettuce, cucumbers, even the cheese if it looks sweaty. I learned this the hard way after opening a bento at noon to find my crackers had turned into mush. Never again.
The Order of Assembly Matters: Always put the wettest ingredients (like tomatoes and cucumbers) in compartments farthest from the crackers. If you’re using a single container without dividers, layer ingredients with lettuce or a paper towel in between. Think of it like building a house—you need a good foundation.
Temperature Control: If you’re packing this for a lunch that won’t be eaten for several hours, use an ice pack. The turkey and cheese will stay fresh, and the veggies will remain crisp. I use a thin, flexible ice pack that fits perfectly in my lunch bag. For school lunches, a frozen water bottle works double duty—keeps things cold and gives your kid a cold drink at lunchtime.
Prep in Batches: On Sunday evenings, I slice cheese, wash and dry lettuce, and portion out hummus into small containers. Then during the week, assembly takes about 5 minutes. It’s a game-changer for busy mornings. I also pre-roll the turkey and cheese and store them in a zip-top bag in the fridge.
My Biggest Failure: I once packed this bento with warm turkey straight from the package. By lunchtime, the cheese had melted slightly, the lettuce was wilted, and the whole thing looked like a science experiment. Always start with cold ingredients. It keeps everything in its proper place and texture.
Variations & Adaptations
This recipe is incredibly flexible, and I’ve tried more variations than I can count. Here are some of my favorites:
Mediterranean Bento: Swap the turkey for grilled chicken or falafel, use feta cheese instead of cheddar, and include olives, cucumber, and tzatziki dip. Add a few cherry tomatoes and some pita chips instead of crackers. This version is perfect for summer picnics.
Low-Carb Bento: Skip the crackers and use cucumber rounds or bell pepper strips as your “crackers.” Double up on the veggies and add some nuts or seeds for crunch. I use romaine lettuce leaves to wrap the turkey and cheese like little roll-ups. It’s satisfying and keeps you full without the carbs.
Kid-Friendly Bento: Use cookie cutters to cut the turkey and cheese into fun shapes like stars or hearts. Include their favorite dip—my nephew loves ranch dressing. Add a small treat like a few animal crackers or a fruit pouch. The visual appeal makes a huge difference for picky eaters.
Vegan Bento: Replace turkey with roasted chickpeas or marinated tofu slices. Use plant-based cheese and vegan cream cheese or hummus for the dip. Everything else stays the same. I’ve made this for my vegan friend Sarah, and she said it was the best packed lunch she’d ever had.
Spicy Bento: Add a few slices of jalapeño or a drizzle of sriracha to the turkey rolls. Use pepper jack cheese for extra heat. Include some pickled vegetables for a tangy kick. This version is my personal favorite when I need a little excitement in my lunch.
Serving & Storage Suggestions
Serving: This bento is best enjoyed cold or at room temperature. I like to take it out of the fridge about 10 minutes before eating to let the flavors come alive. Serve it straight from the box—no plates needed, which means less cleanup. The beauty of a bento is that everything is already perfectly portioned and ready to go.
Complementary Additions: A small thermos of soup or a piece of fruit on the side makes this a complete meal. I often add a hard-boiled egg for extra protein or a small yogurt cup for dessert. If I’m feeling fancy, I’ll include a few pickled vegetables or a small salad.
Storage: Assemble the bento and store it in the refrigerator for up to 3 days. Keep the crackers separate if you’re storing for more than a day—they’ll stay crunchier. I use a small zip-top bag for crackers and add them to the box in the morning. For longer storage, freeze the turkey and cheese rolls separately, then assemble fresh when needed.
Reheating: This bento is designed to be eaten cold, so no reheating needed. If you’re using cooked ingredients like grilled chicken, you can briefly microwave them separately, but let them cool completely before adding to the box. Warm ingredients will make everything else soggy.
Flavor Development: Honestly, this bento tastes best when it’s been sitting for an hour or two. The flavors meld together slightly, and the textures settle into a perfect harmony. It’s one of those rare lunches that gets better with a little time.
Nutritional Information & Benefits
Here’s the approximate nutritional breakdown for one serving (based on the recipe as written):
- Calories: 380-420 kcal
- Protein: 28-32 g
- Carbohydrates: 25-30 g
- Fat: 18-22 g
- Fiber: 4-6 g
- Sugar: 8-10 g (naturally occurring)
Health Benefits: This lunch is packed with lean protein from the turkey, which keeps you full and focused throughout the afternoon. The cheese provides calcium and healthy fats, while the veggies add vitamins, minerals, and fiber. The hummus offers plant-based protein and healthy fats. It’s a well-balanced meal that supports sustained energy without the afternoon crash.
Dietary Considerations: This recipe is naturally low-carb if you skip the crackers. It’s easily made gluten-free by using rice crackers or veggie sticks. For a dairy-free version, use plant-based cheese and hummus. Always check labels if you have specific allergies—some deli meats contain gluten or dairy.
Personal Note: I love that this lunch feels indulgent but is actually quite healthy. It’s the kind of meal that makes you feel good about what you’re eating, without any guilt. Plus, the portion control is built right in, which helps with mindful eating.
Conclusion
This Easy Bento-Style Turkey and Cheese Lunch Box has become a staple in my weekly meal prep, and I honestly can’t imagine going back to sad desk salads or overpriced takeout. It’s proof that a great lunch doesn’t have to be complicated or time-consuming. With a few simple ingredients and a little planning, you can have a lunch that looks beautiful, tastes amazing, and actually keeps you full and happy.
I’d love to hear how you make this your own. Do you add something unexpected? Swap out the turkey for something else? Maybe you’ve discovered a dip that changes everything. Drop a comment below and share your version—I’m always looking for new ideas. And if you found this helpful, share it with a friend who needs a lunch upgrade. Trust me, they’ll thank you.
Until next time, happy packing! And remember—lunch doesn’t have to be boring. It can be a little moment of joy in the middle of a busy day.
Frequently Asked Questions
Can I make this bento the night before?
Absolutely! Assemble everything except the crackers, and store them separately. In the morning, just add the crackers and you’re good to go. The flavors actually meld together nicely overnight.
How long will this bento stay fresh in the fridge?
It will stay fresh for up to 3 days when stored properly in an airtight container. Keep the crackers separate for the best texture. The veggies might lose a little crunch after day two, but everything will still taste great.
Can I use a different type of meat?
Definitely! Ham, roast beef, chicken breast, or even salami work beautifully. Just make sure to pat the meat dry before rolling it up. For a vegetarian option, use grilled tofu or roasted chickpeas.
What if I don’t have a bento box?
No problem! Use a regular lunch container and create compartments with silicone muffin cups, small containers, or even lettuce leaves. The key is keeping wet and dry ingredients separate. I’ve used everything from glass meal prep containers to old takeout boxes.
Is this lunch safe for school lunches?
Yes, with a few precautions. Use an ice pack to keep everything cold until lunchtime. Avoid any ingredients that might be allergens for other kids. And if your school has nut-free policies, skip the almonds and check your hummus label for any nut-based ingredients.
Pin This Recipe!
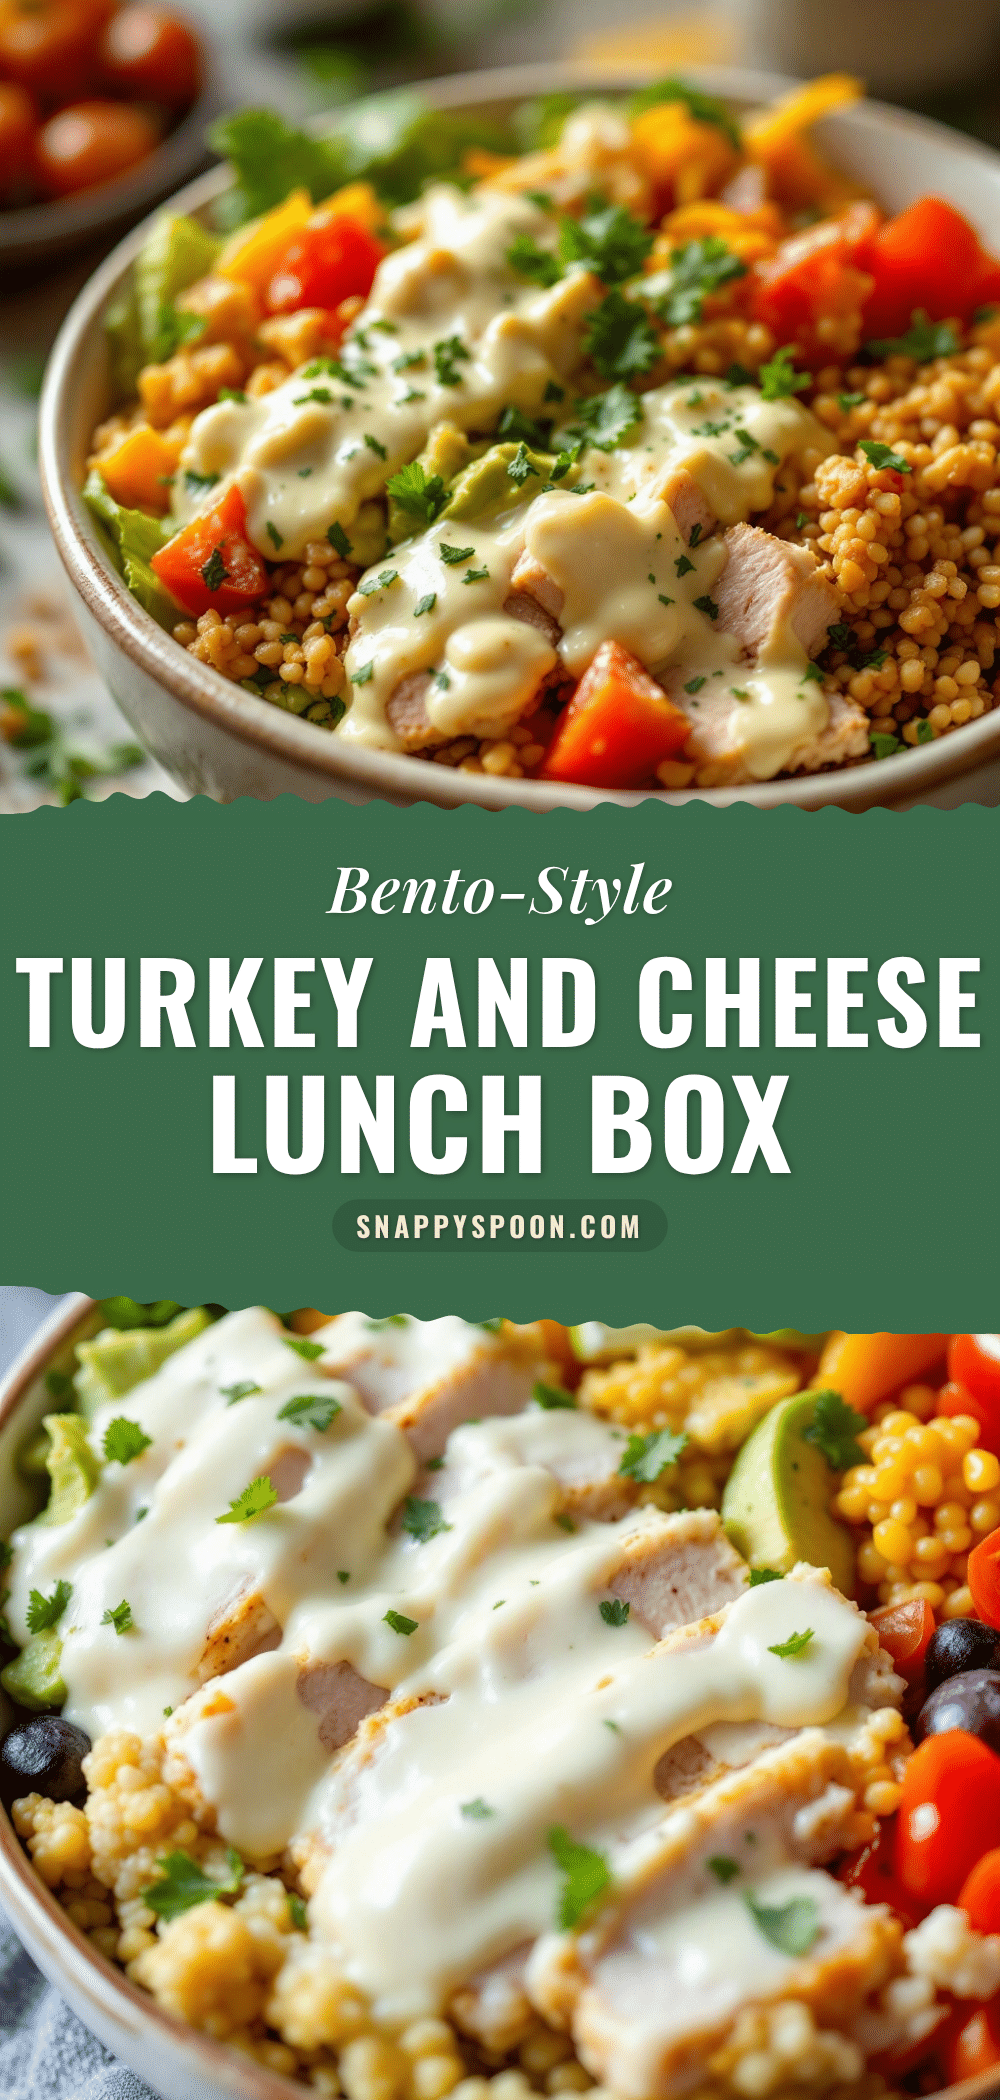
Easy Bento-Style Turkey and Cheese Lunch Box

A quick and easy bento-style lunch box featuring turkey, cheese, crackers, and fresh veggies, inspired by a beloved Japanese market. Ready in 10 minutes, it stays fresh all day and is perfect for work or school.
- Prep Time: 10 minutes
- Cook Time: 0 minutes
- Total Time: 10 minutes
- Yield: 1 serving 1x
- Category: Lunch
- Cuisine: Japanese-inspired
Ingredients
- 4–6 slices turkey (about 4 oz / 113 g)
- 2–3 slices cheese (about 2 oz / 56 g), such as cheddar, provolone, or Swiss
- 12–15 crackers (about 1 oz / 28 g), such as whole wheat butter crackers or saltines
- 2–3 large lettuce leaves (romaine or butter lettuce)
- 4–5 cherry tomatoes, halved (about 3 oz / 85 g)
- 6–8 cucumber slices (about 2 oz / 56 g)
- 2–3 tablespoons hummus (about 1 oz / 28 g)
- 1/2 cup fruit (optional, about 75 g), such as apple slices, grapes, or berries
- Small treat (optional), such as dark chocolate chips or almonds
Instructions
- Prep your ingredients: Pat turkey slices dry with a paper towel. Slice cheese into bite-sized pieces (about 1-inch squares). Wash and dry lettuce leaves thoroughly. Halve cherry tomatoes and slice cucumber into thin rounds. If using apple slices, toss in lemon juice to prevent browning.
- Layer the lettuce barrier: Place one or two lettuce leaves in the largest compartment of your bento box to create a moisture barrier.
- Roll the turkey and cheese: Lay a piece of cheese on a turkey slice and roll tightly. Repeat with remaining slices. Place rolls on top of the lettuce barrier. Optionally, slice each roll into 1-inch rounds.
- Pack the crackers: In a separate compartment, arrange crackers in a single layer. If using a container without dividers, place crackers in a small silicone cup or wrap in a paper napkin.
- Add the veggies and dip: Place cherry tomatoes and cucumber slices in another compartment. Spoon hummus into a small container or silicone cup and nestle among the veggies.
- Include the extras: If adding fruit or a small treat, place them in remaining compartments, keeping sweet items separate from savory ones.
- Final check and seal: Give the box a gentle shake to ensure everything is secure. Close the lid tightly and add an ice pack if not eating within two hours.
Notes
Pat all ingredients dry to prevent sogginess. Assemble in order: lettuce barrier first, then wet ingredients farthest from crackers. For best texture, keep crackers separate if storing overnight. Use an ice pack for lunches that won’t be eaten within two hours. Prep ingredients in batches on Sunday for quicker assembly during the week.
Nutrition
- Serving Size: 1 bento box
- Calories: 380420
- Sugar: 810
- Fat: 1822
- Carbohydrates: 2530
- Fiber: 46
- Protein: 2832
Keywords: bento, lunch box, turkey and cheese, easy lunch, packed lunch, work lunch, school lunch, no-cook, 10-minute meal