Love this? Save it for later!
Share the inspiration with your friends
It was 10:47 PM on a particularly damp Tuesday in October, and the craving hit me like a ton of bricks. Not for chocolate, not for chips, but for bread. The kind of bread that fills your whole house with that warm, yeasty smell that makes everything feel okay. I had my trusty sourdough starter bubbling away in the fridge, but I also had a can of pumpkin puree that I’d bought on a whim and shoved in the back of the pantry. I didn’t have the energy for the usual kneading and folding routine—honestly, my arms were tired from a long day of chopping vegetables for a catering job. But I had that pumpkin, and a wild idea that maybe, just maybe, I could just stir everything together and let time do the heavy lifting. So I grabbed a bowl, dumped in the starter, the pumpkin, some flour, and a pinch of salt, and stirred it into a shaggy, sticky mess. I figured it would either be a glorious accident or a total flop. Let me tell you, it was the best kind of accident. The next morning, I slid that gorgeous, bronzed loaf out of the Dutch oven, and the crust crackled like a fall leaf underfoot. That was the moment this Easy No-Knead Pumpkin Sourdough Bread became my favorite autumn tradition. Maybe you’ve been there—standing in your kitchen, staring at a random ingredient, and just going for it. This recipe is proof that those impulsive moments often turn into the best ones.
Why You’ll Love This Recipe
This isn’t just another pumpkin bread recipe. I’ve tested this one about eight times to get the texture just right, and let me tell you, the results are consistently incredible. It brings together the tangy complexity of sourdough with the sweet, earthy notes of pumpkin, creating a loaf that’s as beautiful as it is delicious.
- Quick & Easy: The active prep time is about 15 minutes. The dough does all the work while you sleep or go about your day. Perfect for a busy fall weekend.
- Simple Ingredients: You likely have everything you need: flour, water, a sourdough starter, pumpkin puree, and a few spices. No fancy trips to the specialty store required.
- Perfect for Fall: This bread is the ultimate centerpiece for a Thanksgiving table, a cozy Sunday brunch, or a simple weeknight soup dinner. It screams autumn in every single bite.
- Crowd-Pleaser: I’ve brought this to potlucks and watched it vanish in minutes. Even people who aren’t sourdough fans love the subtle sweetness and pillowy crumb.
- Unbelievably Delicious: The crust is shatteringly crisp, and the inside is soft, airy, and speckled with warming spices. It’s the kind of bread that makes you close your eyes after the first bite—honestly, it does.
What makes this version different from the rest is the technique. By using a high-hydration, no-knead method, we coax maximum flavor out of the pumpkin and the sourdough starter without any arm workout. The pumpkin acts as a natural dough conditioner, keeping the crumb incredibly tender. It’s comfort food reimagined—a little healthier, a lot faster, but with the same soul-soothing satisfaction that only homemade bread can deliver.
What Ingredients You Will Need
This recipe uses simple, wholesome ingredients to deliver a loaf that is bursting with fall flavor and has a perfect, airy texture. Most of these are pantry staples, which makes this the perfect “I want to bake bread right now” recipe.
For the Dough
- 100g active sourdough starter (fed and bubbly—this is your leavening agent)
- 200g pumpkin puree (canned is fine; just make sure it’s 100% pure pumpkin, not pumpkin pie filling)
- 250g warm water (about 85°F/30°C—helps the starter work faster)
- 500g bread flour (I prefer King Arthur for its high protein content, which gives a better rise)
- 10g fine sea salt
- 1 tsp ground cinnamon
- 1/2 tsp ground nutmeg
- 1/4 tsp ground ginger
- 1/4 tsp ground cloves
For the Topping (Optional but Recommended)
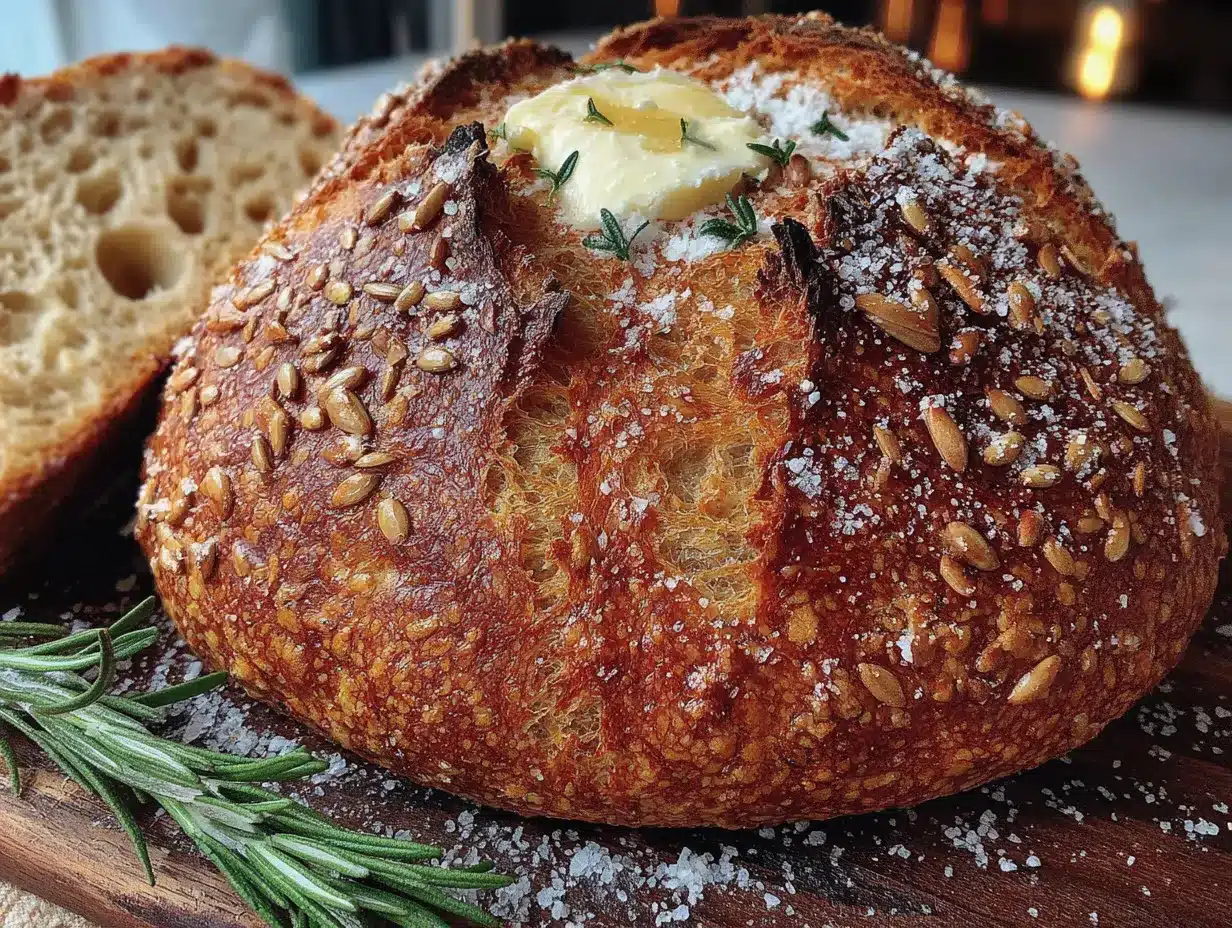
- 1 tbsp pumpkin seeds (pepitas) (for a lovely crunch on the crust)
- 1 tbsp rolled oats (adds a rustic look)
Ingredient Tips: If your starter is a bit sluggish, make sure it’s at its peak activity—doubled in size and full of bubbles. For the pumpkin puree, I’ve used Libby’s for years and it works perfectly. If you’re using fresh pumpkin, roast it until soft and then blend it until completely smooth; any stringy bits will affect the texture. If you don’t have bread flour, you can use all-purpose flour, but the bread might not rise quite as high and the crumb will be slightly less chewy. The spices are flexible—if you love a stronger pumpkin spice flavor, feel free to add an extra 1/2 teaspoon of cinnamon.
Equipment Needed
You don’t need a fancy bakery setup for this bread. Here’s what you’ll need:
- Large mixing bowl (a big glass or ceramic bowl works best)
- Dutch oven (5.5 to 6 quarts is ideal for a good crust; if you don’t have one, you can use a heavy baking sheet and a metal bowl to trap steam)
- Digital kitchen scale (I cannot stress this enough—baking by weight is way more accurate than cups)
- Plastic wrap or a clean kitchen towel
- Parchment paper
- Bench scraper (or a spatula—for folding the dough)
- Cooling rack (essential for a crispy crust)
If you don’t have a Dutch oven, try a heavy cast-iron skillet with a metal bowl inverted over it. It’s not perfect, but it works in a pinch. I actually learned this trick when I forgot my Dutch oven at a friend’s house. Necessity is the mother of invention, right?
Preparation Method
This method is all about being hands-off. The magic happens in the waiting.
- Mix the Dough (10:47 PM – 10 minutes): In your large mixing bowl, combine the active sourdough starter, pumpkin puree, and warm water. Stir until the starter is mostly dissolved—it will look a little like a swamp, and that’s fine. Add the bread flour, salt, and all the spices (cinnamon, nutmeg, ginger, cloves). Use your hands or a spatula to mix until no dry flour remains. The dough will be very sticky and shaggy. Don’t worry about kneading it; just make sure everything is incorporated. Cover the bowl with plastic wrap.
- Bulk Fermentation (10:57 PM – 8:00 AM / Overnight): Let the dough rest at room temperature for 12-18 hours. Yes, that long! This is the no-knead magic. During the first 2 hours, perform a set of “stretch and folds.” Every 30 minutes, wet your hands (so the dough doesn’t stick), grab one side of the dough, stretch it up, and fold it over the top. Turn the bowl a quarter turn and repeat. Do this 4 times total (so 2 hours of folding). After that, just leave it alone. The dough should double in size and look bubbly and jiggly. If your kitchen is cold, it might take the full 18 hours.
- Shape the Dough (8:00 AM – 10 minutes): Lightly flour your work surface. Turn the dough out onto it. It will be very sticky and loose—that’s the high hydration at work. Gently fold the edges of the dough into the center, creating a round ball. Don’t overwork it. Flip the dough over so the seam is on the bottom. Use your hands to gently cup the dough and drag it towards you on the counter, creating surface tension. This will give you a nice, tight boule.
- Proof the Dough (8:10 AM – 1 hour): Place the shaped dough seam-side down on a piece of parchment paper. You can put it in a floured proofing basket (banneton) or just leave it on the parchment. Cover it with a towel and let it rest for 1-2 hours. It should puff up slightly but not double in size. About 30 minutes before baking, place your Dutch oven (with its lid) into the oven and preheat it to 450°F (230°C). This is crucial for that amazing crust.
- Score and Bake (9:10 AM – 50 minutes): Carefully remove the hot Dutch oven from the oven. Using the parchment paper as a sling, lower the dough into the pot. Use a sharp lame or a serrated knife to score the top of the bread—a simple cross or a single slash about 1/2 inch deep. This allows the bread to expand in the oven. Sprinkle the top with pumpkin seeds and oats if using. Put the lid on and bake for 30 minutes. Remove the lid and bake for another 15-20 minutes, until the crust is a deep, gorgeous amber-brown. The internal temperature should read 205-210°F (96-99°C).
- Cool (10:00 AM – 2 hours): This is the hardest part! Transfer the bread to a cooling rack and let it cool completely before slicing. I know it smells incredible, but cutting into hot bread will make the inside gummy. Patience, my friend.
Cooking Tips & Techniques
I’ve made this bread about a dozen times, and I’ve learned a few things the hard way. Here are my top tips for success:
- Don’t Skip the Stretch and Folds: This is the only “work” you have to do, and it’s essential. It builds the gluten structure that will trap the gas from the starter, giving you a beautiful open crumb. I once skipped them because I was tired, and the bread came out flat as a pancake. Lesson learned.
- The Pumpkin is a Double-Edged Sword: Pumpkin adds moisture, which is great for a tender crumb, but too much can make the dough feel like a wet sponge. Stick to the 200g measurement. If your dough feels impossibly wet, add 10-20g more flour during the mixing stage.
- Use a Lame: A regular knife can drag and deflate the dough. A lame (a baker’s razor blade) gives a clean, sharp cut that allows the dough to “bloom” beautifully. You can find them online for a few bucks.
- Steam is Your Friend: The Dutch oven traps steam from the dough, which creates that shatteringly crisp crust. If you’re using a baking sheet method, make sure to have a pan of hot water on the bottom rack of the oven.
- Listen for the Crust: When you take the bread out of the oven, listen. A good crust will crackle and sing as it cools. That sound is pure satisfaction.
Variations & Adaptations
This recipe is a fantastic base for experimentation. Here are a few ways I’ve changed it up:
- Sweet & Spicy: Add 1/4 cup of dried cranberries and 1 tablespoon of orange zest to the dough along with the flour. The tartness of the cranberries pairs beautifully with the pumpkin.
- Savory Pumpkin Bread: Omit the cinnamon, nutmeg, ginger, and cloves. Instead, add 1 tablespoon of fresh rosemary, 1/2 cup of shredded sharp cheddar cheese, and a pinch of black pepper. It’s incredible with a bowl of tomato soup.
- Gluten-Free Adaptation: I’ve tested this with a good gluten-free all-purpose flour blend (like Cup4Cup). The texture is more dense and cake-like, but still delicious. You’ll need to add an extra 30-50g of water as gluten-free flours absorb more liquid.
- Seeded Crust: Before the final proof, brush the top of the dough with water and roll it in a mixture of sesame seeds, poppy seeds, and flax seeds. It adds a fantastic crunch and looks beautiful.
Serving & Storage Suggestions
This bread is a star on its own, but here’s how to make it shine even brighter.
Serving: Serve it warm or at room temperature. It’s amazing toasted with a generous slather of salted butter and a drizzle of honey. For a savory twist, try it with a spread of brie cheese and a slice of apple. It also makes the best base for a fall-themed avocado toast or a grilled cheese sandwich with sharp cheddar and caramelized onions.
Storage: Store the cooled bread in a paper bag at room temperature for up to 3 days. The crust will stay crispier this way. For longer storage, wrap it tightly in plastic wrap and then in aluminum foil, and freeze it for up to 3 months. To reheat, pop the frozen bread directly into a 350°F (175°C) oven for 10-15 minutes. The flavors actually deepen after a day or two, so day-old bread is often even better for toasting.
Nutritional Information & Benefits
While I wouldn’t call this a health food, it does have some redeeming qualities! A typical slice (1/12th of the loaf) contains approximately:
- Calories: 180
- Carbohydrates: 35g
- Protein: 6g
- Fiber: 3g
- Fat: 1g
Health Benefits: Pumpkin is packed with Vitamin A (great for your eyes and immune system) and fiber, which aids digestion. Sourdough fermentation breaks down phytic acid in the flour, making the nutrients more bioavailable and easier on your stomach. Plus, the long fermentation time creates a lower glycemic index compared to regular bread, meaning it won’t spike your blood sugar as much. It’s a win-win in my book.
Allergen Note: This recipe contains gluten (from the wheat flour). It is dairy-free and egg-free as written.
Conclusion
This Easy No-Knead Pumpkin Sourdough Bread is more than just a recipe; it’s a little piece of autumn magic you can create in your own kitchen. It’s forgiving, it’s flexible, and it rewards you with a loaf that looks and tastes like you spent hours slaving away. Honestly, the hardest part is waiting for it to cool. I love this recipe because it reminds me that sometimes the best things come from a little bit of impulsiveness and a lot of patience. It’s the bread I make when I want to slow down and enjoy the season. So go ahead, give it a try. Let your starter do the work, and let the smell of baking pumpkin and spices fill your home. I’d love to hear how it turns out for you! What variations did you try? Did you add cheese, or keep it sweet? Drop a comment below and share your baking adventure—I read every single one. Happy baking!
Frequently Asked Questions
Can I use a store-bought sourdough starter?
Absolutely! If you don’t have a homemade starter, you can buy dried or active starter online. Just make sure to feed it and get it bubbly and active before using it in this recipe. It will work the same way.
Why is my dough so sticky?
Don’t panic! This is a high-hydration dough, meaning it has a lot of water. The pumpkin also adds extra moisture. This stickiness is what creates the open, airy crumb. Just use wet hands when handling it, and trust the process. It will firm up slightly after the long fermentation.
Can I skip the overnight rest?
You can, but the flavor won’t be as deep. The long, slow fermentation is what gives sourdough its signature tang. If you’re in a rush, let it rest for at least 8 hours at room temperature. Anything less, and you’ll get a denser, less flavorful loaf.
How do I know when my starter is “active”?
An active starter should have doubled in size within 4-6 hours of being fed. It should be full of bubbles (both large and small) and smell pleasantly sour, like yogurt or ripe fruit. If it’s flat and smells like acetone, it’s hungry and needs a few more feedings before you bake.
Can I add chocolate chips to this bread?
Yes, and you should! Add about 1/2 cup of dark chocolate chips to the dough along with the flour. The bitterness of the dark chocolate is a fantastic contrast to the sweet pumpkin and warm spices. It’s like a pumpkin chocolate chip muffin, but in bread form.
Pin This Recipe!
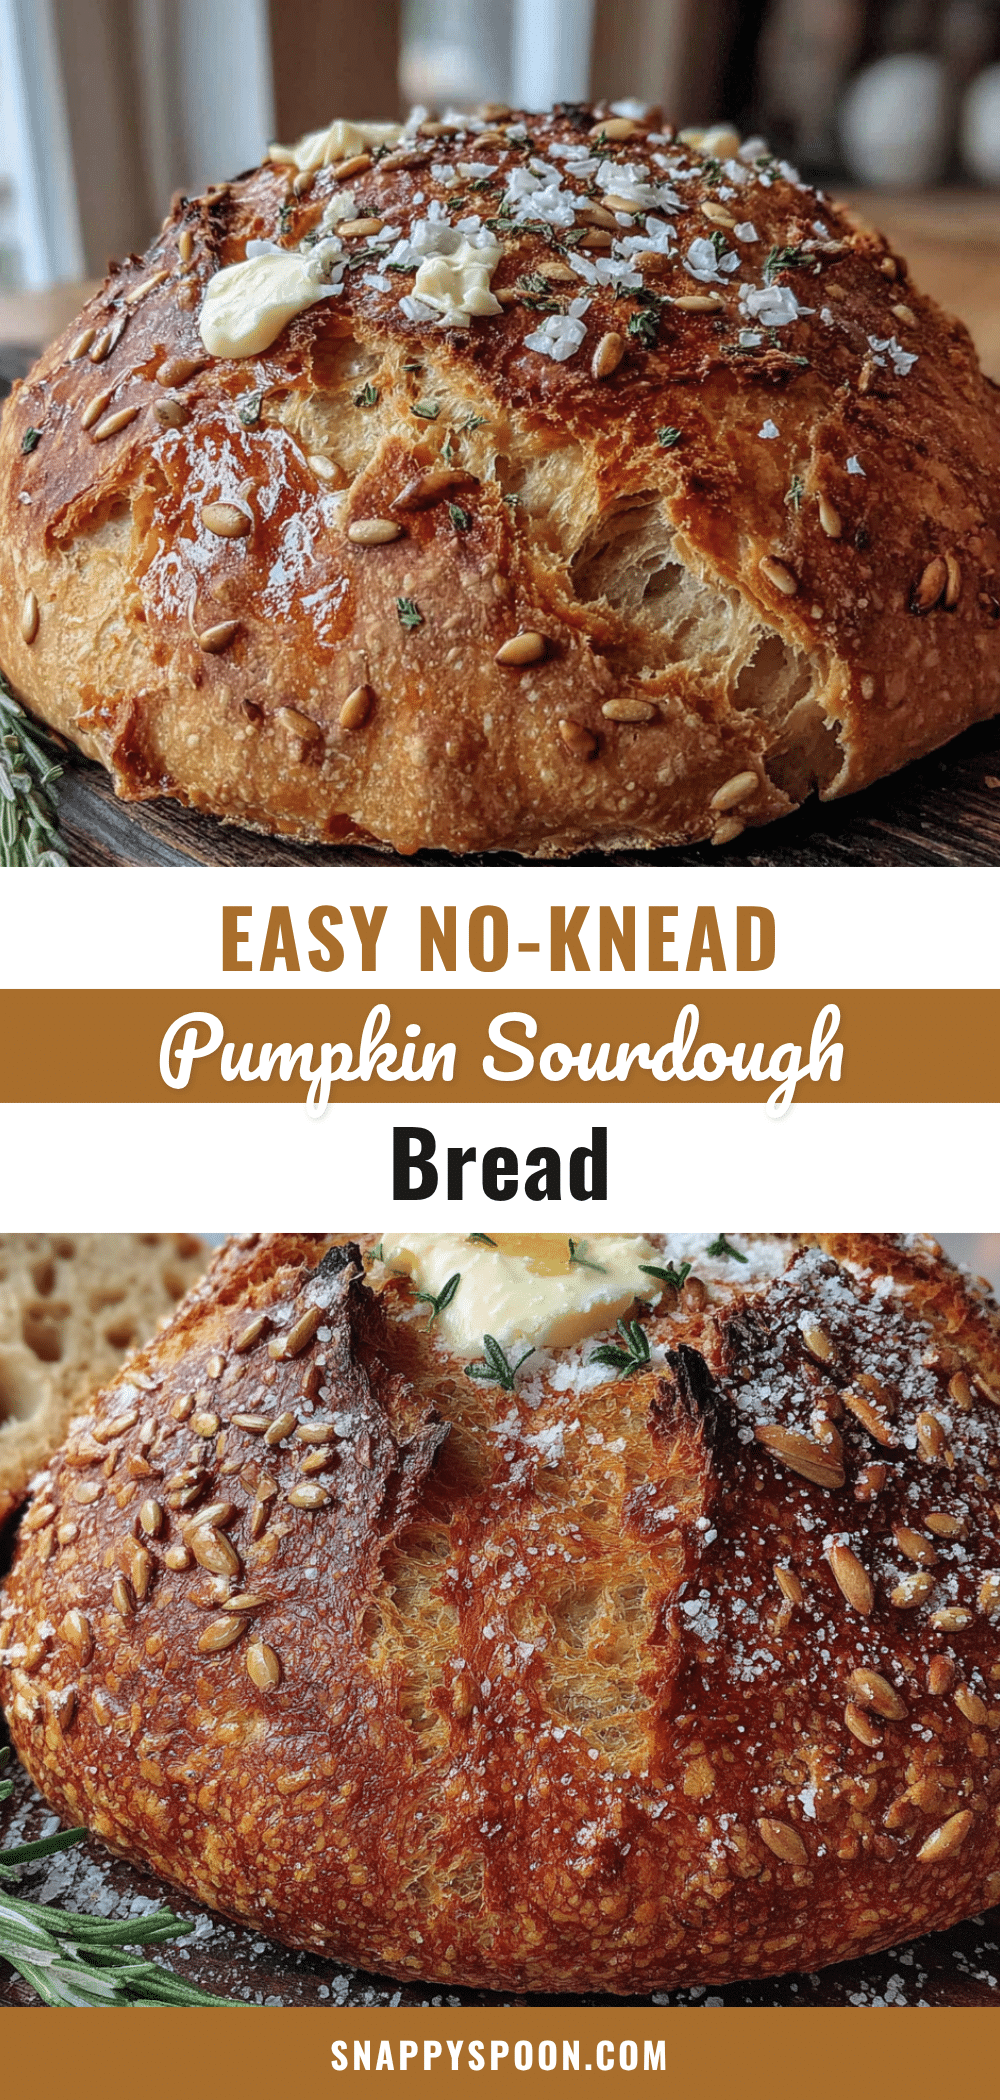
Easy No-Knead Pumpkin Sourdough Bread Recipe (Best Fall Bread!)
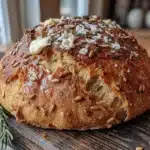
This easy no-knead pumpkin sourdough bread combines tangy sourdough with sweet, earthy pumpkin and warm spices for a beautiful, crusty loaf. With just 15 minutes of active prep, the dough does all the work while you sleep, making it perfect for busy fall weekends.
- Prep Time: 15 minutes
- Cook Time: 50 minutes
- Total Time: 14 hours 5 minutes (includes 12-18 hours bulk fermentation and 1-2 hours proofing)
- Yield: 12 servings 1x
- Category: Bread
- Cuisine: American
Ingredients
- 100g active sourdough starter (fed and bubbly)
- 200g pumpkin puree (100% pure pumpkin, not pie filling)
- 250g warm water (about 85°F/30°C)
- 500g bread flour (preferably King Arthur)
- 10g fine sea salt
- 1 tsp ground cinnamon
- 1/2 tsp ground nutmeg
- 1/4 tsp ground ginger
- 1/4 tsp ground cloves
- 1 tbsp pumpkin seeds (pepitas) (optional, for topping)
- 1 tbsp rolled oats (optional, for topping)
Instructions
- Mix the Dough: In a large mixing bowl, combine the active sourdough starter, pumpkin puree, and warm water. Stir until the starter is mostly dissolved. Add the bread flour, salt, and all spices (cinnamon, nutmeg, ginger, cloves). Mix with your hands or a spatula until no dry flour remains. The dough will be very sticky and shaggy. Cover the bowl with plastic wrap.
- Bulk Fermentation: Let the dough rest at room temperature for 12-18 hours. During the first 2 hours, perform a set of ‘stretch and folds’ every 30 minutes (4 times total). Wet your hands, grab one side of the dough, stretch it up, and fold it over the top. Turn the bowl a quarter turn and repeat. After that, leave it alone. The dough should double in size and look bubbly and jiggly.
- Shape the Dough: Lightly flour your work surface. Turn the dough out onto it. Gently fold the edges of the dough into the center, creating a round ball. Flip the dough over so the seam is on the bottom. Cup the dough with your hands and drag it towards you on the counter to create surface tension.
- Proof the Dough: Place the shaped dough seam-side down on a piece of parchment paper. Cover with a towel and let it rest for 1-2 hours until it puffs up slightly. About 30 minutes before baking, place your Dutch oven (with lid) in the oven and preheat to 450°F (230°C).
- Score and Bake: Carefully remove the hot Dutch oven from the oven. Lower the dough into the pot using the parchment paper as a sling. Score the top of the bread with a sharp lame or serrated knife (a simple cross or single slash about 1/2 inch deep). Sprinkle with pumpkin seeds and oats if using. Put the lid on and bake for 30 minutes. Remove the lid and bake for another 15-20 minutes until the crust is deep amber-brown. Internal temperature should read 205-210°F (96-99°C).
- Cool: Transfer the bread to a cooling rack and let it cool completely before slicing (about 2 hours). Cutting into hot bread will make the inside gummy.
Notes
Don’t skip the stretch and folds—they build gluten structure for a beautiful open crumb. If your dough feels impossibly wet, add 10-20g more flour during mixing. Use a lame for a clean score that allows the dough to bloom. The Dutch oven traps steam for a crisp crust. Listen for the crust to crackle as it cools—that’s pure satisfaction. Store cooled bread in a paper bag at room temperature for up to 3 days, or freeze for up to 3 months.
Nutrition
- Serving Size: 1 slice (1/12th of l
- Calories: 180
- Sugar: 3
- Sodium: 390
- Fat: 1
- Carbohydrates: 35
- Fiber: 3
- Protein: 6
Keywords: pumpkin sourdough bread, no-knead bread, fall bread, sourdough bread recipe, pumpkin bread, easy sourdough, artisan bread