Love this? Save it for later!
Share the inspiration with your friends
I was standing in the middle of the baking aisle at my local grocery store last Tuesday when a woman walked past me, and I caught the faintest whiff of vanilla—not the cheap artificial kind, but that deep, almost floral scent of real vanilla beans. And just like that, I was seven years old again, sitting on a cracked vinyl stool at my neighbor Mrs. Kowalski’s kitchen counter, watching her split a vanilla bean lengthwise with a paring knife that had seen better days.
Mrs. Kowalski wasn’t my grandmother. She wasn’t even related to me. She was just this elderly Polish woman who lived three houses down and apparently had decided that I needed to learn how to bake properly. Every Tuesday after school, I’d show up at her back door, and she’d already have the butter softening on the counter. She never used recipes—everything was “a little of this” and “enough of that” until it felt right. I remember the way she’d press a vanilla bean pod between her thumb and forefinger, rolling it gently to release the tiny black seeds inside. She called them “vanilla gold.”
I honestly haven’t thought about those afternoons in years. But standing there in that grocery store, I could suddenly feel the weight of her heavy cast-iron skillet and smell the peculiar mix of flour, butter, and her rose-scented hand cream. I bought three vanilla beans on impulse that day, along with a carton of heavy cream I didn’t really need. Maybe you’ve been there—when a random memory grabs you by the collar and you find yourself buying ingredients for a recipe you haven’t made in forever.
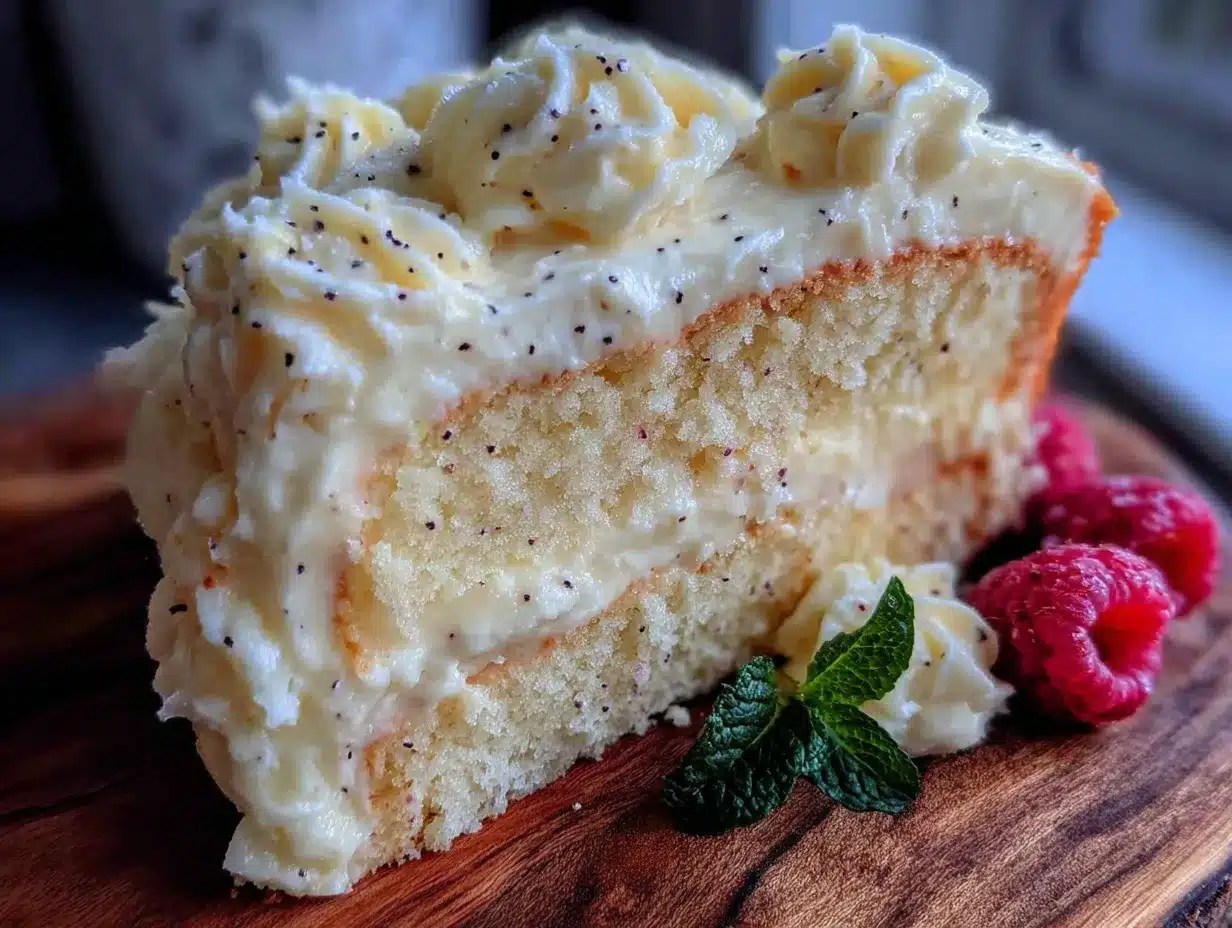
This Light Vanilla Bean Cream Cake with Fluffy Frosting is my attempt to recreate that feeling. Not just the cake itself, but the whole experience—the patience of watching someone who knew exactly what they were doing, the anticipation of waiting for something beautiful to come out of the oven, and that first bite where everything just clicks. It’s taken me more attempts than I care to admit to get it right, but this version? This is the one that finally made me close my eyes and smile.
Why You’ll Love This Recipe
Let me tell you why this cake has become my go-to for everything from birthday parties to Tuesday night cravings. I’ve tested this recipe at least seven times—honestly, I lost count—and each time I learned something new about getting that perfect balance of light, tender crumb and rich vanilla flavor without the heaviness that usually comes with cream-based cakes.
- Incredibly Light Texture : This cake uses a clever technique with whipped egg whites that gives you the fluffiest crumb you’ve ever had from a cream cake. It’s like eating a vanilla-scented cloud, I’m not kidding.
- Real Vanilla Flavor : We’re using actual vanilla beans here, not extract. Those tiny black specks throughout the cake and frosting? That’s the good stuff. The flavor is deeper, warmer, and somehow more nostalgic than anything from a bottle.
- Simple Ingredients : Nothing fancy here—butter, sugar, eggs, flour, cream, and vanilla beans. You probably have most of this in your kitchen right now.
- Perfect for Any Occasion : It’s fancy enough for a birthday party or anniversary, but simple enough that you can whip it up on a random Sunday just because you feel like it.
- That Fluffy Frosting : Oh, the frosting. It’s a light, airy buttercream that doesn’t weigh the cake down. It’s the kind of frosting you want to eat with a spoon when nobody’s watching.
What makes this recipe different from every other vanilla cake out there is the technique. Instead of just mixing everything together, we’re treating the egg whites separately, folding them in gently at the end to create that ethereal texture. And the frosting? It starts with a cooked flour base that sounds weird but trust me, it’s the secret to the fluffiest, most stable frosting you’ll ever make. This isn’t just another vanilla cake—it’s the vanilla cake you’ll come back to again and again.
What Ingredients You Will Need
This recipe uses simple, wholesome ingredients to deliver that unforgettable vanilla flavor and cloud-like texture. Most of these are pantry staples, but a few deserve a little extra attention to get the best results.
For the Cake
- 2 ½ cups (310g) all-purpose flour — I use King Arthur Flour for consistent results, but any good all-purpose flour works. Spoon and level it into your measuring cup; don’t scoop directly or you’ll pack in too much.
- 2 ½ teaspoons baking powder — Make sure it’s fresh. If your baking powder is more than six months old, it might not give you the lift you need.
- ½ teaspoon salt — Fine sea salt is best here. It balances the sweetness without being noticeable.
- ¾ cup (170g) unsalted butter — Softened to room temperature. Leave it out for about an hour before you start. It should give slightly when you press it with your finger, but not be greasy.
- 1 ½ cups (300g) granulated sugar — Regular white sugar works beautifully here. The fine crystals cream perfectly with the butter.
- 3 large eggs, separated — Room temperature eggs are crucial. They whip up higher and incorporate more evenly. Separate them while they’re cold, then let the whites and yolks come to room temperature separately.
- 1 vanilla bean — Look for plump, moist vanilla beans from Madagascar or Tahiti. They should be flexible, not brittle. I like Nielsen-Massey or simply buying in bulk from a reputable spice shop.
- 1 tablespoon vanilla extract — Pure vanilla extract, not imitation. Yes, it costs more. Yes, it matters.
- 1 cup (240ml) heavy cream — Room temperature. This adds richness without making the cake heavy. Don’t use half-and-half or milk; the fat content of heavy cream is what gives this cake its signature texture.
For the Fluffy Frosting
- ½ cup (60g) all-purpose flour — Yes, flour in frosting. Don’t worry, you can’t taste it. It creates the most stable, silky base you’ll ever work with.
- 1 cup (240ml) whole milk — Whole milk is important here for the right consistency. Low-fat milk makes the frosting too thin.
- 1 cup (225g) unsalted butter — Softened but still cool. If it’s too soft, your frosting will be greasy.
- 1 cup (200g) granulated sugar — You’ll be surprised how little sugar this frosting uses compared to traditional buttercream.
- 1 teaspoon vanilla extract — Or scrape the seeds from half a vanilla bean for extra visual appeal.
- Pinch of salt — Just a tiny bit to balance the sweetness.
Substitution Notes
If you don’t have a vanilla bean, you can use 2 tablespoons of vanilla extract instead—just add it to the wet ingredients. For a dairy-free version, substitute the butter with a high-quality vegan butter (I like Miyoko’s) and use full-fat oat milk in the frosting. The texture will be slightly different, but still delicious. And if you’re gluten-free, swap the all-purpose flour for a good 1:1 gluten-free baking blend that contains xanthan gum.
Equipment Needed
You don’t need a professional bakery setup for this cake, but a few specific tools will make your life much easier. Here’s what I use every single time I make this recipe.
- Two 8-inch round cake pans — I prefer light-colored metal pans for even baking. Dark pans can cause the edges to brown too quickly. If you only have 9-inch pans, reduce the baking time by about 5 minutes.
- Stand mixer or hand mixer — You’ll be doing a lot of mixing and whipping, so a stand mixer is ideal. But a hand mixer works perfectly fine—I made this recipe for years with a $20 hand mixer before upgrading.
- Parchment paper — Cut circles to line the bottom of your cake pans. This guarantees your cakes will release cleanly every time.
- Cooling rack — A wire rack is essential for cooling cakes evenly. If you don’t have one, you can use the overturned lid of a roasting pan in a pinch. I’ve done it.
- Offset spatula — For spreading the frosting smoothly. A butter knife works too, but an offset spatula makes it look professional.
- Large mixing bowls — You’ll need at least three: one for dry ingredients, one for the butter mixture, and one for whipping egg whites.
- Fine-mesh sieve — For sifting the flour mixture and for straining the frosting base if needed.
- Sharp knife or kitchen shears — For splitting the vanilla bean lengthwise.
Preparation Method
Alright, let’s make this cake. I’ve broken everything down into clear steps, and I’ve included all the little details I wish someone had told me the first time I attempted a cream cake. Take your time, read through everything once before you start, and remember—even if something goes slightly wrong, it’ll still taste amazing.
Step 1: Prepare Your Pans and Preheat
Preheat your oven to 350°F (175°C). Grease two 8-inch round cake pans with butter or non-stick spray, then line the bottoms with parchment paper circles. Grease the parchment too, then dust the pans lightly with flour. Tap out any excess. This extra step might seem fussy, but I promise it’s worth it when your cakes slide right out.
Step 2: Split and Scrape the Vanilla Bean
Lay your vanilla bean flat on a cutting board. Use a sharp paring knife to split it lengthwise, from tip to tip, but don’t cut all the way through. Open it up like a book, and you’ll see all those tiny black seeds inside. Use the back of your knife to scrape them out. You should get about 1 to 2 teaspoons of vanilla paste. Put the seeds in a small bowl and set aside. Don’t throw away the empty pod—bury it in a jar of sugar to make vanilla sugar later.
Step 3: Mix the Dry Ingredients
In a medium bowl, whisk together the flour, baking powder, and salt. Sift them through a fine-mesh sieve into another bowl to aerate everything. This takes an extra minute but makes a noticeable difference in the cake’s lightness. Set aside.
Step 4: Cream the Butter and Sugar
In the bowl of your stand mixer fitted with the paddle attachment, beat the softened butter on medium speed for about 2 minutes until it’s smooth and pale. Add the sugar gradually, about ¼ cup at a time, beating well after each addition. Continue beating for 3 to 4 minutes until the mixture is light, fluffy, and almost white in color. Scrape down the sides and bottom of the bowl at least once. This step is crucial—proper creaming creates air pockets that help your cake rise.
Step 5: Add the Egg Yolks and Vanilla
Add the egg yolks one at a time, beating well after each addition. Scrape the bowl again. Add the vanilla bean seeds and the vanilla extract, and beat just until combined. The mixture should look smooth and glossy at this point.
Step 6: Alternate Adding Dry Ingredients and Cream
With the mixer on low speed, add the flour mixture in three additions, alternating with the heavy cream in two additions. Start and end with the flour mixture. So: flour, half the cream, flour, remaining cream, flour. Mix just until each addition is incorporated—overmixing at this stage will make your cake tough. Stop the mixer and give the bowl a final scrape and fold by hand to make sure everything is evenly mixed.
Step 7: Whip the Egg Whites
In a clean, dry bowl (make sure there’s absolutely no grease), beat the egg whites with the whisk attachment on medium-high speed until stiff peaks form. You’re looking for peaks that stand straight up when you lift the whisk, not flop over. This usually takes 3 to 5 minutes. Be careful not to overwhip, or the whites will become dry and grainy.
Step 8: Fold Everything Together
Take about one-third of the whipped egg whites and stir them into the batter to lighten it. Don’t be gentle here—you want to fully incorporate this first batch. Then, add the remaining egg whites and fold them in using a rubber spatula. Use a gentle cutting and folding motion: cut down through the center, scrape along the bottom, and fold up over the top. Rotate the bowl as you go. Stop when you can’t see any more white streaks. Overfolding will deflate the batter, so don’t be too thorough.
Step 9: Bake the Cakes
Divide the batter evenly between your prepared pans. Smooth the tops with a spatula. Bake for 25 to 30 minutes, until the tops are golden brown and a toothpick inserted in the center comes out clean or with just a few moist crumbs. The cakes should spring back when you gently press the center. Let them cool in the pans for 10 minutes, then turn them out onto a wire rack, remove the parchment, and let them cool completely. This takes about an hour. Don’t try to frost warm cakes—your frosting will melt into a puddle.
Step 10: Make the Fluffy Frosting
While the cakes cool, make the frosting. In a small saucepan, whisk together the flour and milk until smooth. Cook over medium heat, stirring constantly, until the mixture thickens into a paste. It should be the consistency of thick pudding. This takes about 3 to 5 minutes. Remove from heat and let it cool completely to room temperature. If you’re in a hurry, spread it on a plate and pop it in the fridge for 15 minutes, stirring occasionally.
In your stand mixer with the paddle attachment, beat the softened butter and sugar together until light and fluffy, about 3 minutes. Add the cooled flour paste, vanilla extract, and salt. Beat on medium-high speed for 5 to 7 minutes until the frosting is incredibly light, fluffy, and spreadable. It should look like whipped cream but hold its shape better. If it looks curdled at any point, just keep beating—it will come together.
Step 11: Assemble and Frost
Place one cake layer on your serving plate. Spread about ¾ cup of frosting evenly on top. Place the second layer on top, then frost the entire cake with a thin crumb coat first. Refrigerate for 15 minutes to set the crumb coat, then apply the final layer of frosting. Use your offset spatula to create smooth sides or decorative swirls on top.
Cooking Tips & Techniques
I’ve made this cake enough times to have learned a few things the hard way. Here are the tips I wish someone had given me before my first attempt.
Room temperature ingredients are non-negotiable. I know it’s tempting to use cold eggs straight from the fridge, but cold ingredients don’t emulsify properly. Your batter will look curdled, and your cake will be dense. Take the time to let everything come to room temperature. If you’re in a rush, put the eggs in a bowl of warm water for 5 minutes and microwave the cream for 15 seconds.
Don’t overmix the batter after adding the flour. This is the most common mistake I see. Once flour meets liquid, gluten starts developing. The more you mix, the tougher your cake gets. Mix just until you can’t see dry flour anymore, then stop. A few small lumps are totally fine—they’ll disappear during baking.
Fold the egg whites in three batches. The first batch lightens the batter so the remaining whites can be folded in more easily without deflating. If you dump all the whites in at once, you’ll be folding forever and lose all that precious air.
Check your oven temperature with an oven thermometer. I learned this one after my first cake came out with a burnt exterior and raw center. My oven runs 25 degrees hot. Yours might too. An oven thermometer costs about $10 and saves you from so much frustration.
Let the cakes cool completely before frosting. I know it’s hard to wait, but warm cakes will turn your beautiful frosting into a melty mess. If you’re in a hurry, you can speed up cooling by placing the cakes in the refrigerator for 20 minutes once they’re no longer warm to the touch.
Variations & Adaptations
One of the best things about this cake is how adaptable it is. Here are some of my favorite variations that I’ve tested over the years.
Lemon Vanilla Cream Cake
Add the zest of two lemons to the butter and sugar mixture when creaming. Replace 2 tablespoons of the heavy cream with fresh lemon juice. The lemon brightens the vanilla beautifully and makes the cake feel even lighter. I made this version for a spring brunch last year, and three people asked for the recipe.
Chocolate Swirl Variation
Melt 4 ounces of dark chocolate and let it cool slightly. After folding in the egg whites, drizzle the melted chocolate over the batter and gently swirl it in with a knife—just three or four strokes. Don’t over-swirl or you’ll lose the marbled effect. This gives you pockets of rich chocolate throughout the vanilla cake.
Gluten-Free Version
Substitute the all-purpose flour with a 1:1 gluten-free baking blend that contains xanthan gum. I’ve had the best results with Cup4Cup. Add 1 teaspoon of apple cider vinegar to the egg whites before whipping—it helps stabilize them and improves the texture of gluten-free baked goods. The cake will be slightly more delicate, so handle it gently.
Strawberry Shortcake Style
Slice fresh strawberries and macerate them in a tablespoon of sugar for 20 minutes. Layer them between the cake layers with the frosting. Top the finished cake with more strawberries and a dusting of powdered sugar. This is my go-to summer version when strawberries are at their peak.
Serving & Storage Suggestions
This cake is best served at room temperature, so take it out of the refrigerator about 30 minutes before you plan to slice it. The texture is softer and the vanilla flavor is more pronounced when it’s not cold. Slice with a sharp serrated knife, wiping the blade clean between cuts for neat slices.
For storage, cover the cake with a cake dome or place it in a cake carrier. It will keep at room temperature for up to 2 days, but honestly, it’s at its best on day one. If you need to store it longer, refrigerate it in an airtight container for up to 5 days. The frosting stays beautifully fluffy even when chilled.
You can freeze this cake too. Freeze the unfrosted cake layers wrapped tightly in plastic wrap and then foil for up to 3 months. Thaw them at room temperature for about 2 hours before frosting. The frosting itself can be frozen in an airtight container for up to 2 months—just let it come to room temperature and re-whip it for a minute before using.
If you have leftover frosting (lucky you), it’s amazing on cupcakes, spread on graham crackers, or just eaten by the spoonful. I’m not judging.
Nutritional Information & Benefits
This cake is a treat, and I’m not going to pretend otherwise. But there are a few things that make it a slightly better choice than your average bakery cake. The portion sizes are reasonable, and the ingredients are all real and recognizable.
Per serving (1/12 of the cake with frosting): approximately 380 calories, 22g fat, 44g carbohydrates, 5g protein, and 28g sugar. These are estimates and will vary based on your specific ingredients and portion sizes.
On the plus side, this cake uses real vanilla bean, which contains small amounts of antioxidants and anti-inflammatory compounds. The butter provides vitamin A, and the eggs contribute high-quality protein. Is it health food? No. But if you’re going to have cake, having one made with real ingredients is always better than something loaded with artificial flavors and preservatives.
For those watching their sugar intake, you can reduce the sugar in the cake to 1 cup without significantly affecting the texture. The frosting is already lower in sugar than traditional buttercream, which is one of the reasons I love it.
Conclusion
This Light Vanilla Bean Cream Cake with Fluffy Frosting has become more than just a recipe in my kitchen. It’s the cake I make when I want to feel connected to those Tuesday afternoons at Mrs. Kowalski’s counter. It’s the cake that makes people close their eyes when they take the first bite. And honestly, it’s the cake that taught me that sometimes the simplest things—vanilla, cream, butter, eggs—can create something truly extraordinary when you treat them with care.
I hope you make this cake for someone you love. Or just for yourself on a random Tuesday. Either way, I’d love to hear how it turns out. Did you try one of the variations? Did you come up with your own twist? Drop a comment below and let me know. And if you share it on social media, tag me—I want to see your beautiful creation.
Happy baking, friend. You’ve got this.
Frequently Asked Questions
Can I use vanilla extract instead of a vanilla bean?
Absolutely. Use 2 tablespoons of pure vanilla extract in the cake batter and another teaspoon in the frosting. You won’t get those beautiful black specks, but the flavor will still be wonderful. If you want the specks without buying whole beans, you can use vanilla bean paste, which comes in a jar and measures spoon-for-spoon like extract.
Why did my cake sink in the middle?
This usually happens for one of three reasons: your oven temperature was too low, you opened the oven door too early (wait until at least 20 minutes of baking), or your egg whites were underwhipped. Make sure your oven is fully preheated and that your egg whites form stiff, glossy peaks that hold their shape.
Can I make this cake in advance?
Yes! You can bake the cake layers up to 2 days ahead. Wrap them tightly in plastic wrap once they’re completely cool and store them at room temperature. The frosting can be made up to 3 days ahead and refrigerated in an airtight container. Let it come to room temperature and re-whip for a minute before using.
My frosting looks curdled. What went wrong?
Don’t panic—this is actually normal and fixable. If your butter was too cold or too warm, the frosting can look separated. Just keep beating on medium-high speed for another 3 to 5 minutes. It should come together into a smooth, fluffy frosting. If it still looks curdled after 5 minutes, try warming the bowl slightly by placing it over a pot of warm water for 30 seconds, then beat again.
Can I use this recipe to make cupcakes?
Definitely. This batter makes about 24 cupcakes. Fill the cupcake liners about two-thirds full and bake at 350°F (175°C) for 18 to 22 minutes. The fluffy frosting pipes beautifully onto cupcakes—use a large star tip for a bakery-style swirl. The baking time will be shorter, so start checking at 16 minutes.
Pin This Recipe!
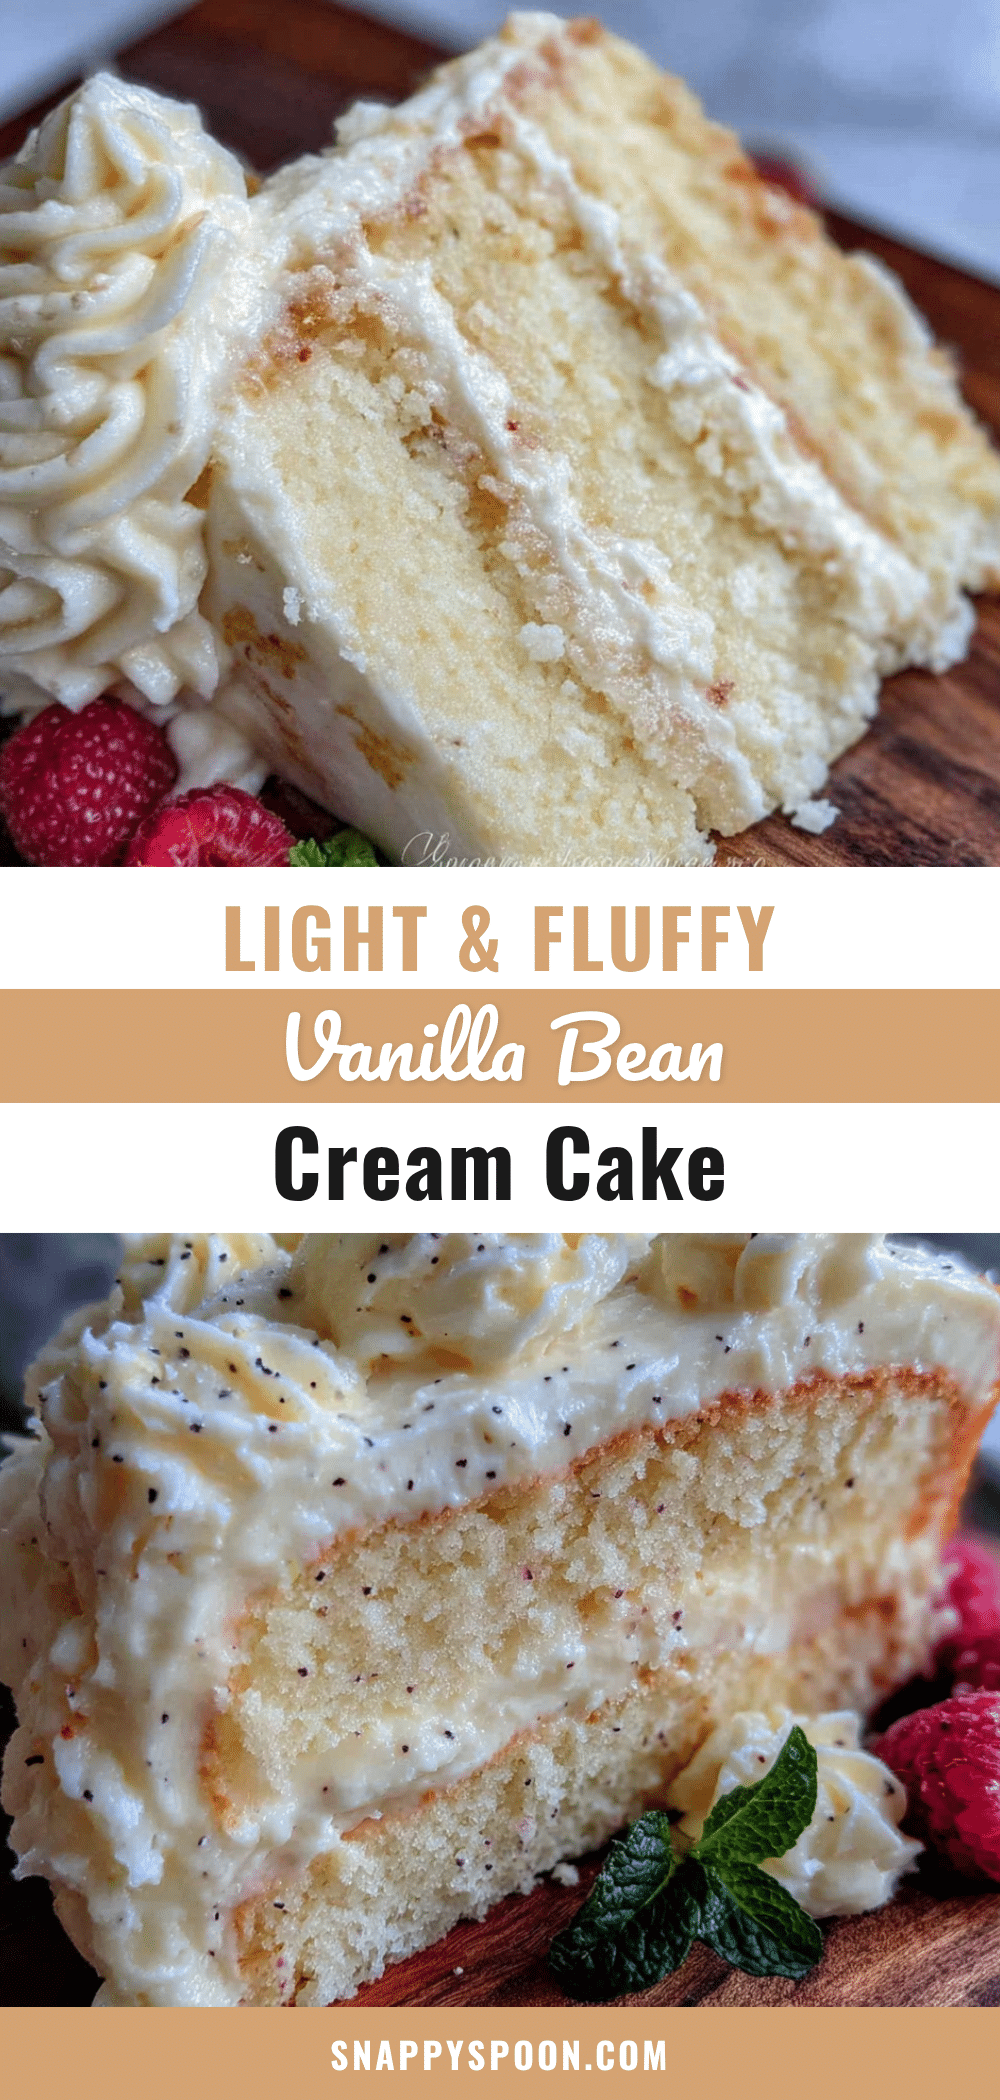
Light Vanilla Bean Cream Cake with Fluffy Frosting
A light, tender vanilla bean cream cake with a fluffy, cloud-like frosting. This recipe uses real vanilla beans and a clever technique with whipped egg whites for an ethereal texture.
- Prep Time: 30 minutes
- Cook Time: 30 minutes
- Total Time: 1 hour 30 minutes
- Yield: 12 servings 1x
- Category: Dessert
- Cuisine: American
Ingredients
- 2 ½ cups (310g) all-purpose flour
- 2 ½ teaspoons baking powder
- ½ teaspoon salt
- ¾ cup (170g) unsalted butter, softened
- 1 ½ cups (300g) granulated sugar
- 3 large eggs, separated
- 1 vanilla bean
- 1 tablespoon vanilla extract
- 1 cup (240ml) heavy cream, room temperature
- ½ cup (60g) all-purpose flour (for frosting)
- 1 cup (240ml) whole milk (for frosting)
- 1 cup (225g) unsalted butter, softened (for frosting)
- 1 cup (200g) granulated sugar (for frosting)
- 1 teaspoon vanilla extract (for frosting)
- Pinch of salt (for frosting)
Instructions
- Preheat oven to 350°F (175°C). Grease two 8-inch round cake pans, line bottoms with parchment paper, grease parchment, and dust with flour.
- Split vanilla bean lengthwise and scrape out seeds. Set seeds aside.
- In a medium bowl, whisk together flour, baking powder, and salt. Sift through a fine-mesh sieve.
- In a stand mixer with paddle attachment, beat butter on medium speed for 2 minutes until smooth. Gradually add sugar, beating for 3-4 minutes until light and fluffy.
- Add egg yolks one at a time, beating well after each. Add vanilla bean seeds and vanilla extract; beat until combined.
- With mixer on low, add flour mixture in three additions alternating with heavy cream in two additions, starting and ending with flour. Mix just until incorporated.
- In a clean bowl, beat egg whites on medium-high speed until stiff peaks form (3-5 minutes).
- Fold one-third of egg whites into batter to lighten, then gently fold in remaining whites until no streaks remain.
- Divide batter evenly between prepared pans. Bake 25-30 minutes until golden and a toothpick inserted in center comes out clean. Cool in pans 10 minutes, then turn out onto wire rack to cool completely.
- For frosting: In a saucepan, whisk together flour and milk. Cook over medium heat, stirring constantly, until thick (3-5 minutes). Cool completely.
- In stand mixer with paddle attachment, beat butter and sugar until light and fluffy (3 minutes). Add cooled flour paste, vanilla extract, and salt. Beat on medium-high 5-7 minutes until very light and fluffy.
- Place one cake layer on serving plate. Spread about ¾ cup frosting on top. Add second layer. Apply thin crumb coat, refrigerate 15 minutes, then apply final layer of frosting.
Notes
Room temperature ingredients are crucial. Do not overmix after adding flour. Fold egg whites in three batches. Check oven temperature with an oven thermometer. Let cakes cool completely before frosting.
Nutrition
- Serving Size: 1 slice (1/12 of cak
- Calories: 380
- Sugar: 28
- Sodium: 180
- Fat: 22
- Saturated Fat: 13
- Carbohydrates: 44
- Fiber: 1
- Protein: 5
Keywords: vanilla bean cake, cream cake, fluffy frosting, birthday cake, vanilla cake, homemade cake