Love this? Save it for later!
Share the inspiration with your friends
“You know that moment when your kitchen timer goes off, and you realize you’ve totally forgotten to plan dinner? Yeah, that was me last Thursday night. I’d just unpacked my brand-new Ninja Foodi, still figuring out what in the world to make first. Honestly, I was more intimidated than excited—this thing looked like a spaceship with all its buttons and settings.
But then my neighbor, Mark, popped over with his usual calm and said, ‘Just toss in some chicken and veggies, set it, and forget it.’ I thought, easier said than done. Yet, watching him effortlessly whip up crispy chicken and roasted veggies in the Ninja Foodi without a mess or fuss was eye-opening. I’d always assumed that getting that perfect crispy skin and tender veggies required hours and a dozen pans. Nope, not with this gadget.
Now, I’m not gonna lie—I fumbled a bit at first. Like that one time I forgot to pat the chicken dry and ended up with soggy skin. But after a few tries, I nailed it. This collection of easy Ninja Foodi recipes for beginners with crispy chicken and veggies was born out of those trial-and-error evenings, plus a lot of late-night Googling and taste-testing.
Maybe you’ve been there too—eyeing the Ninja Foodi or a similar multi-cooker, wondering if it’s worth the hype. Let me tell you, these recipes are proof you don’t need to be a pro to make dinner that’s crispy, flavorful, and downright satisfying. Plus, you’ll get the hang of your Ninja Foodi without stressing over complicated steps or endless ingredients.
Why You’ll Love This Recipe
After countless experiments in my kitchen, these easy Ninja Foodi recipes for beginners with crispy chicken and veggies stand out for several reasons. I mean, who doesn’t want a meal that’s quick, delicious, and fuss-free? Here’s why these meals have become staples in my weeknight routine:
- Quick & Easy: Each recipe comes together in under 30 minutes, perfect for busy weeknights when you’re juggling work, kids, or just life’s chaos.
- Simple Ingredients: No need for exotic spices or specialty stores. Most ingredients are pantry staples or easy finds at your local market.
- Perfect for Beginners: Designed with the Ninja Foodi newbie in mind—straightforward steps without complicated settings or guesswork.
- Crowd-Pleaser: Whether it’s family dinner or a casual get-together, these crispy chicken and veggie meals get thumbs up all around.
- Unbelievably Delicious: The crispy chicken skin combined with roasted veggies hits that comforting, home-cooked note every time.
What really sets these recipes apart is the balance of crispy texture and juicy tenderness, thanks to the Ninja Foodi’s unique pressure-cook-then-air-fry technique. I’ve seen people shy away from pressure cookers thinking they’ll end up soggy, but this method locks in moisture while creating that golden crust we all crave. Plus, you can swap veggies easily based on what’s fresh or what you love—flexibility is key!
Honestly, these recipes aren’t just meals—they’re my go-to solutions for when I want something tasty without the usual kitchen drama. If you’re just starting out with your Ninja Foodi, this is the kind of no-nonsense, foolproof cooking you’ll want in your back pocket.
What Ingredients You Will Need
These recipes rely on straightforward, wholesome ingredients that work together to create bold flavor with minimal effort. Best part? Most of these are probably already in your fridge or pantry.
- Chicken: Boneless, skin-on chicken thighs or breasts work best for crispy skin and juicy meat. I personally prefer thighs for their richer flavor and forgiving texture.
- Vegetables:
- Carrots, sliced or baby carrots (adds sweetness and color)
- Broccoli florets (for a nice crisp-tender bite)
- Bell peppers, sliced thin (brightens the dish)
- Zucchini or summer squash, sliced (optional, but great for variety)
- Olive Oil: For coating the chicken and veggies; I recommend extra virgin olive oil from brands like California Olive Ranch for its smooth flavor.
- Seasonings:
- Garlic powder (for a subtle savory depth)
- Paprika (adds smoky warmth and color)
- Salt and black pepper (essential seasoning)
- Dried herbs like thyme or oregano (optional, but tasty)
- Lemon Juice or Zest: A splash or sprinkle brightens the whole dish and cuts through richness.
- Chicken Broth or Water: A small amount for pressure cooking to keep things moist.
Substitutions: If you’re gluten-free or avoiding certain seasonings, feel free to swap garlic powder with fresh minced garlic, or use coconut oil instead of olive oil. For a lower-fat option, skinless chicken breasts work fine, though the skin adds that coveted crispiness.
Equipment Needed
- Ninja Foodi Multi-Cooker: This is the star of the show—combining pressure cooking and air frying in one unit.
- Mixing Bowls: For tossing chicken and veggies with seasonings. I like using medium-sized glass bowls that are easy to clean and don’t stain.
- Tongs or Silicone Spatula: Helpful for turning chicken and stirring veggies without scratching the Foodi’s basket.
- Measuring Spoons and Cups: Accuracy helps, especially with seasoning.
- Sharp Knife and Cutting Board: For prepping veggies and trimming chicken.
If you don’t have a Ninja Foodi, a similar multi-cooker with air frying capabilities can work. Just make sure it has a crisping lid or basket accessory. For cleaning, I recommend soaking the basket in warm soapy water right after use to avoid stubborn food bits. Budget-wise, if you’re starting out, look for refurbished or previous model Ninja Foodis—great quality without breaking the bank.
Preparation Method
- Prep the Chicken: Pat dry 4 boneless, skin-on chicken thighs (about 1.5 lbs / 680 g) with paper towels to remove moisture. This step is key for getting crispy skin. Season generously with 1 tsp garlic powder, 1½ tsp paprika, 1 tsp salt, and ½ tsp black pepper. Drizzle with 1 tbsp olive oil and rub all over the chicken. Let it sit while prepping veggies (about 10 minutes).
- Prepare the Vegetables: Chop 2 cups broccoli florets, 1 cup sliced carrots, 1 cup sliced bell peppers, and 1 cup zucchini slices. Toss in a bowl with 1 tbsp olive oil, a pinch of salt, and dried thyme or oregano (about 1 tsp). Set aside.
- Pressure Cook: Pour ½ cup (120 ml) chicken broth into the Ninja Foodi pot. Place the wire rack inside and arrange the chicken thighs skin-side up on the rack. Lock the lid, set to Pressure Cook on High for 8 minutes. After cooking, allow 5 minutes natural release, then quick release remaining pressure.
- Air Crisp Chicken: Remove the pressure cooker lid and switch to the Air Crisp lid. Air crisp the chicken at 400°F (204°C) for 10-12 minutes until skin is golden and crispy, flipping halfway through for even browning.
- Air Crisp Vegetables: While chicken crisps, place veggies in the air fryer basket. After chicken is done, transfer veggies into the Foodi basket and air crisp at 390°F (199°C) for 8-10 minutes until tender and slightly charred, shaking basket halfway through.
- Finish and Serve: Squeeze fresh lemon juice over the chicken and veggies. Serve hot, garnished with extra herbs if desired.
Tips: If your chicken skin isn’t as crispy as you’d like, add a couple more minutes of air crisping. Don’t overcrowd the basket to allow proper air circulation and even cooking. Keep an eye on the veggies during air crisping to avoid burning, especially thinner slices.
Cooking Tips & Techniques
Let me tell you, the pressure cook-then-air crisp method is a game-changer. Pressure cooking locks in juicy tenderness quickly, and the air crisp step finishes with that crave-worthy crunch. Here are some tips I’ve picked up:
- Dry Your Chicken: I can’t stress this enough. Moisture is the enemy of crisp skin. Pat it dry well before seasoning.
- Don’t Skip the Broth: A little liquid in pressure cooking prevents the ‘pot stuck’ error and keeps meat moist.
- Flip Halfway: Turning chicken and shaking veggies halfway through air crisping ensures even color and crunch.
- Use a Rack: Elevating chicken on a rack during pressure cooking prevents sogginess from sitting in juices.
- Season Generously: Don’t be shy with spices; pressure cooking can dull flavors, so seasoning well upfront pays off.
- Timing Matters: Multitask by prepping veggies while chicken is pressure cooking to save time.
One time, I accidentally set the air crisp temperature too low—ended up with limp skin and sad veggies. Lesson learned: follow temperatures closely but trust your nose and eyes too. If something looks or smells off, adjust accordingly.
Variations & Adaptations
These recipes are super flexible, so you can tweak them to fit your tastes or dietary needs.
- Flavor Twists: Try swapping paprika for Cajun seasoning or curry powder for a spicy kick. Adding fresh garlic cloves or ginger during pressure cooking can add aromatic depth.
- Vegetarian Option: Replace chicken with firm tofu or cauliflower florets. Air crisp longer for extra crunch.
- Gluten-Free Version: Naturally gluten-free, but double-check seasoning blends for hidden gluten.
- Low-Carb Adaptation: Focus on low-starch veggies like zucchini, broccoli, and bell peppers. Skip carrots or use sparingly.
- Seasonal Swaps: In fall, swap in Brussels sprouts and butternut squash for a cozy vibe.
My personal favorite variation is adding a honey-mustard glaze after air crisping—brush it on and pop the chicken back in for 2-3 minutes for sticky, sweet layers. Trust me, it’s a crowd-pleaser!
Serving & Storage Suggestions
This meal is best served hot from the Ninja Foodi, with crispy skin still crackling and veggies warm and tender. Plate it with a sprinkle of chopped fresh parsley or a wedge of lemon for brightness.
Pair with simple sides like steamed rice, garlic mashed potatoes, or a fresh garden salad for a well-rounded dinner. For drinks, a chilled glass of white wine or sparkling water with lemon complements the meal nicely.
Leftovers keep well in an airtight container in the fridge for up to 3 days. To reheat, use the air crisp function at 350°F (177°C) for 5-7 minutes to bring back the crispiness without drying out the chicken. Avoid microwaving if you want to maintain texture.
Flavors tend to deepen after a day, so sometimes I purposely make extra to enjoy the next day’s meal with even more savory punch.
Nutritional Information & Benefits
This easy Ninja Foodi chicken and veggie meal is a balanced dish offering lean protein, fiber, and vitamins. Per serving (1 chicken thigh with veggies), you get approximately:
| Calories | 320 |
|---|---|
| Protein | 28g |
| Fat | 18g |
| Carbohydrates | 10g |
| Fiber | 3g |
Chicken thighs provide essential amino acids and iron, while the assorted veggies boost your intake of vitamins A, C, and antioxidants. Using olive oil adds heart-healthy fats. This recipe fits well into gluten-free and moderate low-carb diets.
Personally, I love that this recipe feels hearty and satisfying without weighing me down. It’s a solid choice when I want comfort food that doesn’t derail my wellness goals.
Conclusion
These easy Ninja Foodi recipes for beginners with crispy chicken and veggies have become my secret weapon for quick, delicious dinners that don’t require a culinary degree. Whether you’re just starting to explore your Ninja Foodi or looking for reliable weeknight ideas, these meals hit the spot every time.
Feel free to play around with flavors, veggies, and seasonings to make it your own. Honestly, that’s part of the fun—making a recipe your kitchen’s signature without stress. I’m excited for you to try these out and see how simple it can be to get crispy, juicy chicken and perfectly cooked veggies with minimal fuss.
If you give any of these recipes a shot, I’d love to hear how they turn out for you. Drop a comment or share your own twists—I’m always curious about what creative cooks come up with!
Here’s to tasty meals and happy Ninja Foodi adventures!
Frequently Asked Questions
Can I use frozen chicken for these Ninja Foodi recipes?
It’s best to use fresh or fully thawed chicken for even cooking and crispiness. Frozen chicken can cook unevenly and may result in soggy skin.
What if I don’t have chicken thighs—can I use breasts instead?
Absolutely! Chicken breasts work fine but may dry out faster. Reduce pressure cooking time by 1-2 minutes and watch closely during air crisping.
Can I add other vegetables besides the ones listed?
Yes! Feel free to swap or add veggies like asparagus, green beans, or mushrooms. Just adjust air crisp time based on their cooking needs.
How do I clean my Ninja Foodi after making these recipes?
Remove the air fryer basket and pot, wash with warm soapy water, and dry thoroughly. Wipe the outer unit with a damp cloth. Avoid abrasive cleaners to preserve non-stick surfaces.
Is it possible to make this recipe vegan or vegetarian?
Yes, swap chicken for firm tofu or hearty veggies like cauliflower. Use vegetable broth instead of chicken broth during pressure cooking for a fully plant-based meal.
Pin This Recipe!
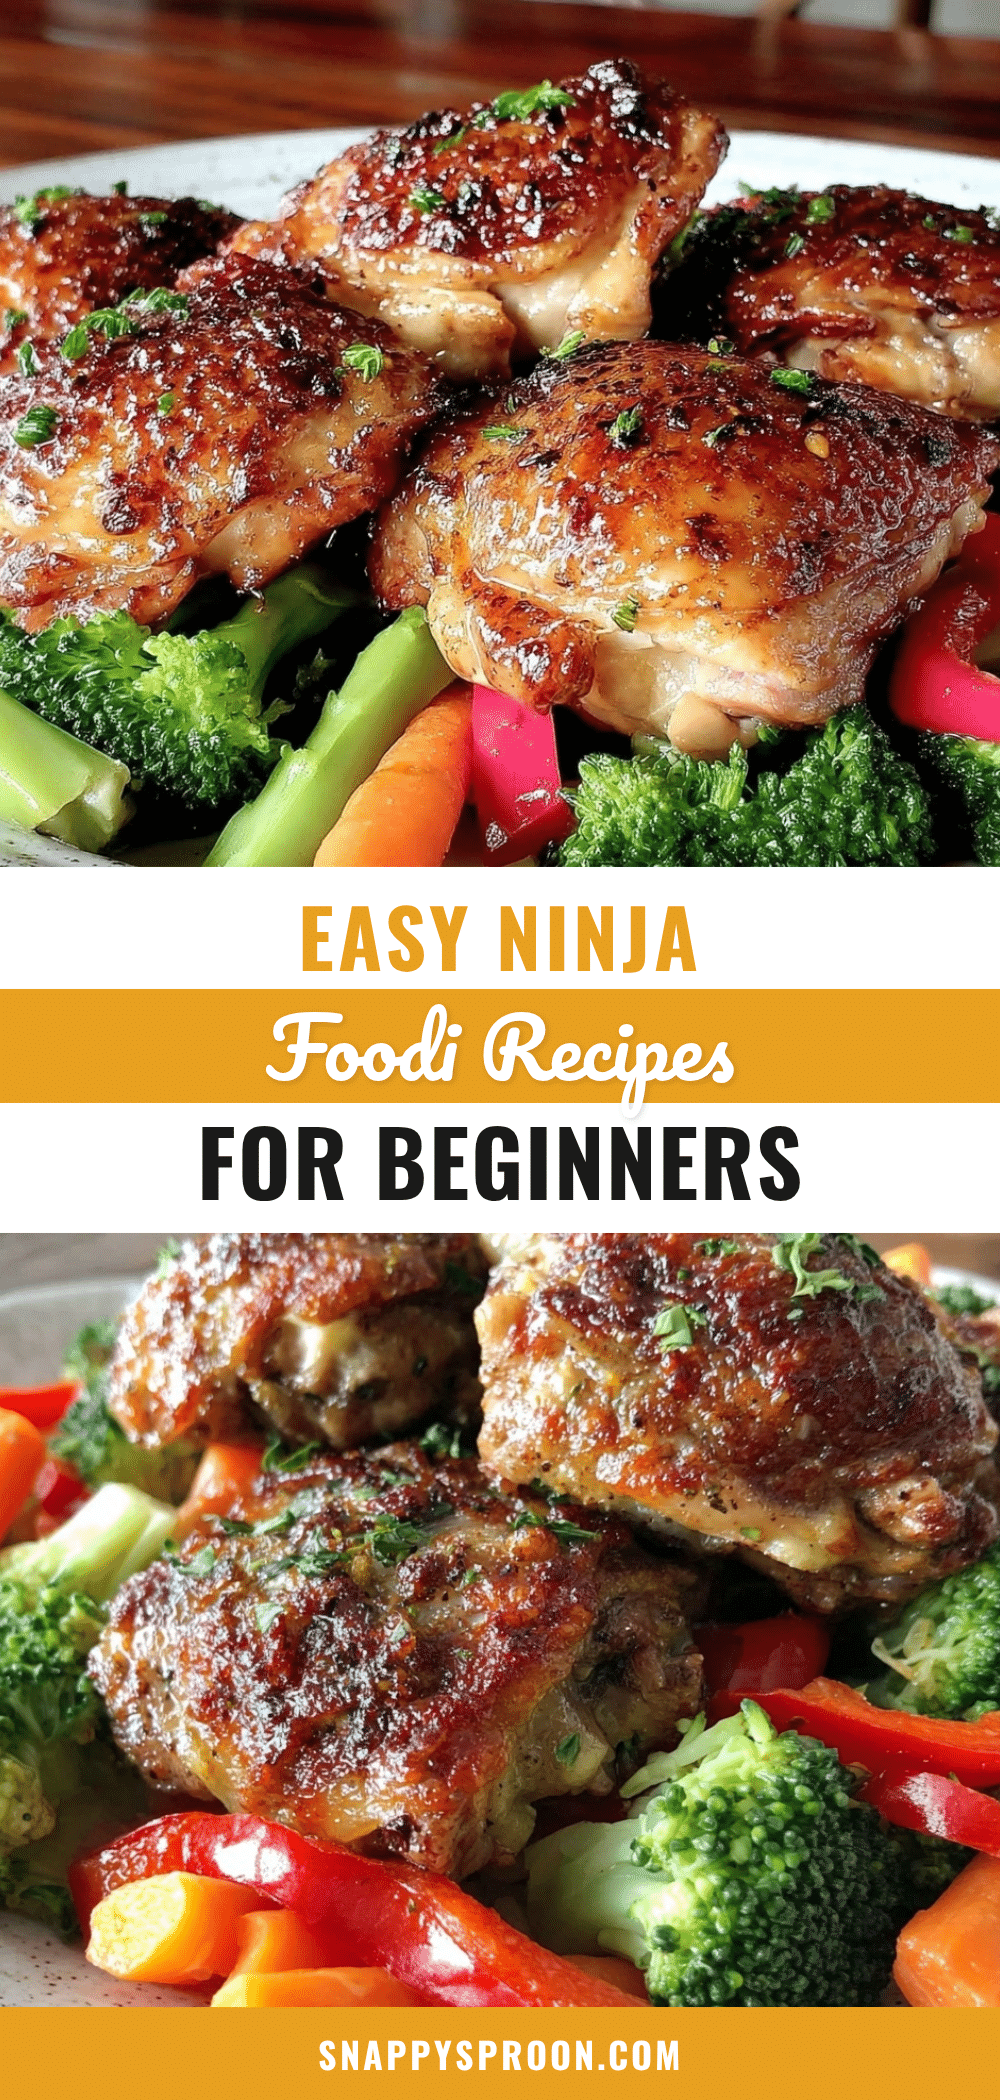
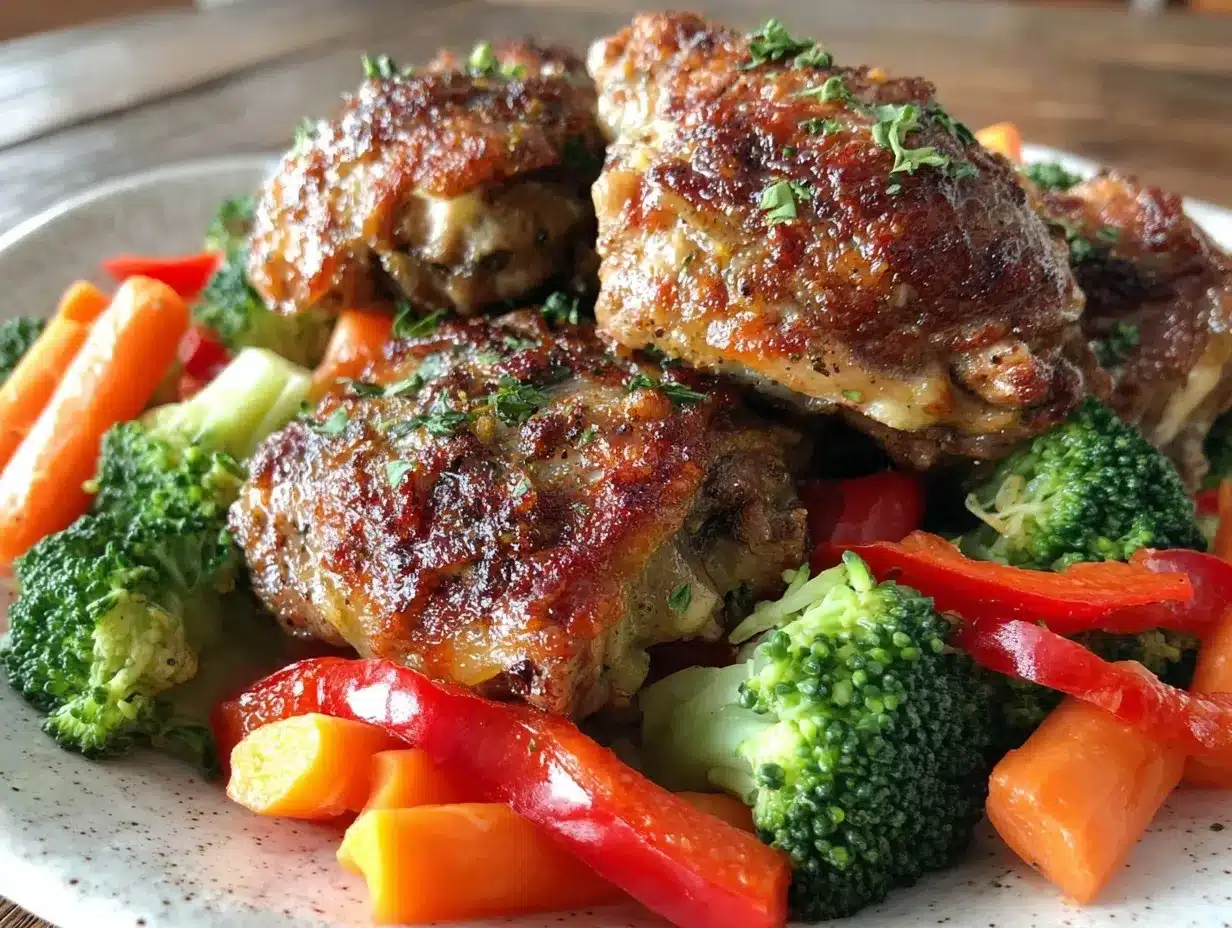
Easy Ninja Foodi Crispy Chicken and Veggie Meals for Beginners

A quick and easy recipe for crispy chicken thighs and roasted vegetables using the Ninja Foodi’s pressure cook-then-air crisp method, perfect for beginners seeking flavorful, fuss-free dinners.
- Prep Time: 15 minutes
- Cook Time: 25 minutes
- Total Time: 40 minutes
- Yield: 4 servings 1x
- Category: Main Course
- Cuisine: American
Ingredients
- 4 boneless, skin-on chicken thighs (about 1.5 lbs / 680 g)
- 2 cups broccoli florets
- 1 cup sliced carrots or baby carrots
- 1 cup sliced bell peppers
- 1 cup sliced zucchini or summer squash (optional)
- 2 tbsp extra virgin olive oil (divided)
- 1 tsp garlic powder
- 1½ tsp paprika
- 1 tsp salt
- ½ tsp black pepper
- 1 tsp dried thyme or oregano (optional)
- ½ cup (120 ml) chicken broth or water
- Fresh lemon juice or zest, to taste
Instructions
- Pat dry the chicken thighs with paper towels to remove moisture. Season generously with garlic powder, paprika, salt, and black pepper. Drizzle with 1 tablespoon olive oil and rub all over the chicken. Let sit while prepping vegetables (about 10 minutes).
- Chop broccoli, carrots, bell peppers, and zucchini. Toss vegetables in a bowl with 1 tablespoon olive oil, a pinch of salt, and dried thyme or oregano. Set aside.
- Pour chicken broth into the Ninja Foodi pot. Place the wire rack inside and arrange chicken thighs skin-side up on the rack. Lock the lid and set to Pressure Cook on High for 8 minutes. Allow 5 minutes natural release, then quick release remaining pressure.
- Remove the pressure cooker lid and switch to the Air Crisp lid. Air crisp chicken at 400°F (204°C) for 10-12 minutes until skin is golden and crispy, flipping halfway through.
- Place vegetables in the air fryer basket. After chicken is done, transfer veggies into the Foodi basket and air crisp at 390°F (199°C) for 8-10 minutes until tender and slightly charred, shaking basket halfway through.
- Squeeze fresh lemon juice over chicken and veggies. Serve hot, garnished with extra herbs if desired.
Notes
Pat chicken dry thoroughly to ensure crispy skin. Do not overcrowd the air fryer basket for even cooking. Flip chicken and shake veggies halfway through air crisping. Use broth to prevent pot stuck errors during pressure cooking. For extra crispy skin, add a few more minutes to air crisping. Leftovers reheat well in the air crisp function at 350°F for 5-7 minutes.
Nutrition
- Serving Size: 1 chicken thigh with
- Calories: 320
- Fat: 18
- Carbohydrates: 10
- Fiber: 3
- Protein: 28
Keywords: Ninja Foodi, crispy chicken, air fryer, pressure cooker, easy dinner, beginner recipe, chicken thighs, roasted vegetables, quick meals