Love this? Save it for later!
Share the inspiration with your friends
“Why can’t you just soak the cucumbers in cold water with garlic and dill overnight instead of boiling the brine?” my friend asked as I was gearing up for a usual hot-water bath canning session. I started to explain why that wouldn’t work — then stopped. Honestly, I was curious enough to try it her way, even if my gut said it was too simple to be effective. Spoiler: it worked like a charm, and I learned a thing or two about patience and flavor along the way.
Let me tell you, the crunch of those pickles the next day was something I never expected from a no-cook method. The garlic was fragrant but mellow, and the dill had this bright, fresh punch that made the whole jar irresistible. I forgot to grab a clean jar the first time, so I ended up using a cracked bowl to soak the cucumbers — messy, yes, but the flavor didn’t suffer one bit. Maybe you’ve been there, caught between wanting quick results and doubting the simplest method.
Since that experiment, these Easy No-Cook 24-Hour Garlic Dill Refrigerator Pickles have become my go-to when I want crunchy, tangy pickles without the fuss of canning. It’s a recipe that stays with you because it’s straightforward, fast, and honestly, a little surprising in how well it works. If you’re looking for a fresh take on homemade pickles that require no stove time, you’re in the right place.
Why You’ll Love This Recipe
After trying several pickle recipes, this one really stands out for its simplicity and flavor punch. It’s not just quick — it’s genuinely easy and reliable, which I appreciate on busy days when I want something tasty without a long commitment.
- Quick & Easy : Ready in just 24 hours with zero cooking, perfect for those who want fresh pickles fast.
- Simple Ingredients : You likely have garlic, fresh dill, cucumbers, and pantry staples like vinegar and salt on hand.
- Perfect for Summer : A refreshing addition to BBQs, sandwiches, or just snacking chilled straight from the fridge.
- Crowd-Pleaser : Kids love the crunch, and adults appreciate the authentic dill flavor without the bitterness some pickles get.
- Unbelievably Delicious : The no-cook brine keeps the cucumbers crisp and the garlic-dill combo super fresh.
This isn’t your typical canned pickle recipe — it’s the kind that feels homemade but requires almost no effort. The magic is in the patiently waiting 24 hours that lets the flavors soak in perfectly. No boiling water or sterilizing jars, just a simple mix and refrigerate. I like to think of it as the pickling hack that’s just as tasty as the traditional way but way less intimidating.
What Ingredients You Will Need
This recipe uses straightforward, wholesome ingredients to deliver bold flavor and satisfying crunch without the fuss. Most items can be found in your pantry or fridge, and the fresh dill really ties everything together.
- Kirby cucumbers (or Persian cucumbers, about 1 pound / 450 g) – firm and small for extra crunch
- Fresh dill (3-4 sprigs) – the star herb for that classic dill pickle taste
- Garlic cloves (3-4, smashed) – brings savory aroma and flavor depth
- White vinegar (1 cup / 240 ml) – for the tang and preservation
- Water (1 cup / 240 ml) – to balance the vinegar’s acidity
- Salt (1 tablespoon, preferably pickling or kosher salt) – enhances flavor without bitterness
- Sugar (1 teaspoon, optional) – softens sharp acidity if you like a hint of sweetness
- Black peppercorns (1 teaspoon) – adds subtle spice
- Red pepper flakes (1/4 teaspoon, optional) – for a slight kick
I prefer using Morton kosher salt here because it dissolves quickly without adding any off-flavors. For the vinegar, standard white distilled vinegar works great, but you can swap in apple cider vinegar for a fruitier note. If you want a gluten-free option, make sure your vinegar brand is certified gluten-free.
Equipment Needed
You really don’t need much to make these refrigerator pickles — that’s part of the charm. Here’s what I use:
- A clean quart-sized (1-liter) glass jar with a tight-fitting lid — mason jars work perfectly
- A small mixing bowl to combine the brine
- A measuring cup and spoons for accuracy (trust me, salt levels matter here!)
- A knife and cutting board for slicing cucumbers
If you don’t have a mason jar, any glass container with a lid will do, but avoid plastic for best flavor. I once used a reused jam jar and it worked fine — just make sure it seals well. No fancy equipment needed means this recipe is great even for beginner picklers or those short on kitchen tools.
Preparation Method
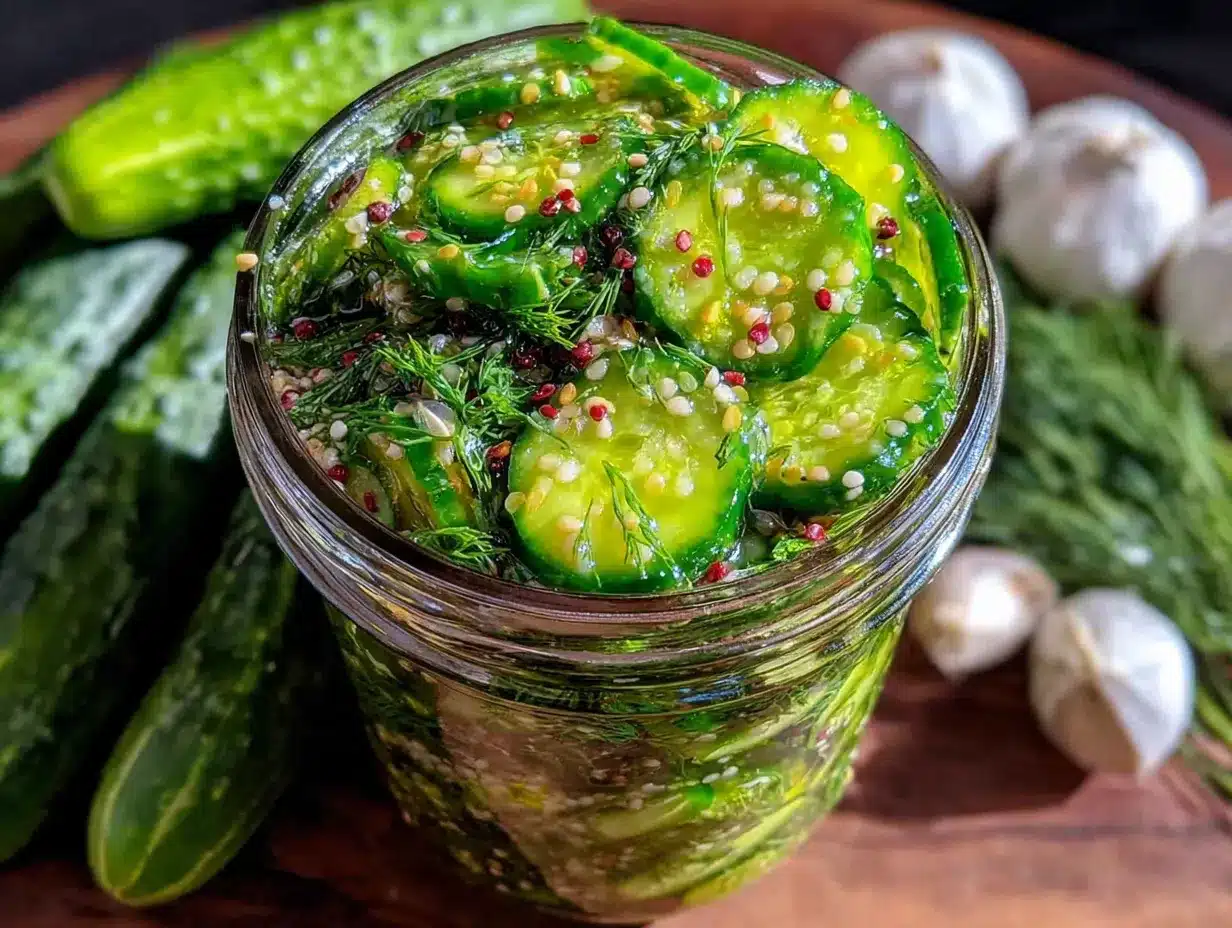
- Wash and slice the cucumbers: Rinse about 1 pound (450 g) of Kirby cucumbers under cold water. Trim the ends, then slice into 1/4-inch (6 mm) thick rounds or spears, whichever you prefer. Thinner slices absorb brine faster, but thicker spears hold crunch better. (10 minutes)
- Prepare the brine: In a small bowl, combine 1 cup (240 ml) white vinegar, 1 cup (240 ml) cold water, 1 tablespoon kosher salt, and 1 teaspoon sugar (optional). Stir until the salt and sugar dissolve completely. (5 minutes)
- Add aromatics: Place 3-4 smashed garlic cloves, 3-4 fresh dill sprigs, 1 teaspoon black peppercorns, and 1/4 teaspoon red pepper flakes (if using) into your clean jar. These aromatics infuse the pickles with classic dill flavor. (2 minutes)
- Pack cucumbers in the jar: Tightly but gently pack the sliced cucumbers into the jar, leaving about 1/2 inch (1.25 cm) of headspace at the top. Overpacking can bruise the cucumbers, so be mindful. (5 minutes)
- Pour brine over cucumbers: Slowly pour the brine into the jar, covering the cucumbers and aromatics completely. Use a spoon or chopstick to nudge out air bubbles trapped between slices. (3 minutes)
- Seal and refrigerate: Screw on the lid tightly and place the jar in the refrigerator. Let it sit for at least 24 hours before tasting. The longer it sits (up to 3 days), the more intense the flavor. (24 hours minimum)
- Taste and enjoy: After 24 hours, check your pickles. They should be crisp, tangy, and fragrant with garlic and dill. If too mild, wait another day. Once ready, keep refrigerated and consume within 2 weeks for best quality.
Pro tip: If your cucumbers start to soften too much after a few days, try adding a grape leaf to the jar next time — it helps keep them crunchy. Also, I sometimes forget to smash the garlic; the flavor is still good, but smashing really brings out more aroma.
Cooking Tips & Techniques
Making no-cook refrigerator pickles might seem foolproof, but a few tips will help you nail the texture and flavor every time:
- Choose the right cucumber: Kirby or Persian cucumbers are best because they’re firm and have fewer seeds. Regular slicing cucumbers tend to get mushy fast.
- Don’t skip the salt measurement: I learned this the hard way — too little salt makes bland pickles, too much can overpower. Measure precisely.
- Use fresh dill: Dried dill won’t give that bright, grassy flavor. If fresh isn’t available, increase dried dill by half and crush it before adding.
- Keep everything cold: Refrigerate immediately after assembling to maximize crunch and slow down softening.
- Patience is key: These pickles need at least 24 hours. Taste them after a day, but don’t expect full flavor right away.
- Watch out for overpacking: Too many cucumbers in one jar can cause bruising and uneven pickling.
- Multitasking tip: While waiting for the pickles to marinate, it’s the perfect time to prep sandwiches or salads that will pair beautifully.
I once left the pickles in for only 12 hours, expecting crunchy magic. Nope — just bland cucumbers soaking in salty water. Lesson learned: 24 hours is the golden rule.
Variations & Adaptations
Want to switch things up? These easy pickles adapt well to different tastes and dietary needs.
- Spicy Kick: Add extra red pepper flakes or a sliced jalapeño for heat. Perfect for those who like a bit of fire.
- Low-Sodium Version: Reduce salt to 1/2 tablespoon and increase marinating time to 48 hours for a milder but still tasty pickle.
- Herb Variations: Swap dill with fresh tarragon or fresh thyme for a unique flavor twist. I once tried oregano and it was surprisingly good!
- Vinegar Swap: Use apple cider vinegar instead of white vinegar for a fruitier, slightly sweeter profile.
- Allergen-Friendly: This recipe is naturally gluten-free and dairy-free, making it accessible to many dietary plans.
Personally, I like to toss in a few mustard seeds for a subtle crunch and tang. It’s a small change but adds a nice dimension without complicating the process.
Serving & Storage Suggestions
These garlic dill refrigerator pickles are best served chilled straight from the fridge. They bring a refreshing crunch to sandwiches, burgers, and charcuterie boards. Honestly, they’re addictive on their own as a quick snack.
Pair them with creamy dishes like potato salad or a rich grilled cheese sandwich to balance the acidity. A cold lager or crisp white wine also complements the bright flavors beautifully.
Store pickles in their brine in the refrigerator in a sealed jar. They keep well for up to two weeks, but I usually finish them within a week because they disappear fast around here.
To reheat (though not necessary), let them come to room temperature for about 10 minutes. Cold pickles have the best snap, but warming them slightly softens the bite and releases more aroma.
Flavors will deepen the longer they sit, so if you prefer milder pickles, enjoy within the first 2 days. After that, the garlic and dill become more pronounced.
Nutritional Information & Benefits
These no-cook garlic dill refrigerator pickles are a low-calorie, low-carb snack that fits well into many healthy eating plans. Here’s an estimate per serving (about 3-4 slices):
| Calories | 10 |
|---|---|
| Carbohydrates | 2 g |
| Sodium | 350 mg |
| Fat | 0 g |
| Protein | 0 g |
Cucumbers provide hydration and small amounts of vitamins K and C. Garlic adds antioxidants and potential immune benefits. The vinegar can help with digestion, but be mindful of sodium intake if you’re watching salt.
Because these pickles are naturally gluten-free and vegan, they suit a wide range of diets. Just check your salt and vinegar brands if allergies or sensitivities are a concern.
Conclusion
This Easy No-Cook 24-Hour Garlic Dill Refrigerator Pickles recipe is proof that simple methods can yield fantastic results. I love how it requires minimal effort yet rewards you with fresh, crunchy, flavorful pickles that brighten any meal. If you’re like me and sometimes skeptical about shortcuts, give this one a chance — it might just become your favorite quick pickle recipe.
Feel free to tweak the garlic, dill, or spice levels to make it your own. I’d love to hear how you put your spin on it, so please leave a comment sharing your experience or any creative twists you try. Happy pickling!
Frequently Asked Questions
How long do these refrigerator pickles last?
They keep best for about 2 weeks in the fridge. After that, they may become softer but still safe to eat for a few days more.
Can I use regular cucumbers instead of Kirby cucumbers?
You can, but regular slicing cucumbers tend to be less crunchy and may soften faster. Kirby or Persian cucumbers are preferred for their firmness.
Do I have to use fresh dill?
Fresh dill is best for flavor and aroma. Dried dill can be used in a pinch but increase the amount slightly and crush it before adding.
Is it safe to not cook the pickles?
Yes. These are refrigerator pickles meant to be stored cold and consumed within a couple weeks. They are not shelf-stable like canned pickles.
Can I make this recipe vegan and gluten-free?
Absolutely! This recipe is naturally vegan and gluten-free. Just double-check that your vinegar and salt brands don’t contain additives you want to avoid.
For a delightful twist on homemade pickles, you might enjoy pairing them with crispy garlic chicken or adding them as a zesty topping on classic tuna salad. Both make for crunchy, flavorful companions that balance the tang of these dill pickles beautifully.
Pin This Recipe!
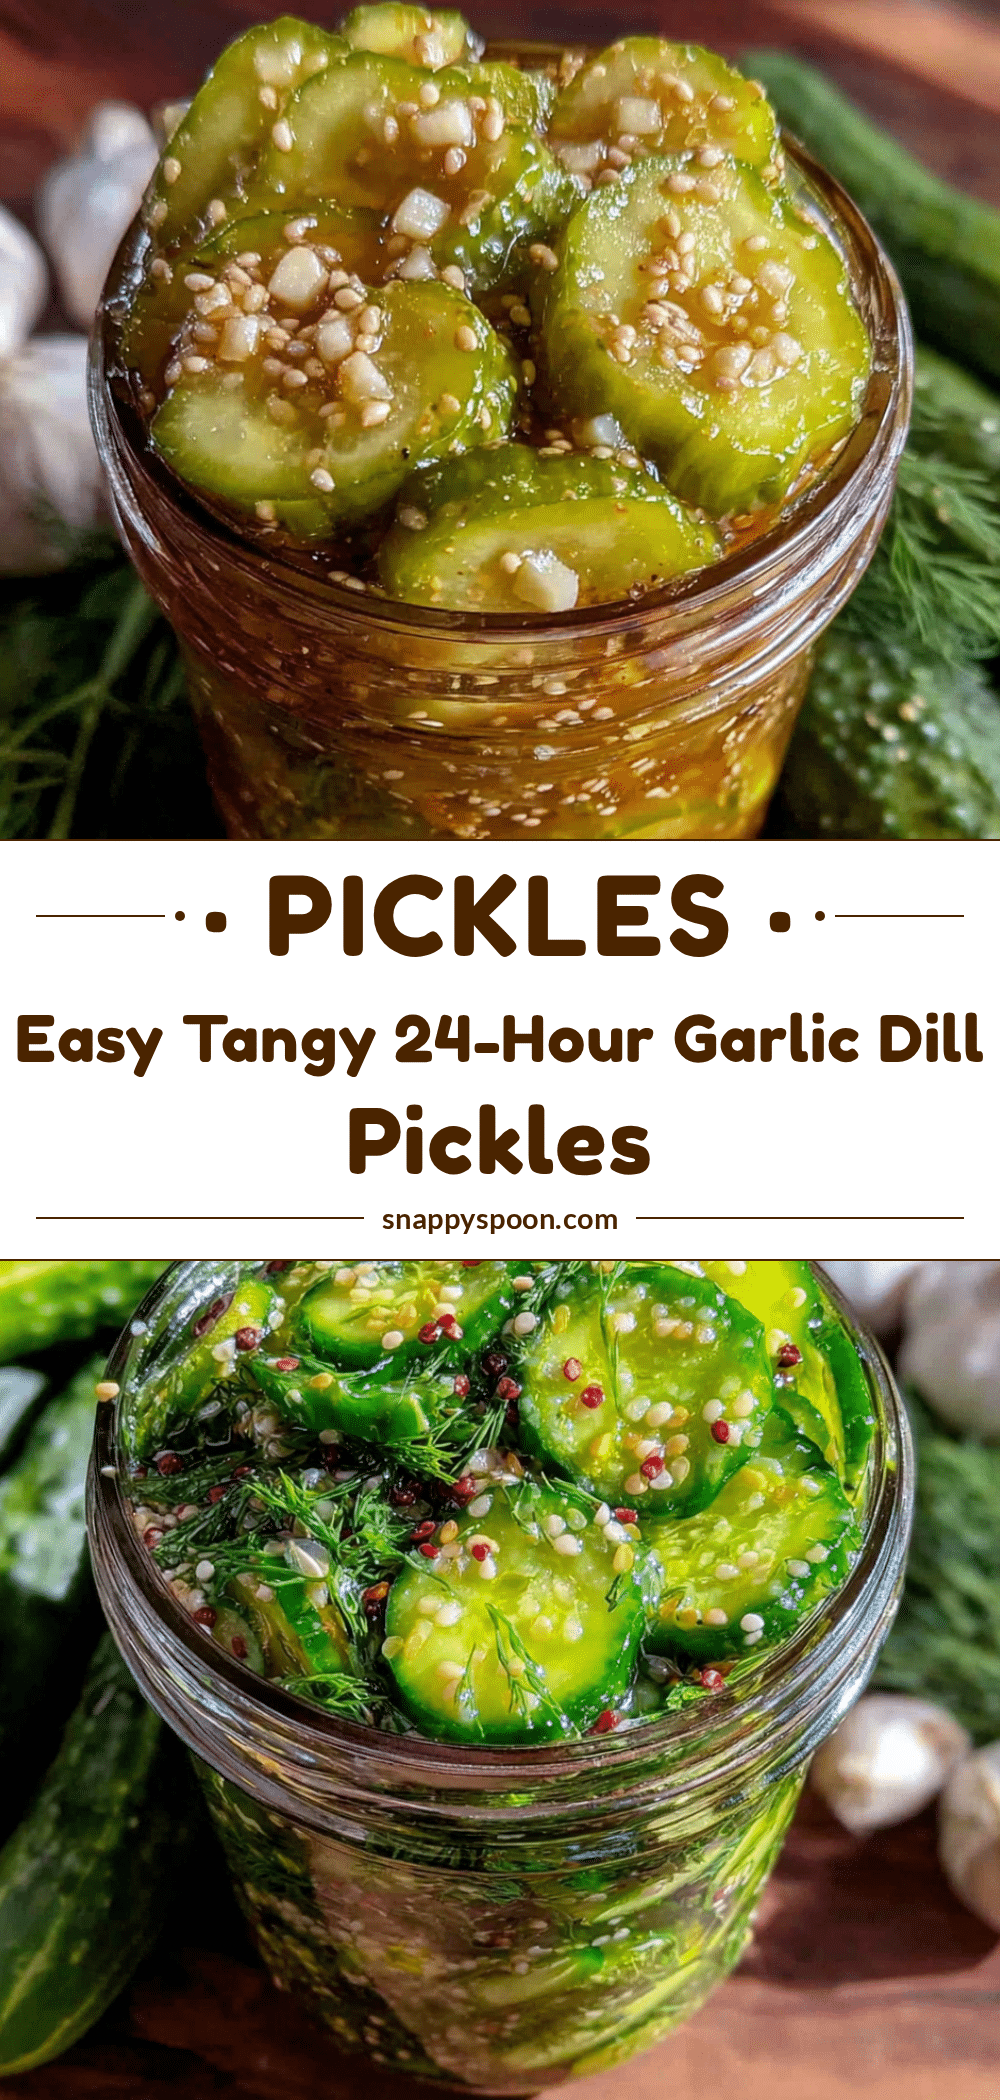
Easy No-Cook 24-Hour Garlic Dill Refrigerator Pickles Recipe You’ll Love

A simple and quick no-cook refrigerator pickle recipe that yields crunchy, tangy garlic dill pickles ready in 24 hours without boiling or canning.
- Prep Time: 22 minutes
- Cook Time: 0 minutes
- Total Time: 24 hours 22 minutes
- Yield: About 1 quart (4 servings) 1x
- Category: Condiment
- Cuisine: American
Ingredients
- 1 pound (450 g) Kirby cucumbers or Persian cucumbers
- 3–4 sprigs fresh dill
- 3–4 garlic cloves, smashed
- 1 cup (240 ml) white vinegar
- 1 cup (240 ml) water
- 1 tablespoon kosher salt (preferably pickling or Morton kosher salt)
- 1 teaspoon sugar (optional)
- 1 teaspoon black peppercorns
- 1/4 teaspoon red pepper flakes (optional)
Instructions
- Wash and slice the cucumbers: Rinse about 1 pound (450 g) of Kirby cucumbers under cold water. Trim the ends, then slice into 1/4-inch (6 mm) thick rounds or spears, whichever you prefer.
- Prepare the brine: In a small bowl, combine 1 cup (240 ml) white vinegar, 1 cup (240 ml) cold water, 1 tablespoon kosher salt, and 1 teaspoon sugar (optional). Stir until the salt and sugar dissolve completely.
- Add aromatics: Place 3-4 smashed garlic cloves, 3-4 fresh dill sprigs, 1 teaspoon black peppercorns, and 1/4 teaspoon red pepper flakes (if using) into your clean jar.
- Pack cucumbers in the jar: Tightly but gently pack the sliced cucumbers into the jar, leaving about 1/2 inch (1.25 cm) of headspace at the top.
- Pour brine over cucumbers: Slowly pour the brine into the jar, covering the cucumbers and aromatics completely. Use a spoon or chopstick to nudge out air bubbles trapped between slices.
- Seal and refrigerate: Screw on the lid tightly and place the jar in the refrigerator. Let it sit for at least 24 hours before tasting. The longer it sits (up to 3 days), the more intense the flavor.
- Taste and enjoy: After 24 hours, check your pickles. They should be crisp, tangy, and fragrant with garlic and dill. If too mild, wait another day. Once ready, keep refrigerated and consume within 2 weeks for best quality.
Notes
Use Kirby or Persian cucumbers for best crunch. Measure salt precisely to avoid bland or overpowering pickles. Fresh dill is preferred for bright flavor; if using dried, increase amount and crush before adding. Keep pickles refrigerated and consume within 2 weeks. Adding a grape leaf can help maintain crunch. Smash garlic cloves to enhance aroma. Variations include adding jalapeño for spice or swapping vinegar types.
Nutrition
- Serving Size: About 3-4 pickle sli
- Calories: 10
- Sodium: 350
- Carbohydrates: 2
Keywords: refrigerator pickles, no-cook pickles, garlic dill pickles, quick pickles, easy pickles, crunchy pickles, dill refrigerator pickles