Love this? Save it for later!
Share the inspiration with your friends
My neighbor asked why I couldn’t just use dried elderberries from the jar she’d given me last fall. I was mid-lecture about how you really needed fresh berries for the best immune-boosting properties—something I’d read in three different herbalism books. I started to explain why that wouldn’t work. Then I stopped. Honestly, I had no good reason except that I’d never tried it that way.
The power had gone out twice that week during the storms, and my kitchen counter was covered in the usual chaos—a cracked measuring cup, a sticky spot I kept meaning to wipe, and that jar of dried berries she’d pressed into my hands with such confidence. “Just try it,” she said. So I did. And let me tell you, I’ve never been so happy to be wrong.
That first batch of homemade elderberry syrup came out richer, deeper, and somehow more comforting than any version I’d made before. The dried berries released their flavor slowly, like they were saving the best parts for last. I stood there stirring, watching the liquid turn that familiar deep purple, and I laughed at myself. All those years of thinking I knew the “right” way, and it took a neighbor’s simple suggestion to show me what I’d been missing.
Maybe you’ve been there—stuck in your ways with a recipe, convinced there’s only one proper method. That’s how I felt about elderberry syrup. But this homemade elderberry syrup for immune support changed everything. I keep making it because it works, because my family actually asks for it when cold season hits, and because every time I brew a batch, I remember that lesson about staying open to new ideas—even when you think you already know the answer.
Why You’ll Love This Recipe
I’ve tested this homemade elderberry syrup recipe more times than I can count, tweaking ratios and trying different methods until I landed on this version. It’s the one I trust for my family, and here’s why it stands out.
- Simple Ingredients: You only need dried elderberries, a few spices, honey, and water. No trips to specialty stores or confusing ingredients.
- Quick & Easy: This comes together in about 45 minutes, most of which is hands-off simmering time. Perfect for a Sunday afternoon.
- Budget-Friendly: Making your own elderberry syrup costs a fraction of store-bought versions, and you control exactly what goes in it.
- Customizable: Adjust the sweetness, swap spices, or add extra immune-supporting ingredients like ginger or echinacea.
- Family-Approved: Even my pickiest eater takes this willingly. The honey and cinnamon make it taste more like a treat than medicine.
What makes this recipe different from the dozens of others out there is the ratio. I spent weeks testing different water-to-berry ratios until I found the sweet spot—concentrated enough to be effective, but not so strong that it’s bitter. The cinnamon and cloves add warmth without overpowering the elderberry flavor. And using raw honey at the end means you preserve all those natural enzymes and beneficial properties.
This isn’t just another recipe. It’s the kind that makes you feel prepared when cold season hits. You know that feeling when everyone around you starts sniffling, and you just want to have something ready? That’s why I always keep a jar of this homemade elderberry syrup in my fridge. It’s comfort in a spoonful—sweet, warming, and backed by generations of traditional use.
What Ingredients You Will Need
This recipe uses simple, wholesome ingredients to create a powerful immune-supporting syrup. Most of these are pantry staples or easy to find at any grocery store or online.
- Dried elderberries, 1 cup (about 140g) — The star of the show. Look for dried black elderberries from a reputable source. I prefer Mountain Rose Herbs or Starwest Botanicals for consistent quality.
- Water, 4 cups (960ml) — Filtered water works best. Tap water with strong chlorine can affect the flavor.
- Raw honey, 1 cup (340g) — Use local raw honey if possible for added immune benefits. Do not use honey for children under 1 year old; substitute with maple syrup or agave nectar.
- Cinnamon sticks, 2 (or 2 teaspoons ground cinnamon) — Adds warmth and natural sweetness. Ceylon cinnamon is milder, while Cassia is more intense.
- Fresh ginger, 1-inch piece, sliced (about 15g) — Adds anti-inflammatory properties and a gentle kick. No need to peel it.
- Whole cloves, 1 teaspoon (about 5 whole cloves) — A little goes a long way. Too many can make the syrup bitter.
- Optional: Dried rose hips, 2 tablespoons — Boosts vitamin C content. I add these when I find them at the health food store.
- Optional: Star anise, 1 whole pod — Adds a subtle licorice note that pairs surprisingly well with elderberry.
When selecting dried elderberries, look for berries that are deep purple-black, not brown or faded. They should smell slightly sweet and earthy, not musty. I once bought a bag from an unknown brand online, and the syrup came out thin and flavorless. Now I stick with trusted suppliers.
For the honey, the flavor matters. A strong, dark honey like buckwheat will dominate the elderberry, while a mild clover or orange blossom honey lets the berry flavor shine. I usually use local wildflower honey because it’s what’s available at my farmer’s market.
If you’re avoiding sugar entirely, you can skip the honey and use the syrup unsweetened, but be warned—elderberries are naturally tart, and the honey balances that beautifully. You could also use monk fruit sweetener or stevia, but the texture will be thinner.
Equipment Needed
You don’t need fancy equipment for this homemade elderberry syrup, which is part of why I love making it. Here’s what you’ll need:
- Medium saucepan (2-3 quart) — Stainless steel or enameled works best. Avoid aluminum, which can react with the berries.
- Fine-mesh strainer — For straining out the berries and spices. A nut milk bag or cheesecloth works too, but a fine-mesh strainer is easier to clean.
- Glass measuring cup — A 4-cup size is perfect for measuring the liquid after straining.
- Wooden spoon — For stirring. Metal spoons can scratch enameled pots.
- Glass jar with lid — A 16-ounce (500ml) mason jar works perfectly. Make sure it’s thoroughly cleaned and sterilized.
- Funnel (optional but helpful) — For transferring the syrup into the jar without spilling.
I’ve made this with a cheap saucepan from the dollar store, and it worked fine—just keep an eye on the heat to avoid scorching. My favorite pot for this is a small Le Creuset that my mother-in-law gave me, but honestly, any heavy-bottomed pot will do the job. The key is even heat distribution so the berries simmer gently without burning.
For straining, I used to use cheesecloth, but I found that the fine-mesh strainer catches more of the tiny berry particles and gives a clearer syrup. Plus, it’s reusable and doesn’t create waste. If you use cheesecloth, double-layer it for best results.
Preparation Method
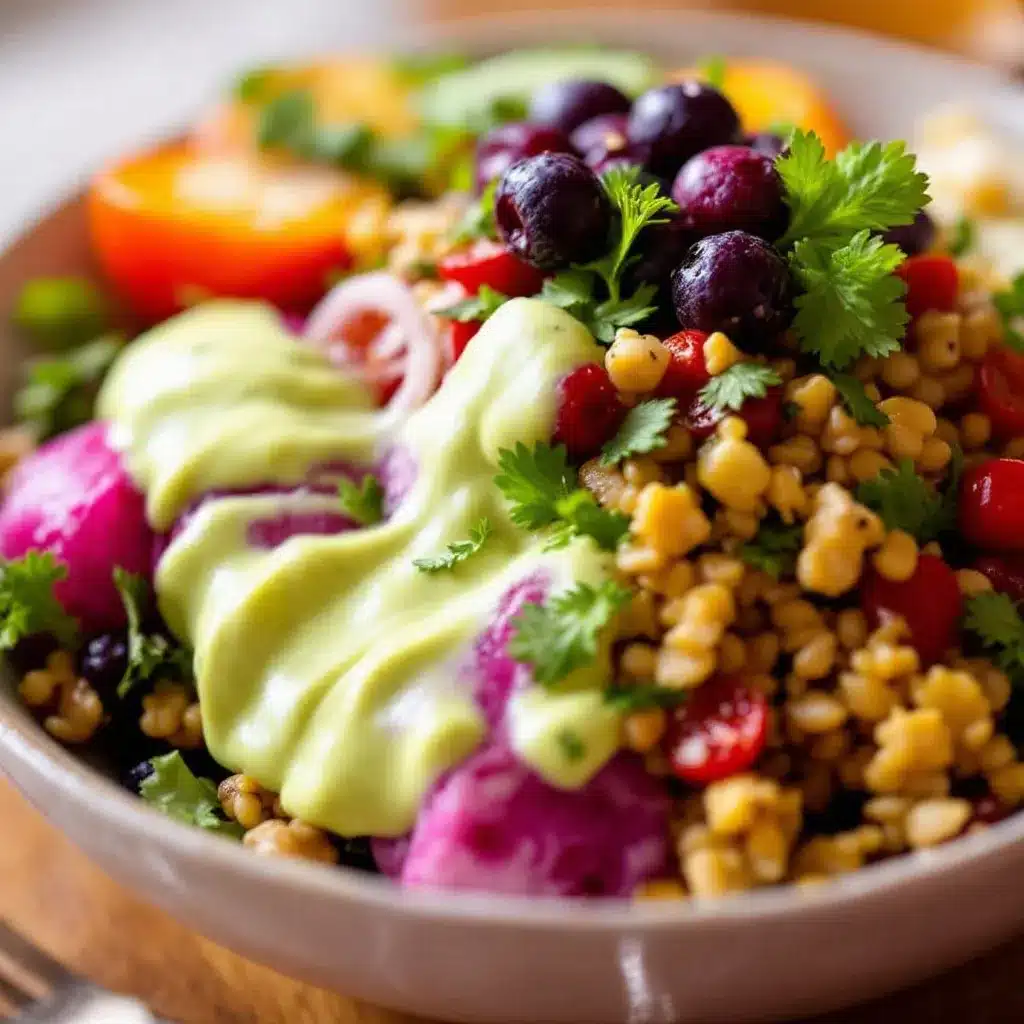
Making this homemade elderberry syrup is straightforward, but there are a few tricks I’ve learned that make a real difference. Follow these steps, and you’ll have a beautiful, potent syrup every time.
- Combine berries and water: Place the dried elderberries, water, cinnamon sticks, sliced ginger, and whole cloves in your saucepan. If using rose hips or star anise, add them now. Do not add the honey yet.
- Bring to a boil: Set the pot over medium-high heat and bring the mixture to a gentle boil. You’ll see the water start to turn a deep purple almost immediately—that’s the good stuff releasing. Watch carefully so it doesn’t boil over.
- Reduce to a simmer: Once boiling, lower the heat to medium-low so the liquid is barely bubbling. Cover the pot partially with a lid—leave a small gap for steam to escape. Simmer for 30-40 minutes. The liquid should reduce by about half. I set a timer on my phone because I’ve definitely gotten distracted and let it boil too long.
- Check the consistency: After 30 minutes, the liquid should be thick and syrupy, coating the back of a spoon. If it’s still thin, continue simmering for another 5-10 minutes. The berries will have softened and released most of their color.
- Strain the mixture: Place your fine-mesh strainer over a glass measuring cup or large bowl. Carefully pour the hot liquid through the strainer. Use the back of a wooden spoon to gently press on the berries to extract every last drop of liquid. Don’t rush this step—there’s a lot of goodness still in those berries.
- Discard the solids: The spent berries and spices go into the compost or trash. They’ve given everything they have to the syrup.
- Cool slightly: Let the strained liquid cool for about 10-15 minutes. It should be warm but not hot—around 120°F (49°C). This is important because adding honey to boiling liquid destroys its beneficial enzymes and raw properties.
- Add the honey: Pour the honey into the warm liquid and stir gently with your wooden spoon until completely dissolved. The mixture will thin out initially, then thicken as it cools. Taste it here—if you want it sweeter, add a little more honey.
- Bottle and store: Using your funnel, pour the finished syrup into your clean glass jar. Screw on the lid tightly and let it cool completely at room temperature before refrigerating. This usually takes about an hour.
A few things I’ve learned the hard way: Don’t skip the cooling step before adding honey. I ruined a batch once by pouring honey into boiling liquid, and the syrup never thickened properly. Also, don’t over-simmer. The first time I made this, I let it go for an hour, thinking “more is better,” and ended up with a thick, almost jelly-like paste. Thirty to forty minutes is plenty.
The syrup will continue to thicken as it cools and sits in the fridge. If it seems thin when you bottle it, don’t worry—it’ll be perfect by morning.
Cooking Tips & Techniques
After making dozens of batches of this homemade elderberry syrup, I’ve collected a few tips that separate good syrup from great syrup.
Don’t boil aggressively: A gentle simmer is all you need. Boiling too hard can make the syrup bitter and break down some of the beneficial compounds. Think of it like making a delicate tea—you want to coax the flavor out, not beat it out. I once had a batch going while I was on the phone, and when I came back, it was boiling furiously. The resulting syrup had a slightly burnt, harsh taste that I couldn’t fix.
Toast your spices first: For an extra layer of flavor, try lightly toasting the cinnamon sticks and cloves in a dry pan for 30 seconds before adding them to the pot. This releases their essential oils and makes the syrup more aromatic. I learned this trick from a friend who makes chai from scratch, and it works beautifully here.
Use a kitchen scale: Measuring dried elderberries by volume can be inconsistent because they vary in size. Weighing them ensures you get the same concentration every time. One cup of dried elderberries typically weighs about 140 grams, but it can vary by brand.
Strain twice for clarity: If you want a crystal-clear syrup (which looks gorgeous in a jar), strain the liquid through a fine-mesh strainer first, then through a coffee filter or cheesecloth. I usually don’t bother with this step for everyday use, but I do it when I’m giving jars as gifts.
Label your jars: This sounds silly, but I’ve definitely pulled a jar of something purple from the fridge and wondered if it was elderberry syrup or leftover beet juice. Write the date and contents on the lid with a permanent marker. It takes two seconds and saves confusion later.
Timing is everything: I like to make this on a weekend morning when I’m puttering around the kitchen anyway. The simmering time is perfect for cleaning up, washing dishes, or just sitting down with a cup of coffee. Multitasking with this recipe is easy because it doesn’t need constant attention.
Variations & Adaptations
One of the best things about this homemade elderberry syrup is how adaptable it is. Here are some variations I’ve tried and loved.
Ginger-Turmeric Boost: Add 1 tablespoon of fresh grated turmeric along with the ginger. Turmeric is a powerful anti-inflammatory that pairs well with elderberry. Just be warned—it will stain everything yellow, including your cutting board and fingers. I learned this the hard way when I wore a white apron.
Echinacea Addition: Throw in 2 tablespoons of dried echinacea root or 1 tablespoon of dried echinacea flowers with the elderberries. This adds extra immune support and a slightly floral, earthy note. I do this version during peak cold season when everyone around me is sneezing.
Low-Sugar Version: Replace the honey with monk fruit sweetener or stevia to taste. The syrup will be thinner and won’t have the same preservative quality, so it will only last about 2 weeks in the fridge. I’ve made this for a friend who was watching her sugar intake, and she said it still tasted great.
Spice Variations: Swap the cinnamon and cloves for cardamom pods and a vanilla bean for a completely different flavor profile. This version is more dessert-like and less medicinal. My kids love this one and call it “purple syrup.”
Slow Cooker Method: Combine all ingredients except honey in a slow cooker and cook on low for 6-8 hours. Strain, cool, and add honey. This is perfect for busy days when you don’t want to watch a pot on the stove. The flavor is slightly deeper from the longer extraction time.
Alcohol Extraction: For a tincture-style preparation, cover dried elderberries with vodka or brandy instead of water and let steep for 4-6 weeks. This isn’t a syrup, but it’s a potent immune-supporting option that stores indefinitely. I keep a small bottle in my cabinet for emergencies.
Serving & Storage Suggestions
This homemade elderberry syrup is versatile in how you use it and easy to store properly.
Serving: For adults, take 1 tablespoon (15ml) daily during cold season, or 1 tablespoon every 2-3 hours at the first sign of illness. For children over 1 year, give 1 teaspoon (5ml) daily. You can take it straight from a spoon, or mix it into warm water, tea, or even oatmeal. I personally love it in a mug of hot water with a squeeze of lemon—like a comforting tea that does double duty.
Temperature: Serve at room temperature or slightly warm. Cold syrup straight from the fridge can be a shock, especially for kids. Let it sit out for 5 minutes before serving, or stir it into a warm drink.
Storage: Keep your syrup in a sealed glass jar in the refrigerator. It will last 2-3 months if you used raw honey, which acts as a natural preservative. The honey version can sometimes last up to 6 months, but I’ve never had a batch last that long because we use it up.
Freezing: Pour the syrup into ice cube trays and freeze. Once solid, pop out the cubes and store them in a freezer bag. Each cube is about 1 tablespoon. This is my favorite method for long-term storage because I can grab exactly what I need. Frozen syrup keeps for up to a year.
Reheating: If the syrup crystallizes in the fridge (which can happen with honey-based syrups), place the jar in a bowl of warm water for a few minutes and stir gently. Never microwave the syrup, as high heat can destroy the beneficial properties of the honey and elderberries.
Flavor Development: The syrup actually tastes better after a day or two in the fridge. The flavors meld together and mellow out. I try to make it at least 24 hours before I plan to use it regularly.
Nutritional Information & Benefits
While I’m not a nutritionist or doctor, I’ve researched the traditional uses of elderberries extensively. Here’s what I’ve found.
Estimated per tablespoon (15ml):
– Calories: 45
– Total Carbohydrates: 12g
– Sugars: 11g (from honey)
– Vitamin C: 2mg (from elderberries and optional rose hips)
– Antioxidants: High (from anthocyanins in elderberries)
Key Benefits:
– Elderberries are rich in anthocyanins, powerful antioxidants that help support the immune system
– Raw honey contains natural enzymes and may have antibacterial properties
– Ginger and cinnamon are anti-inflammatory and support digestion
– This syrup is naturally gluten-free, dairy-free, and vegan if you substitute the honey with maple syrup
Allergen Note: This recipe is free of common allergens like nuts, dairy, eggs, and soy. However, if you have allergies to specific plants in the honeysuckle family (which includes elderberries), consult your doctor before trying this.
Personal Perspective: I don’t view this syrup as a cure-all. It’s a traditional remedy that I use as part of a healthy lifestyle—along with good sleep, proper nutrition, and regular hand washing. For me, it’s about feeling proactive rather than reactive during cold season. There’s something comforting about knowing I have a jar of this in the fridge, ready if we need it.
Conclusion
This homemade elderberry syrup for immune support has become a staple in my kitchen, and I think it deserves a spot in yours too. It’s simple to make, uses ingredients you can actually pronounce, and gives you that feeling of being prepared when cold season rolls around.
What I love most about this recipe is how forgiving it is. You can tweak the spices, adjust the sweetness, or add extra immune-boosting ingredients based on what you have on hand. It’s the kind of recipe that invites experimentation rather than demanding perfection. And honestly, that’s the best kind of recipe to have in your collection.
I’d love to hear how your batch turns out. Did you add something unexpected? Did your kids actually take it without a fight? Drop a comment below and let me know. And if you found this helpful, share it with a friend who’s looking for natural ways to support their family’s health this season. Happy brewing, and here’s to staying well!
Frequently Asked Questions
Can I use fresh elderberries instead of dried?
Yes, but you need to cook them thoroughly. Fresh elderberries must be fully cooked to break down compounds that can cause stomach upset. Use 2 cups of fresh berries in place of 1 cup dried, and simmer for 35-45 minutes instead of 30-40.
How long does homemade elderberry syrup last?
Stored in a sealed glass jar in the refrigerator, your syrup will last 2-3 months if made with raw honey. Without honey, it lasts about 2 weeks. You can also freeze it in ice cube trays for up to a year.
Can I give this syrup to my children?
Yes, for children over 1 year old. Give 1 teaspoon (5ml) daily for maintenance. Do not give honey to children under 1 year due to the risk of botulism. For younger children, substitute honey with maple syrup or agave nectar.
Why did my syrup turn into a gel?
You likely simmered it too long, causing too much water to evaporate. Next time, check the consistency at 30 minutes and remove from heat when it still looks slightly thinner than you want—it will thicken as it cools. You can fix a gelled syrup by gently reheating it with a little water.
Can I make this in a slow cooker?
Absolutely! Combine all ingredients except honey in a slow cooker and cook on low for 6-8 hours. Strain, cool slightly, then stir in the honey. The slow cooker method gives a deeper, richer flavor because of the longer extraction time.
Pin This Recipe!
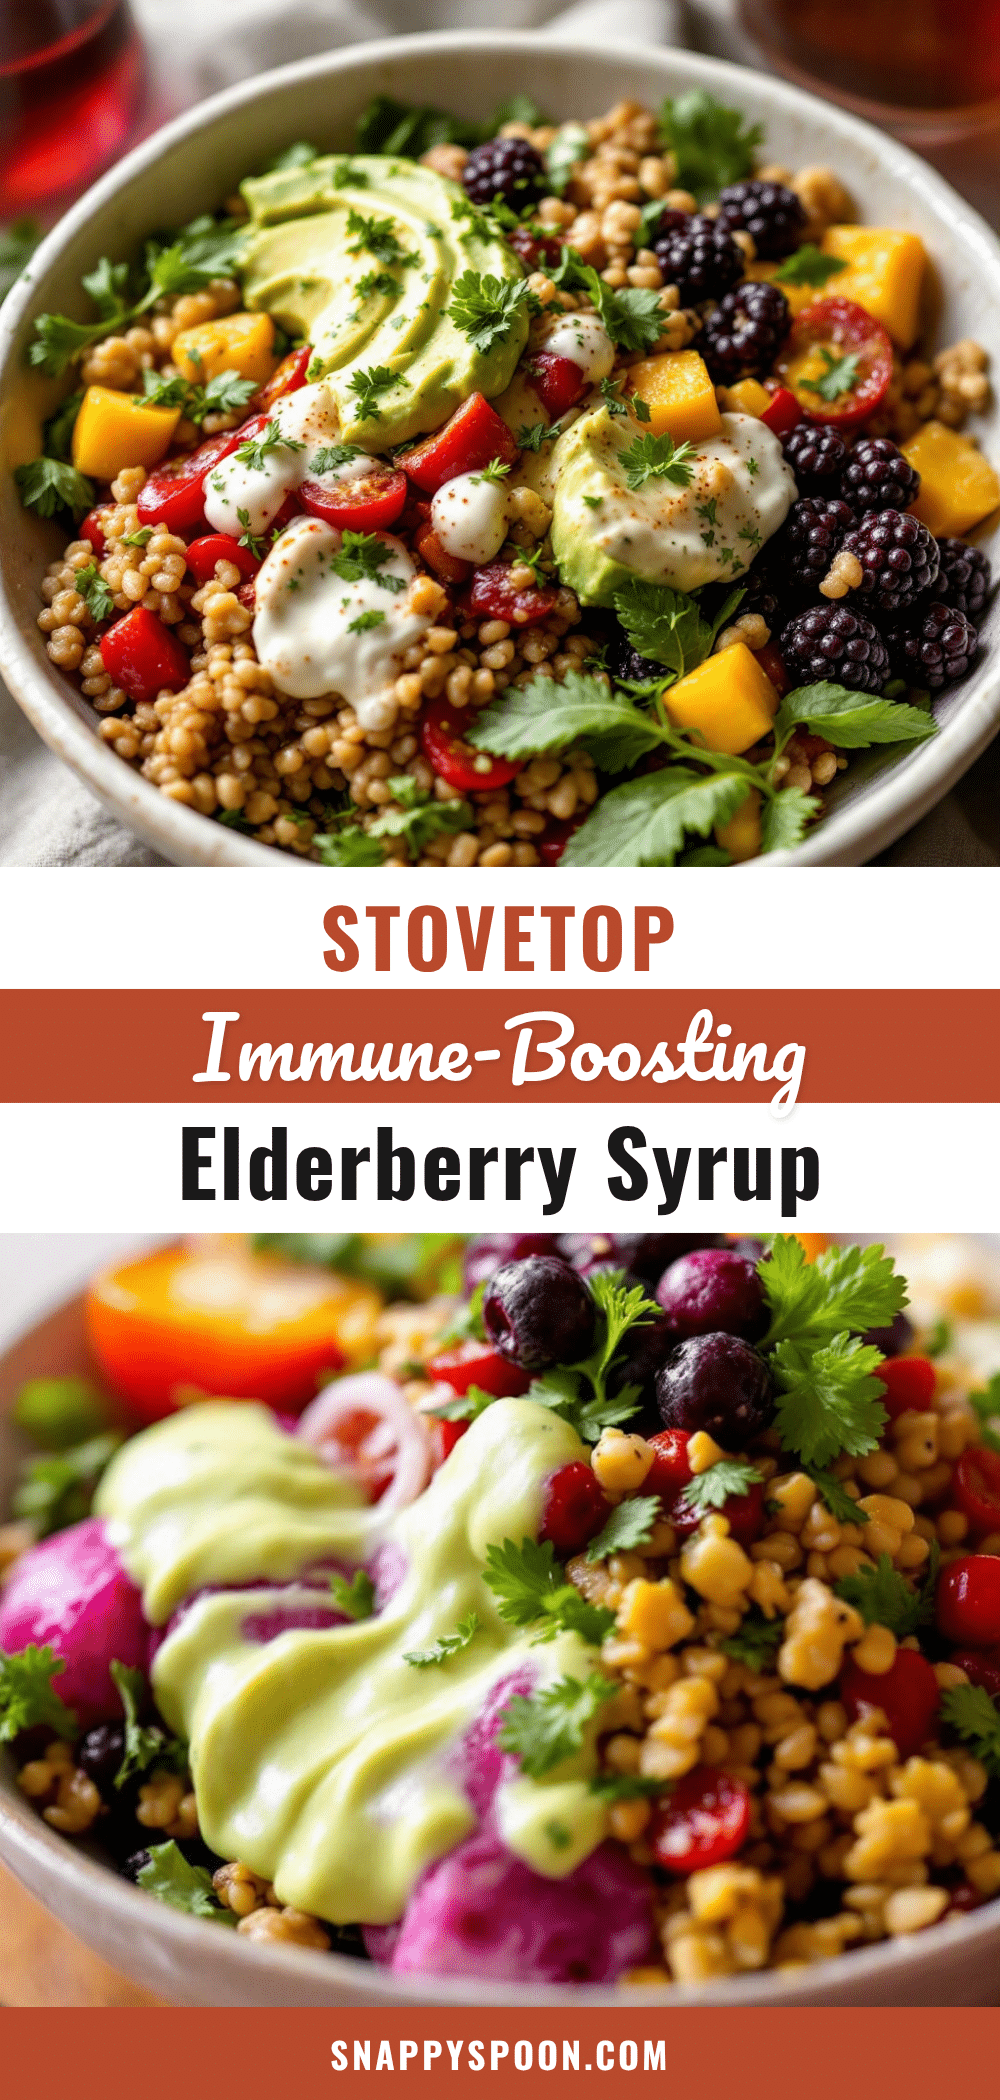
Homemade Elderberry Syrup: Best Immune Support Recipe
This homemade elderberry syrup is a comforting, immune-supporting recipe made with dried elderberries, honey, and warming spices. It’s simple to prepare, budget-friendly, and perfect for cold season.
- Prep Time: 10 minutes
- Cook Time: 35 minutes
- Total Time: 45 minutes
- Yield: 16 servings 1x
- Category: Condiment
- Cuisine: American
Ingredients
- 1 cup (about 140g) dried elderberries
- 4 cups (960ml) filtered water
- 1 cup (340g) raw honey
- 2 cinnamon sticks (or 2 teaspoons ground cinnamon)
- 1-inch piece fresh ginger, sliced (about 15g)
- 1 teaspoon whole cloves (about 5 whole cloves)
- 2 tablespoons dried rose hips (optional)
- 1 whole star anise pod (optional)
Instructions
- Combine dried elderberries, water, cinnamon sticks, sliced ginger, whole cloves, and optional rose hips or star anise in a medium saucepan. Do not add honey yet.
- Bring the mixture to a gentle boil over medium-high heat. Watch carefully to prevent boiling over.
- Reduce heat to medium-low so the liquid is barely bubbling. Cover the pot partially with a lid, leaving a small gap for steam to escape. Simmer for 30-40 minutes, until the liquid reduces by about half and becomes syrupy, coating the back of a spoon.
- Place a fine-mesh strainer over a glass measuring cup or large bowl. Carefully pour the hot liquid through the strainer. Use the back of a wooden spoon to gently press on the berries to extract all liquid.
- Discard the spent berries and spices.
- Let the strained liquid cool for 10-15 minutes until warm but not hot (around 120°F / 49°C).
- Pour the honey into the warm liquid and stir gently with a wooden spoon until completely dissolved.
- Using a funnel, pour the finished syrup into a clean glass jar. Screw on the lid tightly and let cool completely at room temperature (about 1 hour) before refrigerating.
Notes
Do not add honey to boiling liquid; let it cool to around 120°F first to preserve beneficial enzymes. The syrup will thicken as it cools and sits in the fridge. For children under 1 year, substitute honey with maple syrup or agave nectar. Store in the refrigerator for 2-3 months, or freeze in ice cube trays for up to a year.
Nutrition
- Serving Size: 1 tablespoon (15ml)
- Calories: 45
- Sugar: 11
- Carbohydrates: 12
Keywords: elderberry syrup, immune support, homemade syrup, elderberry recipe, natural remedy, cold season, honey syrup