Love this? Save it for later!
Share the inspiration with your friends
It was 11:47 PM on a rainy Thursday, and I had an absurd, undeniable craving for a pickle so crisp it would echo in the kitchen. Not just any pickle—the kind that snaps when you bite it, that tastes like summer, that makes you close your eyes for a second. The problem? I had zero cucumbers in the house. I mean, I had a bag of sad baby carrots and some questionable celery, but no pickling cukes. I was about to give up when I remembered the half-forgotten bag of kirby cucumbers sitting behind the milk in the fridge. They were perfect—firm, bumpy, and ready for their destiny. That night, standing in my pajamas with a cutting board and a jar, I mixed together a quick brine with what I had: some peppercorns I’d bought on a whim, a few cloves of garlic that were starting to sprout, and a sprig of dill that was somehow still alive in the crisper drawer. I didn’t have the fancy pickling salt, just regular kosher salt. And you know what? It worked. Honestly, it worked better than I expected. There’s something about the late-night looseness that makes you take risks you wouldn’t during the day. I didn’t overthink it. I just poured the brine, sealed the jar, and stuck it in the fridge. Twenty-four hours later, I opened that jar, pulled out a spear, and heard that perfect snap. It was the kind of pickle that makes you text your friend at 8 AM just to brag. Maybe you’ve been there—that moment when a craving feels impossible, but you make it work anyway. This is that recipe. The one that proves you don’t need a water bath or a pantry full of special gear. Just a jar, some fresh cucumbers, and a little bit of patience. These Easy Crispy Refrigerator Dill Pickles in 24 Hours have become my go-to, and I think they’re about to become yours too.
Why You’ll Love This Recipe
Let me tell you why this recipe is a game-changer. I’ve tested it a dozen times—sometimes with too much salt, once with not enough garlic, and even a batch where I forgot the dill entirely (don’t do that). Through all those trials, I landed on a version that is foolproof, fast, and ridiculously satisfying. Here’s what makes it stand out:
- Quick & Easy: These pickles are ready in just 24 hours. No canning, no water baths, no complicated steps. You mix, you pour, you wait—that’s it.
- Simple Ingredients: You probably have most of these in your kitchen right now. Cucumbers, vinegar, salt, garlic, dill, and peppercorns. That’s the whole list.
- Perfect for Snacking: These are the pickles you pull out for a burger, a sandwich, or just a straight-up snack at 3 PM. They’re that good.
- Crowd-Pleaser: I brought a jar to a potluck last month, and they were gone in twenty minutes. People kept asking for the recipe. I’m not kidding.
- Unbelievably Crispy: The texture is the star here. No mushy pickles, no sad, limp spears. Just that perfect, satisfying crunch every time.
What makes this recipe different from all the other pickle recipes out there? It’s the balance. I’ve found the exact ratio of vinegar to water, the perfect amount of salt, and the right chilling time to get that snap without any weird additives. Plus, I use a trick I learned from a chef friend—adding a grape leaf or a bay leaf to the jar helps keep the pickles extra crunchy. It sounds weird, but it works. Trust me, this isn’t just another pickle recipe. It’s the one you’ll come back to again and again. It’s the kind of recipe that makes you feel like a kitchen genius, even if you’re just starting out.
What Ingredients You Will Need
This recipe uses simple, wholesome ingredients to deliver that bold, tangy flavor and satisfying crunch without any fuss. Most of these are pantry staples, so you might not even need a grocery run. Here’s what you’ll need:
For the Pickles
- 1 ½ pounds Kirby cucumbers (or Persian cucumbers, about 6-8 small ones) — Look for firm, bumpy cucumbers with no soft spots. These are the best for pickling because they stay crunchy.
- 4 cloves garlic, peeled and smashed — Adds that savory depth that makes pickles irresistible. I recommend using fresh garlic, not the pre-minced stuff from a jar.
- 2 sprigs fresh dill (or 1 tablespoon dried dill) — Fresh dill gives the best flavor, but dried works in a pinch. Just use a little less if you’re going dried.
- 1 teaspoon black peppercorns — Whole peppercorns add a subtle heat that builds as the pickles sit. Don’t skip these.
- 1 bay leaf (optional, but recommended) — This is my secret for extra crunch. A bay leaf contains tannins that help keep the pickles firm. It’s a game-changer.
For the Brine
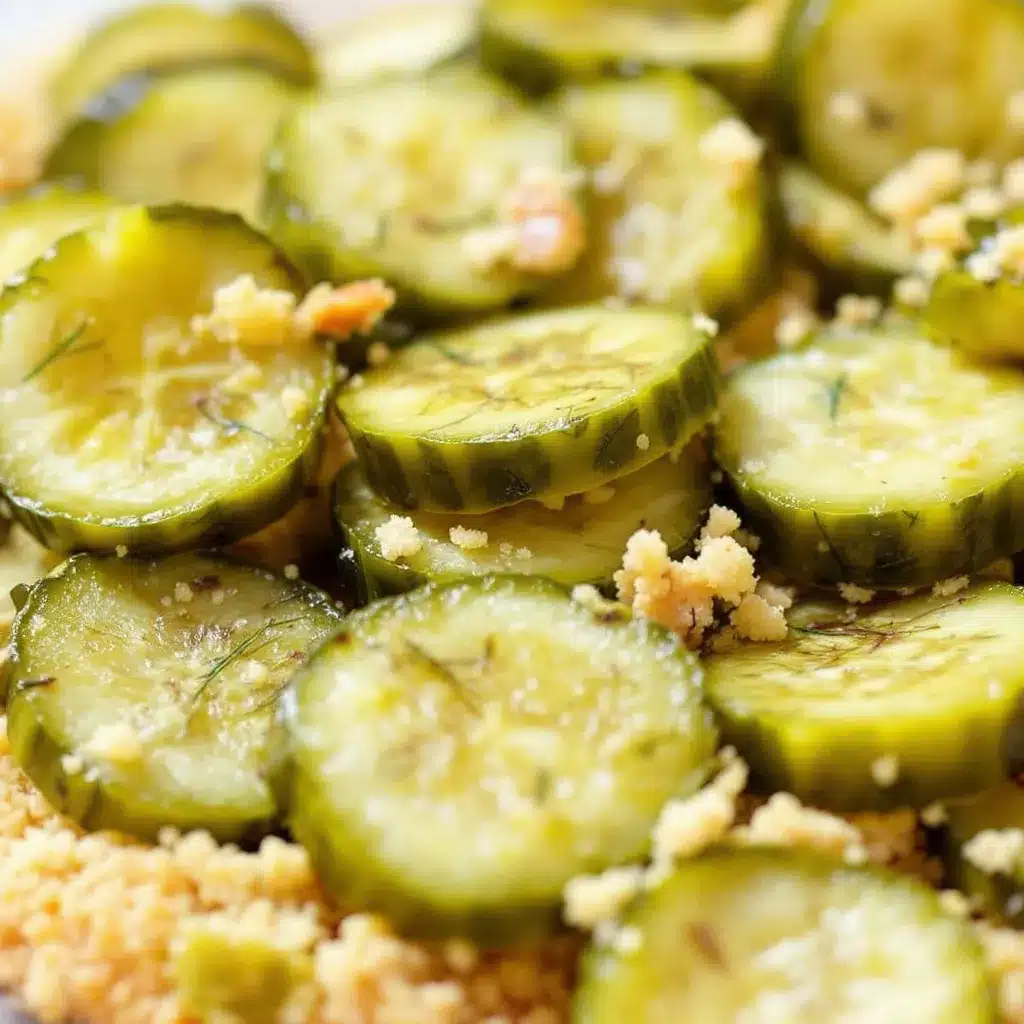
- 1 cup water — Filtered or tap, it doesn’t matter. Just make sure it’s cold.
- 1 cup white vinegar (5% acidity) — White vinegar is the classic choice for pickles. It’s clear, sharp, and lets the dill and garlic shine. I prefer Heinz or Great Value for consistency.
- 1 tablespoon kosher salt — Not table salt! Kosher salt dissolves cleanly and doesn’t have that metallic aftertaste. I use Diamond Crystal brand.
- 1 tablespoon sugar (optional) — This balances the acidity and adds a tiny bit of sweetness. If you like tangier pickles, you can leave it out.
Ingredient selection tips: If you can’t find Kirby cucumbers, Persian cucumbers are a great substitute. English cucumbers work too, but they tend to be less crunchy. Avoid waxed cucumbers—they don’t absorb the brine as well. For the vinegar, you can experiment with apple cider vinegar for a slightly fruitier flavor, but stick with white vinegar for the classic taste. And if you’re out of fresh dill, dried dill weed works fine—just use about 1 tablespoon instead of 2 sprigs.
Equipment Needed
You don’t need a lot of fancy equipment for this recipe, which is part of the beauty of it. Here’s what you’ll need:
- A clean glass jar (32-ounce or 1-quart size) — A wide-mouth mason jar is ideal because it’s easy to pack the cucumbers in. I use a Ball jar, but any glass jar with a tight-fitting lid works. Just make sure it’s thoroughly washed and dried.
- A small saucepan — For heating the brine. Any small pot will do. I use a 2-quart saucepan, but even a small skillet works if that’s all you have.
- A cutting board and sharp knife — For slicing the cucumbers. A sharp knife makes clean cuts, which helps the pickles absorb the brine evenly.
- A measuring cup and spoons — For precise measurements. I like to use a liquid measuring cup for the water and vinegar.
- A whisk or spoon — For stirring the brine until the salt dissolves. A whisk works fastest, but a spoon is fine.
Alternative suggestions: If you don’t have a mason jar, you can use a recycled pickle jar or any glass container with a lid. Just make sure it’s clean and has a tight seal. For slicing, a mandoline slicer gives you even, uniform slices, but a knife works perfectly well. If you don’t have a saucepan, you can heat the brine in the microwave—just use a microwave-safe bowl and heat in 30-second intervals, stirring in between. And honestly, if you don’t have a whisk, a fork works too. I’ve done it more times than I’d like to admit.
Preparation Method
Making these pickles is almost too easy. Follow these steps, and you’ll have a jar of crispy, tangy pickles in exactly 24 hours.
- Prepare the cucumbers: Wash the cucumbers thoroughly under cold water to remove any dirt or wax. Cut off the blossom end (the tip opposite the stem) — this helps keep the pickles crunchy. Slice the cucumbers into spears, rounds, or leave them whole if they’re small. I prefer spears because they’re perfect for snacking. Aim for uniform sizes so they pickle evenly. (About 5 minutes)
- Pack the jar: Place the smashed garlic cloves, dill sprigs, peppercorns, and bay leaf (if using) into the bottom of your clean glass jar. Then, pack the cucumber slices tightly into the jar. Don’t be shy—cram them in there. A tight pack means less brine needed and better flavor absorption. Leave about ½ inch of headspace at the top. (About 3 minutes)
- Make the brine: In a small saucepan, combine the water, white vinegar, kosher salt, and sugar (if using). Place the saucepan over medium-high heat and stir occasionally until the salt and sugar are fully dissolved. You don’t need to boil the brine—just heat it until it’s hot and clear. This usually takes about 2-3 minutes. Once dissolved, remove from heat and let it cool for 1-2 minutes. (About 5 minutes)
- Pour the brine: Carefully pour the hot brine over the cucumbers in the jar, making sure they are completely submerged. If you need more brine, you can top it off with a little extra water and vinegar (in equal parts). Leave about ¼ inch of headspace at the top. Tap the jar gently on the counter to release any air bubbles. (About 2 minutes)
- Seal and refrigerate: Screw the lid on tightly and let the jar cool to room temperature on the counter for about 30 minutes. Then, place the jar in the refrigerator. This is the hardest part—you have to wait 24 hours. I know, it feels like forever. But trust the process. The pickles need time to absorb the brine and develop that perfect tang. (Waiting time: 24 hours)
- Taste and enjoy: After 24 hours, open the jar and pull out a spear. Take a bite. That snap? That’s what we’re after. If you like them tangier, you can let them sit for another 12-24 hours. Once they’re ready, they’ll keep in the fridge for up to 3 weeks. (But honestly, they never last that long in my house.)
Pro tip from my kitchen: If you’re impatient like me, you can sneak a taste at the 12-hour mark. They won’t be fully pickled, but you’ll get a sense of the flavor. I’ve done this more times than I care to count. Also, if you notice the brine level dropping after a few days, don’t worry—it’s normal. Just top it off with a little extra brine (equal parts water and vinegar with a pinch of salt).
Cooking Tips & Techniques
Over the years, I’ve made plenty of pickle mistakes—some delicious, some, uh, less so. Here are the tips and techniques I’ve learned the hard way so you don’t have to.
- Don’t skip the blossom end: The blossom end of a cucumber contains enzymes that can make pickles mushy. Cutting it off is a small step that makes a big difference. I learned this after a batch of disappointingly soft pickles. Never again.
- Use the right salt: Kosher salt is key here. Table salt often contains anti-caking agents that can cloud the brine and affect the flavor. Sea salt works too, but it can be pricier. Stick with kosher for the best results.
- Keep them submerged: If any cucumber pieces float above the brine, they’ll turn brown and mushy. To keep everything submerged, you can place a small glass weight or a crumpled piece of parchment paper on top. I’ve even used a clean, small ramekin before. Desperate times.
- Don’t overheat the brine: You want the brine hot enough to dissolve the salt, but not boiling. Boiling can break down the vinegar and make the pickles taste flat. Just heat until the salt dissolves, then let it cool slightly before pouring.
- Patience is a virtue: I know 24 hours feels like an eternity, but trust me—it’s worth the wait. The first time I made these, I opened the jar at 18 hours and was disappointed. They were okay, but not great. At 24 hours, they were perfect. So set a timer and resist the temptation.
- Experiment with spices: Once you’ve mastered the basic recipe, try adding a pinch of red pepper flakes for heat, a slice of fresh ginger for warmth, or a star anise for a subtle licorice note. Pickles are a great canvas for creativity.
Variations & Adaptations
One of the best things about this recipe is how adaptable it is. Here are a few variations I’ve tried and loved:
- Spicy Pickles: Add 1-2 sliced jalapeños or a teaspoon of red pepper flakes to the jar along with the garlic and dill. The heat builds as the pickles sit, so start with less if you’re sensitive to spice. I made a batch with habaneros once, and it was… intense. But delicious.
- Garlic Lovers Pickles: Double the garlic to 8 cloves. Smash them well so the flavor infuses quickly. These are perfect for anyone who thinks more garlic is always the answer. (I’m that person.)
- Sweet Bread & Butter Style: Increase the sugar to ¼ cup and add 1 teaspoon of mustard seeds and ½ teaspoon of turmeric to the brine. This gives you that classic sweet-and-tangy bread and butter pickle flavor. My grandmother would approve.
- Herb-Infused Pickles: Swap the dill for fresh thyme, rosemary, or tarragon. Each herb gives a completely different character. I made a batch with thyme and lemon zest last summer, and they were incredible on sandwiches.
- Low-Sodium Version: Reduce the salt to 1½ teaspoons. The pickles won’t be as shelf-stable, but they’ll still be delicious and crunchy. Just eat them within 2 weeks.
Dietary adaptations: This recipe is naturally vegan, gluten-free, and dairy-free. If you’re watching your sugar intake, simply omit the sugar—the pickles will be tangier but still fantastic. For a lower-acid version, use ¾ cup vinegar and 1¼ cups water. I’ve tried all of these, and they all work beautifully.
Serving & Storage Suggestions
These pickles are incredibly versatile. Here’s how I like to serve and store them:
- Serving temperature: Serve them cold, straight from the fridge. The chill adds to the crunch. They’re perfect alongside a sandwich, on a burger, or as part of a charcuterie board.
- Presentation tips: Arrange the pickles on a small plate or in a bowl. For a party, I like to spear them with toothpicks for easy grabbing. They also look beautiful in a clear glass jar—the green cucumbers against the clear brine is oddly satisfying.
- Complementary dishes: These pickles are amazing with grilled meats, fried chicken, fish tacos, or alongside a hearty stew. They also pair well with cheese—try them with sharp cheddar or creamy brie. And of course, they’re a classic addition to a Bloody Mary or a martini.
- Storage instructions: Keep the pickles in their brine in a sealed jar in the refrigerator. They’ll stay fresh and crunchy for up to 3 weeks. The flavor will continue to develop over the first week, so they actually get better with time.
- Reheating: These pickles are served cold, so no reheating is needed. However, if you want to use them in a warm dish (like chopped into a potato salad or on a hot dog), just add them at the end to preserve their crunch.
- Flavor development: The pickles will taste good after 24 hours, but they’ll be even better after 48 hours. The flavors mellow and meld together beautifully. I’ve had jars that lasted (miraculously) two weeks, and they were incredible.
Nutritional Information & Benefits
These pickles are not just delicious—they’re also a smart choice for a healthy snack. Here’s a quick look at what you’re getting:
- Estimated nutritional values (per serving of 3 spears): Calories: 15, Total Fat: 0g, Sodium: 350mg, Total Carbohydrates: 3g, Dietary Fiber: 1g, Sugars: 1g, Protein: 0g.
- Health benefits of key ingredients: Cucumbers are hydrating and low in calories, making them a great base for a healthy snack. Dill is rich in antioxidants and may aid digestion. Garlic is known for its immune-boosting properties. Vinegar has been linked to better blood sugar control.
- Dietary considerations: This recipe is naturally low-calorie, low-fat, vegan, gluten-free, and dairy-free. It’s also keto-friendly if you omit the sugar. Just be mindful of the sodium content if you’re watching your salt intake.
- Potential allergens: This recipe is free of common allergens like nuts, dairy, eggs, and soy. Always check your vinegar and salt labels if you have specific sensitivities.
- Personal wellness perspective: I love that I can enjoy these pickles guilt-free. They satisfy that craving for something tangy and crunchy without any of the artificial preservatives or additives you find in store-bought pickles. Plus, making them myself means I control the salt and sugar levels. It’s a small win, but it feels good.
FAQs
Can I use regular cucumbers instead of Kirby cucumbers?
Yes, but the texture might not be as crunchy. English cucumbers work well, but they tend to be less firm. If you use regular slicing cucumbers, peel them first and remove the seeds to avoid a mushy result. I’ve done it in a pinch, and it’s still good—just not as crisp.
Do I have to wait the full 24 hours?
Technically, no. You can taste them at 12 hours, but they won’t be fully pickled. The flavor and crunch really develop at the 24-hour mark. I’ve opened a jar at 18 hours before, and it was disappointing. Trust the process—wait the full 24 hours. Your patience will be rewarded.
Can I reuse the brine for another batch?
I wouldn’t recommend it. The brine absorbs flavors from the first batch, and the cucumbers release water, which dilutes it. The second batch will be less flavorful and might not be as crunchy. It’s better to make fresh brine each time. Plus, it only takes a few minutes.
Why are my pickles mushy?
Mushy pickles are usually caused by one of three things: using old or soft cucumbers, not cutting off the blossom end, or letting them sit too long at room temperature. Make sure your cucumbers are firm and fresh, cut off that blossom end, and refrigerate the jar after 30 minutes on the counter. Also, adding a bay leaf or grape leaf can help maintain crunch.
Can I make these pickles without vinegar?
Vinegar is essential for the tangy flavor and food safety in this recipe. If you want to make fermented pickles (which use salt and water to create natural lactic acid), that’s a different process entirely and takes much longer (about 1-2 weeks). This recipe is specifically for quick refrigerator pickles, so stick with the vinegar.
Conclusion
These Easy Crispy Refrigerator Dill Pickles in 24 Hours have become a staple in my kitchen, and I have a feeling they’ll become one in yours too. They’re quick, simple, and incredibly satisfying—everything a good snack should be. Whether you’re a seasoned pickler or a complete beginner, this recipe is foolproof. I love that I can whip up a jar on a whim, and 24 hours later, I have something that tastes like it came from a gourmet deli. The best part? You can tweak it to your heart’s content. Add more garlic, throw in some spice, or keep it classic—it’s all good. I’d love to hear how yours turn out. Did you add any fun variations? Did the 24-hour wait feel like an eternity? Drop a comment below and let me know. And if you loved this recipe, share it with a friend who needs a little more crunch in their life. Happy pickling!
Pin This Recipe!
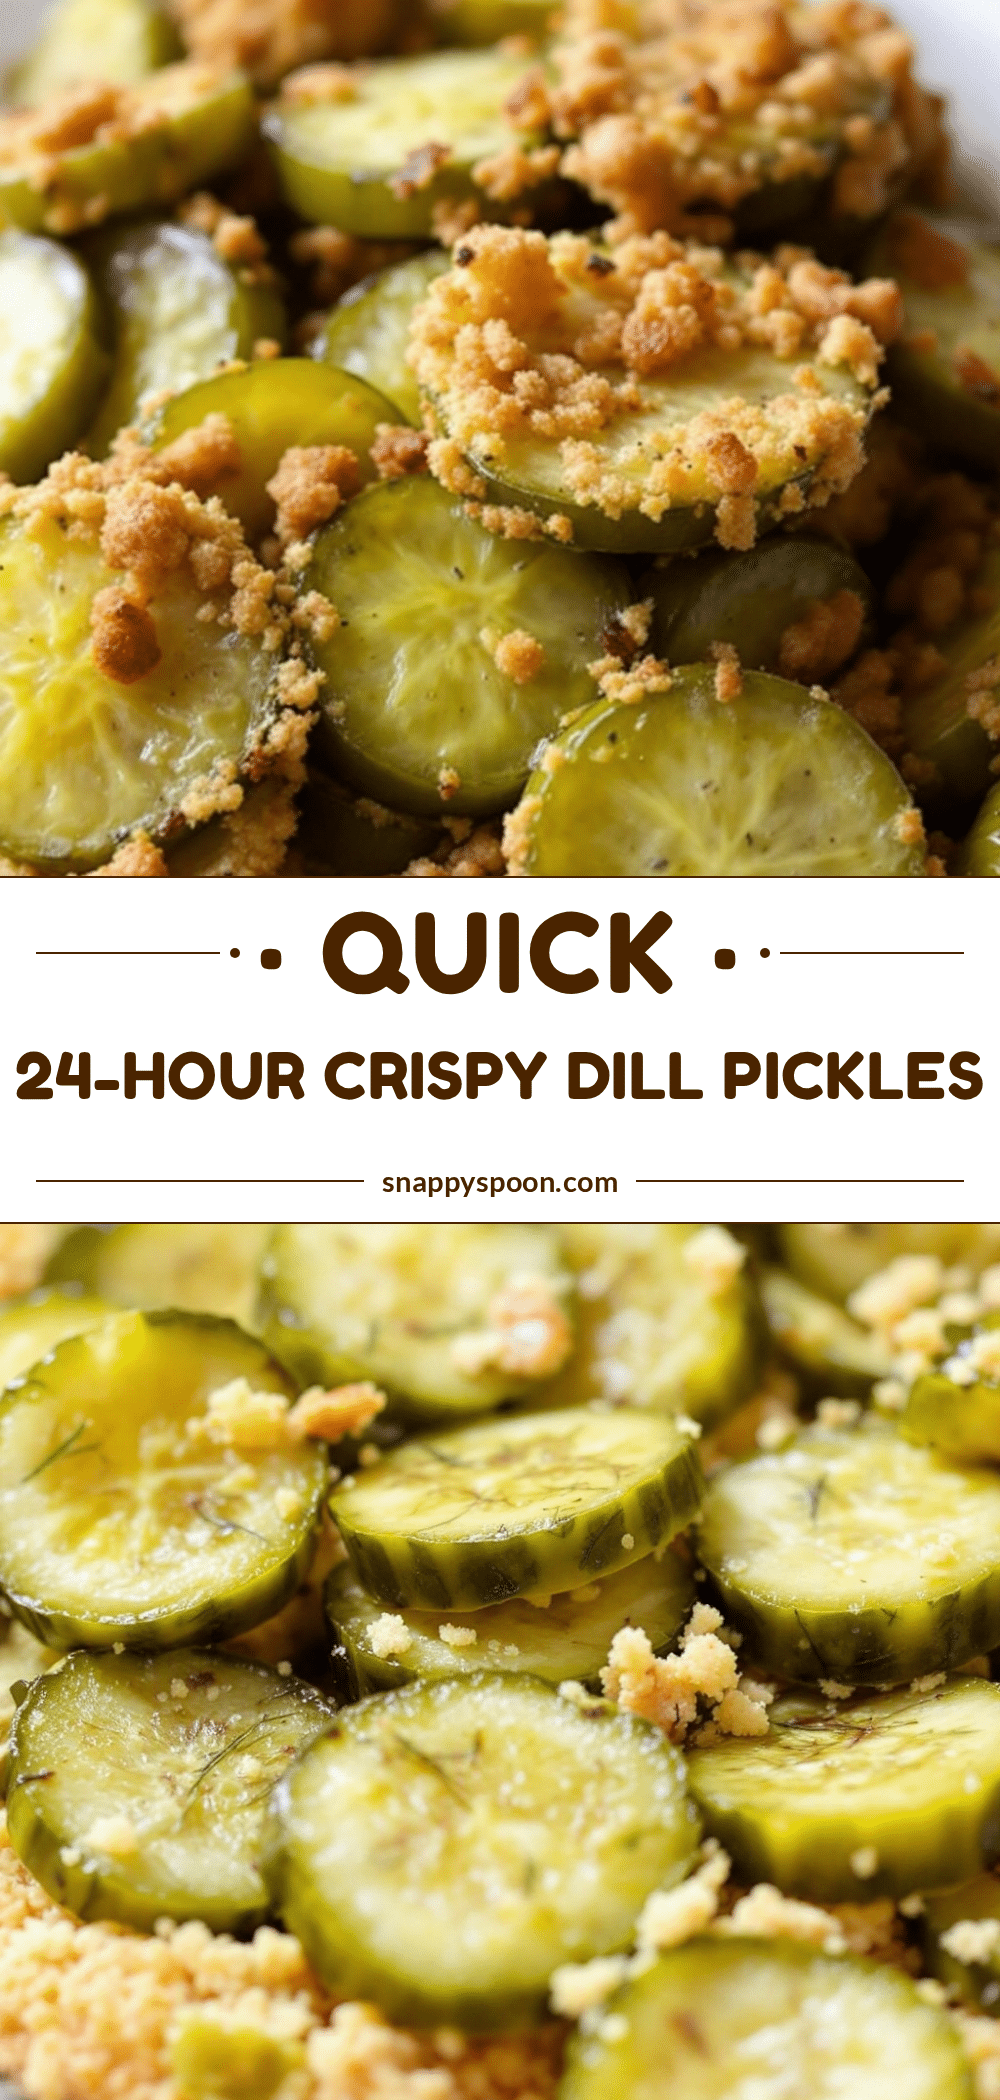
Easy Crispy Refrigerator Dill Pickles Ready in 24 Hours
These quick and easy refrigerator dill pickles are ready in just 24 hours with no canning required. Made with simple ingredients like Kirby cucumbers, garlic, dill, and a tangy brine, they deliver a perfect crunch every time.
- Prep Time: 10 minutes
- Cook Time: 5 minutes
- Total Time: 24 hours 15 minutes
- Yield: 4 servings 1x
- Category: Appetizer
- Cuisine: American
Ingredients
- 1 ½ pounds Kirby cucumbers (or Persian cucumbers, about 6–8 small ones)
- 4 cloves garlic, peeled and smashed
- 2 sprigs fresh dill (or 1 tablespoon dried dill)
- 1 teaspoon black peppercorns
- 1 bay leaf (optional, but recommended)
- 1 cup water
- 1 cup white vinegar (5% acidity)
- 1 tablespoon kosher salt
- 1 tablespoon sugar (optional)
Instructions
- Wash the cucumbers thoroughly under cold water. Cut off the blossom end (the tip opposite the stem). Slice the cucumbers into spears, rounds, or leave them whole if they’re small. Aim for uniform sizes so they pickle evenly.
- Place the smashed garlic cloves, dill sprigs, peppercorns, and bay leaf (if using) into the bottom of a clean 32-ounce glass jar. Pack the cucumber slices tightly into the jar, leaving about ½ inch of headspace at the top.
- In a small saucepan, combine the water, white vinegar, kosher salt, and sugar (if using). Place over medium-high heat and stir occasionally until the salt and sugar are fully dissolved. Do not boil. Remove from heat and let cool for 1-2 minutes.
- Carefully pour the hot brine over the cucumbers in the jar, making sure they are completely submerged. Leave about ¼ inch of headspace at the top. Tap the jar gently on the counter to release any air bubbles.
- Screw the lid on tightly and let the jar cool to room temperature on the counter for about 30 minutes. Then, place the jar in the refrigerator. Wait 24 hours before eating.
- After 24 hours, open the jar and taste a pickle. If you like them tangier, let them sit for another 12-24 hours. Once ready, they will keep in the fridge for up to 3 weeks.
Notes
For extra crunch, add a bay leaf or grape leaf to the jar. Cut off the blossom end of the cucumbers to prevent mushiness. Use kosher salt, not table salt, for best results. The pickles will taste good after 24 hours but even better after 48 hours. Store in the refrigerator for up to 3 weeks.
Nutrition
- Serving Size: 3 spears
- Calories: 15
- Sugar: 1
- Sodium: 350
- Carbohydrates: 3
- Fiber: 1
Keywords: refrigerator pickles, dill pickles, easy pickles, homemade pickles, quick pickles, crispy pickles, no canning pickles