Love this? Save it for later!
Share the inspiration with your friends
“I wasn’t expecting a snack hack during my Sunday market run, but there I was, chatting with the vendor about the best way to enjoy their fresh produce,” I remember telling a friend over coffee. The vendor, an energetic woman named Linda, casually mentioned how she threads fresh fruit and cheese on skewers for her kids’ after-school treats. I thought, “Sure, sounds simple enough,” but honestly, I had no idea this little idea would become my go-to for quick, healthy munching.
It was a warm Thursday afternoon, and I had just gotten home, juggling groceries and a phone call when the thought of assembling these colorful skewers popped into my head. I grabbed whatever fruit and cheese I had on hand, threw them together on some bamboo sticks, and wow—the balance of sweet, creamy, and tangy was unexpectedly delightful. Maybe you’ve been there, staring into your fridge, wanting something fresh but fuss-free? That’s exactly what this recipe solves.
The best part? This isn’t just about convenience. Each bite feels like a mini celebration of flavors and textures. You get the juicy burst of fresh fruit paired with the satisfying creaminess of cheese—perfect for a quick snack, a party platter, or even a light lunch. I remember once accidentally dropping a skewer on the floor mid-assembly (classic me!), but even with that little mess, the taste was worth every sticky finger. This recipe stuck with me because it’s simple, fresh, and honestly, a little fun to put together.
So if you’re looking for a snack that’s both healthy and ridiculously easy, these Easy Fresh Fruit and Cheese Skewers might just become your new obsession. Let me tell you, they’re perfect for those moments when you want something quick but don’t want to sacrifice flavor or nutrition.
Why You’ll Love This Recipe
After testing this recipe countless times (and sharing it with friends, neighbors, and even the odd delivery driver), I can confidently say this is one snack that truly hits the mark. Here’s why you’ll find yourself reaching for these skewers again and again:
- Quick & Easy: Ready in under 15 minutes—ideal for busy schedules or last-minute cravings.
- Simple Ingredients: Uses everyday fruit and cheese you probably already have in your kitchen.
- Perfect for Any Occasion: Great for brunch, picnics, potlucks, or just a wholesome afternoon nibble.
- Crowd-Pleaser: Kids and adults alike love them—probably because they’re colorful and fun to eat.
- Unbelievably Delicious: The combo of juicy fruit and creamy cheese creates a satisfying texture and flavor contrast that’s hard to beat.
This isn’t just another fruit-and-cheese plate thrown together. I’ve found that picking the right cheese makes all the difference—go for a semi-hard like aged cheddar or a creamy mozzarella for that perfect melt-in-your-mouth feel. Plus, threading them onto skewers transforms it into a handheld treat that feels a bit fancy without any fuss. Honestly, once you try these, you’ll get why they’ve become a staple in my snack rotation.
What Ingredients You Will Need
This recipe uses simple, wholesome ingredients to deliver bold flavor and satisfying texture without the fuss. You can easily swap varieties depending on what’s in season or your personal preferences.
- Fresh Fruit:
- Seedless grapes (red or green) – juicy and easy to skewer
- Strawberries, hulled and halved (in season, they add vibrant color)
- Fresh pineapple chunks (for a tropical sweetness)
- Green apple slices (tartness balances the cheese; toss in a bit of lemon juice to prevent browning)
- Blueberries or raspberries (optional, for extra bursts of flavor)
- Cheese:
- Cheddar cheese, cut into bite-sized cubes (I like Cabot Extra Sharp for punchy flavor)
- Mozzarella balls (bocconcini) or cubed fresh mozzarella for creaminess
- Gouda or Havarti cubes (smooth and mild)
- Extras (optional):
- Fresh mint leaves (adds a refreshing note)
- Honey drizzle (for a touch of sweetness)
- Toasted nuts like almonds or pecans, roughly chopped (for crunch)
For a gluten-free option, these ingredients are naturally safe, and you can always swap in dairy-free cheese alternatives if needed. When picking fruit, aim for ripe but firm pieces to hold up well on skewers. I usually pick up my fruit from the local farmer’s market—freshness really makes a difference in taste here.
Equipment Needed
- Bamboo Skewers: Standard 6-inch or 8-inch skewers work well. If you don’t have bamboo, sturdy metal skewers are fine, but bamboo is easier and disposable.
- Cutting Board and Sharp Knife: For slicing fruit and cheese into uniform pieces. A paring knife helps with smaller cuts.
- Mixing Bowl: To toss fruit with a little lemon juice or honey if desired.
- Serving Platter or Tray: To arrange skewers for a nice presentation.
If you don’t own bamboo skewers, you can get a pack cheaply online or at most grocery stores. I once used sturdy toothpicks in a pinch, though they’re shorter and more delicate. Also, if you want to keep things eco-friendly, reusable metal skewers are a great investment and easy to clean.
Preparation Method
- Prepare the Fruit: Wash all fruit thoroughly. Hull and halve strawberries, slice the apple into bite-sized wedges, and cut pineapple into chunks about 1-inch square. Toss apple slices in a splash of lemon juice to prevent browning. (Approx. 10 minutes)
- Cut the Cheese: Slice your chosen cheese into cubes roughly matching the size of the fruit pieces—about 1-inch cubes work best for easy skewering and balanced bites. (Approx. 5 minutes)
- Optional Toss: In a mixing bowl, gently toss fruit with a teaspoon of honey and a few torn mint leaves for a subtle flavor boost. This step is optional but adds a lovely aroma and sweetness. (Approx. 2 minutes)
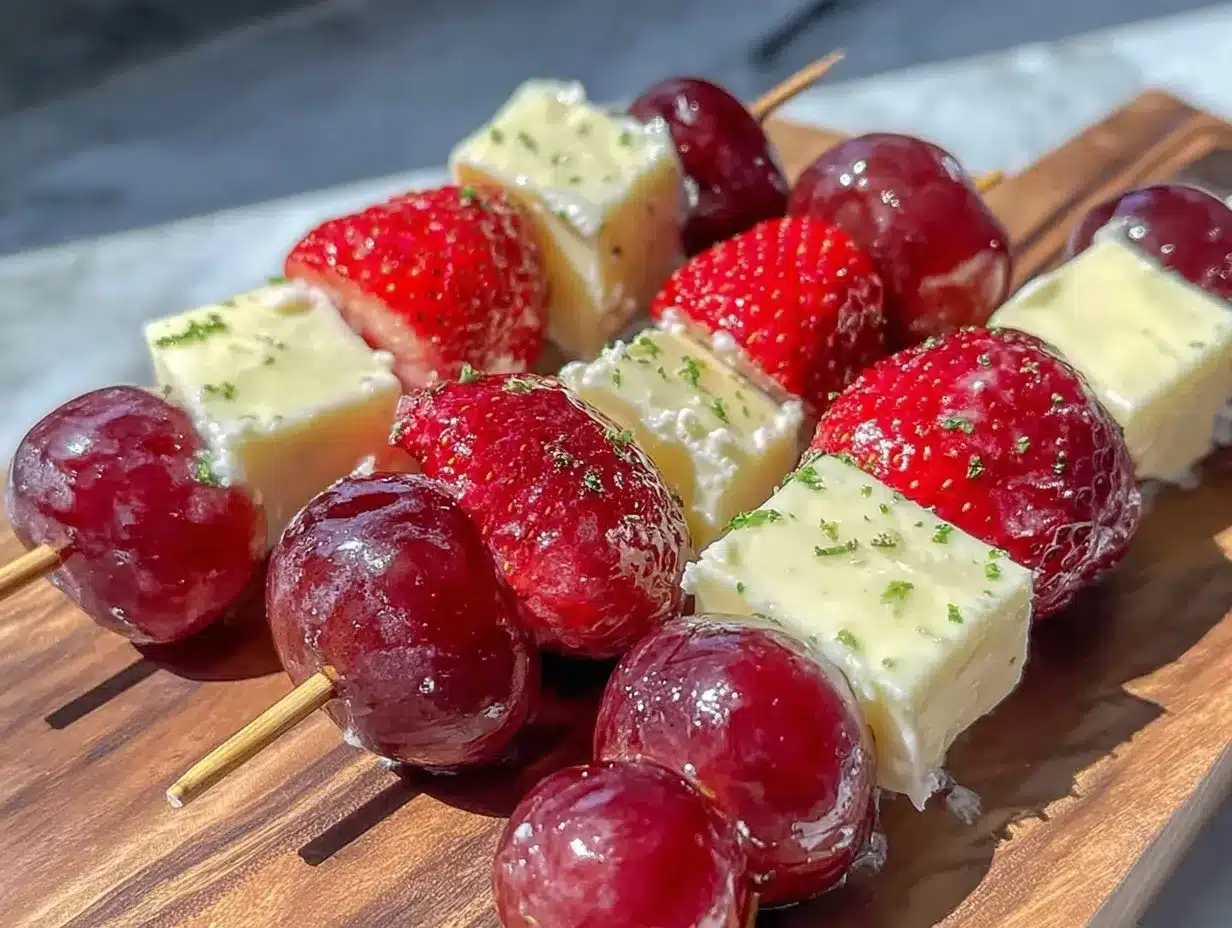
- Assemble the Skewers: Start by threading a piece of fruit onto the skewer, followed by a cube of cheese, then another fruit piece. Alternate colors and textures for a visually appealing pattern. Aim for 4-6 pieces per skewer depending on length. (Approx. 10 minutes)
- Arrange and Serve: Lay skewers on your serving platter. If you like, drizzle a little honey over the top or sprinkle with chopped toasted nuts for crunch. (Approx. 3 minutes)
Tip: If you notice the cheese is too soft and slippery for skewering, chill it briefly before cutting and assembling. Also, don’t overcrowd the skewers—too many pieces make them tricky to handle and eat.
Cooking Tips & Techniques
Though this recipe is more about assembly than cooking, a few tricks help make these skewers extra enjoyable:
- Choose Firm, Fresh Fruit: Softer fruits can get mushy quickly, so use ripe but firm options. Grapes and apples hold up well and pair nicely with cheese.
- Uniform Size Matters: Cutting your cheese and fruit pieces to similar sizes makes the skewers balanced and easy to eat in one bite.
- Chilling Cheese Helps: If your cheese is too soft, pop it in the fridge for 15 minutes before cutting. It’ll be easier to cube and less likely to crumble.
- Keep It Cool: Assemble skewers just before serving to keep fruit fresh and prevent juices from making the cheese soggy.
- Multitask Efficiently: While fruit is washing, prep cheese, then cut fruit. This flow saves time and keeps your workspace tidy.
In my early tries, I didn’t think about size and ended up with awkward bites—lesson learned! Also, I once tried putting soft goat cheese on skewers, but it didn’t hold shape well, so I stick to firmer varieties now.
Variations & Adaptations
This fruit and cheese skewer recipe is flexible enough to suit many tastes and dietary needs:
- Seasonal Flavors: Swap in peaches, nectarines, or melon in summer. In fall, try pear slices or dried cranberries for a twist.
- Different Cheeses: Use feta for a tangy punch, or manchego for a nutty flavor. Vegan cheese cubes work great for dairy-free options.
- Sweet & Savory Twists: Add a drizzle of balsamic glaze or sprinkle chili powder for a flavor kick. I once tried cinnamon on apple and cheddar skewers—surprisingly tasty!
- Nut-Free Option: Skip nuts if allergies are a concern; the fresh fruit and cheese combo stands strong on its own.
- Alternate Skewering Method: For kids or parties, serve the components in small bowls for DIY skewers—fun and interactive.
Serving & Storage Suggestions
Serve these skewers fresh at room temperature or slightly chilled—both work beautifully. They look fantastic arranged on a colorful platter, garnished with fresh mint sprigs or edible flowers for a festive touch.
They pair wonderfully with light, crisp white wines for adult gatherings or iced herbal teas for family snacks. If you’re putting together a larger spread, these skewers complement dishes like crispy garlic chicken or a fresh garden salad beautifully.
For storage, place the skewers in an airtight container and refrigerate. They stay fresh for up to 24 hours but are best enjoyed the same day to keep fruit firm and cheese at its best texture. To reheat (if desired), allow them to come to room temperature for about 15 minutes—no microwave needed.
Over time, the flavors meld slightly, especially if you’ve added honey or balsamic glaze, making leftovers an interesting second-day snack.
Nutritional Information & Benefits
These skewers offer a wholesome, balanced snack rich in vitamins, minerals, and protein. Here’s what makes them a smart choice:
- Fruit: Provides fiber, antioxidants, and vitamin C to support immunity and digestion.
- Cheese: Supplies calcium, protein, and healthy fats for bone health and sustained energy.
- Low in Added Sugars: Naturally sweet without relying on processed sugars.
- Gluten-Free: Naturally safe for gluten-sensitive diets.
- Portion Control: Skewers help keep snack sizes reasonable and satisfying.
From a wellness perspective, I find these skewers great for keeping energy steady between meals without the crash that comes from sugary snacks. Plus, the fresh ingredients feel light yet filling—a win-win.
Conclusion
This Easy Fresh Fruit and Cheese Skewers recipe is a quick, tasty way to enjoy healthy snacks that don’t feel like a chore to prepare. Whether you’re rushing between meetings or hosting friends, these skewers offer a perfect balance of flavor and convenience. Honestly, I love how customizable they are—you can mix and match fruit and cheese endlessly to suit your mood or what’s in season.
Give it a try and make it your own. Maybe add a drizzle of honey or toss in your favorite nuts. I’d love to hear how you tweak it for your taste, so leave a comment below with your favorite combos or any fun twists you try. Happy snacking!
Frequently Asked Questions
Can I prepare these skewers in advance?
You can prep the fruit and cheese ahead, but it’s best to assemble the skewers just before serving to keep everything fresh and prevent sogginess.
What cheeses work best for these skewers?
Semi-hard cheeses like cheddar, gouda, and havarti are ideal. Fresh mozzarella balls also work well for a creamy texture.
Are these skewers suitable for kids?
Absolutely! They’re colorful, bite-sized, and fun to eat. Just be cautious with skewer sharpness for younger children.
Can I use dried fruit instead of fresh?
Fresh fruit is preferred for texture and juiciness, but dried fruit can be added for extra sweetness and chewiness if you like.
How do I store leftover skewers?
Store in an airtight container in the fridge for up to 24 hours. Allow them to come to room temperature before serving for best flavor.
Pin This Recipe!
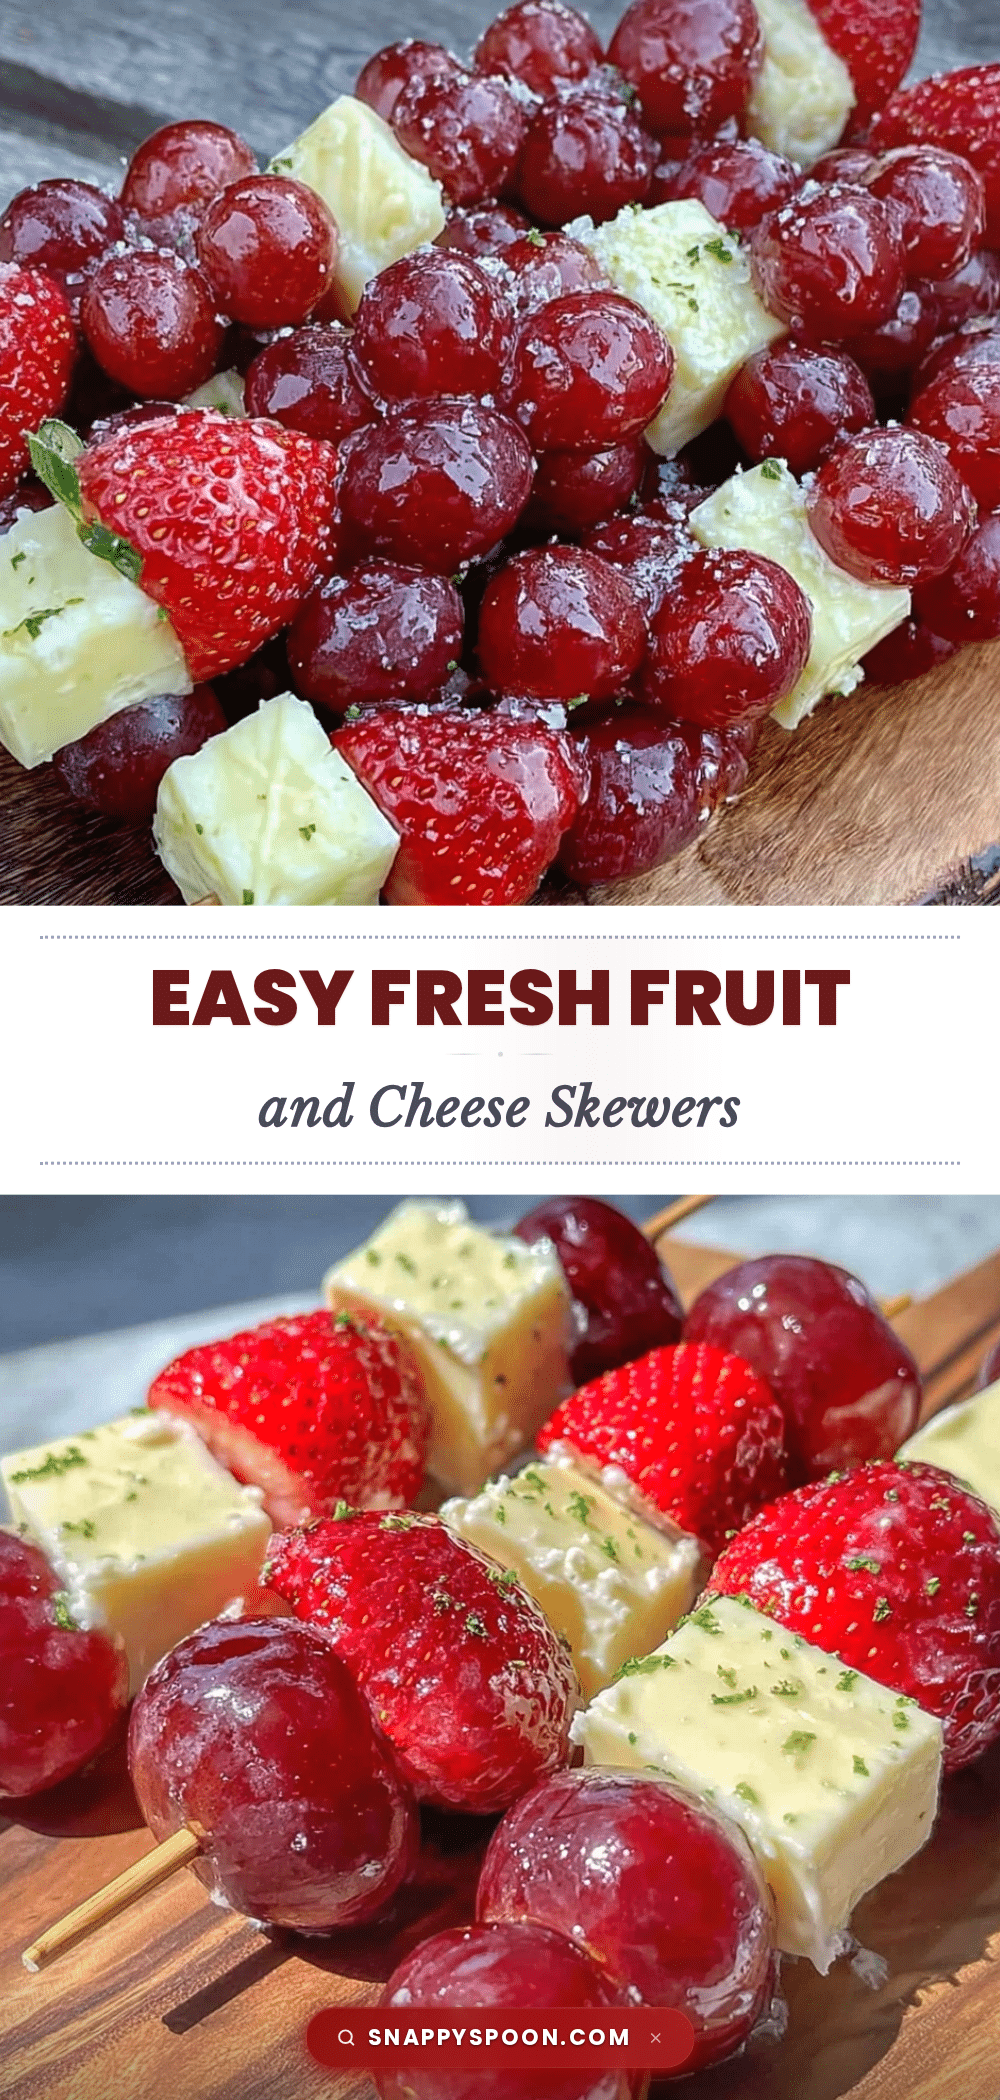
Easy Fresh Fruit and Cheese Skewers

A quick, healthy, and colorful snack combining fresh fruit and cheese threaded on skewers, perfect for any occasion.
- Prep Time: 15 minutes
- Cook Time: 0 minutes
- Total Time: 15 minutes
- Yield: 6 servings
- Category: Snack
- Cuisine: American
Ingredients
- Seedless grapes (red or green)
- Strawberries, hulled and halved
- Fresh pineapple chunks (about 1-inch pieces)
- Green apple slices (tossed in lemon juice to prevent browning)
- Blueberries or raspberries (optional)
- Cheddar cheese, cut into 1-inch cubes
- Mozzarella balls (bocconcini) or cubed fresh mozzarella
- Gouda or Havarti cheese cubes
- Fresh mint leaves (optional)
- Honey drizzle (optional)
- Toasted nuts like almonds or pecans, roughly chopped (optional)
Instructions
- Wash all fruit thoroughly. Hull and halve strawberries, slice the apple into bite-sized wedges, and cut pineapple into 1-inch chunks. Toss apple slices in a splash of lemon juice to prevent browning. (Approx. 10 minutes)
- Slice your chosen cheese into cubes roughly matching the size of the fruit pieces—about 1-inch cubes work best for easy skewering and balanced bites. (Approx. 5 minutes)
- Optional: In a mixing bowl, gently toss fruit with a teaspoon of honey and a few torn mint leaves for a subtle flavor boost. (Approx. 2 minutes)
- Start threading a piece of fruit onto the skewer, followed by a cube of cheese, then another fruit piece. Alternate colors and textures for a visually appealing pattern. Aim for 4-6 pieces per skewer depending on length. (Approx. 10 minutes)
- Lay skewers on your serving platter. If desired, drizzle a little honey over the top or sprinkle with chopped toasted nuts for crunch. (Approx. 3 minutes)
Notes
Chill cheese briefly if too soft for easier cubing and skewering. Assemble skewers just before serving to keep fruit fresh and prevent sogginess. Avoid overcrowding skewers for easier handling. Use ripe but firm fruit for best texture. Can substitute dairy-free cheese for vegan option.
Nutrition
- Serving Size: One skewer (4-6 piec
- Calories: 120
- Sugar: 6
- Sodium: 150
- Fat: 7
- Saturated Fat: 4
- Carbohydrates: 8
- Fiber: 1
- Protein: 5
Keywords: fruit skewers, cheese skewers, healthy snacks, quick snacks, party appetizers, fresh fruit, easy recipe, gluten-free