Love this? Save it for later!
Share the inspiration with your friends
The neighborhood kids’ Halloween party was in four hours and I’d completely forgotten I was supposed to bring snacks. Everyone else would be bringing elaborate themed treats—ghost-shaped cookies, pumpkin cupcakes with perfect frosting, those little mummy hot dogs wrapped in crescent dough. I had a half-empty jar of peanut butter, some oats that were probably older than I wanted to admit, and a bag of chocolate chips I’d been hiding from myself. Honestly, I almost gave up and grabbed a bag of chips from the gas station. But the mom hosting the party is my neighbor, Linda, and she’s known for her incredible baking. I couldn’t show up with store-bought chips.
I started rummaging through my pantry hoping for a miracle, and that’s when I remembered a recipe my college roommate used to throw together during finals week. She called them “brain bites” because they kept us going through all-night study sessions. I had everything I needed, which felt like a small win. I threw them together in maybe ten minutes, rolling the mixture into little balls while my three-year-old “helped” by eating a handful of chocolate chips. I didn’t even chill them long enough—maybe twenty minutes instead of the recommended hour. But you know what? They were the first thing to disappear at that party. Linda asked for the recipe twice. One dad actually asked if I’d cater his kids’ soccer games. I just smiled and said it was nothing, which was the honest truth.
These easy no-bake peanut butter energy bites have become my go-to for every occasion since that chaotic afternoon. Maybe you’ve been in that same spot—needing something fast, something that looks like you tried harder than you actually did. These are that recipe. They’re forgiving, flexible, and somehow always a hit no matter where I bring them. I keep making them because they work when nothing else does.
Why You’ll Love This Recipe
I’ve tested this recipe more times than I can count, tweaking the ratios until they were just right. After making hundreds of batches for every kind of event, from school bake sales to last-minute brunch invites, I can tell you these energy bites deliver every single time. Here’s what makes them stand out:
- Quick & Easy: These come together in under 10 minutes of active time. No oven, no mixer, no complicated steps. You just stir, roll, and chill.
- Simple Ingredients: You probably have everything in your pantry right now. Oats, peanut butter, honey, chocolate chips—that’s it. No fancy grocery trips required.
- Perfect for Busy Days: Whether you need a quick breakfast, an afternoon pick-me-up, or a post-workout snack, these bites do the job. I’ve grabbed them running out the door more times than I can count.
- Crowd-Pleaser: Kids devour them. Adults sneak them. I’ve brought them to office potlucks and watched people hover around the plate. They’re universally loved.
- Unbelievably Delicious: The texture is chewy and satisfying, with just the right amount of sweetness. That first bite hits every time—creamy peanut butter, rich chocolate, and hearty oats all at once.
What makes this recipe different from the dozens of other energy ball recipes out there? It’s the ratio. I spent way too long figuring out the perfect balance so the bites hold together without being too sticky or too dry. They’re not crumbly like some recipes, and they’re not overly sweet like others. They’re just right. Plus, they’re no-bake, so you’re not heating up your kitchen or waiting for anything to cool. This isn’t just another version—it’s the one I keep coming back to, and the one my friends now request.
These easy no-bake peanut butter energy bites are the kind of snack that makes you close your eyes after the first bite. It’s that perfect combination of comfort and convenience—healthier than a cookie but just as satisfying. Perfect for impressing guests without any stress, or turning a chaotic morning into something manageable.
What Ingredients You Will Need
This recipe uses simple, wholesome ingredients that work together to create something truly satisfying. Most of these are pantry staples, which is exactly why I make these energy bites so often.
- Rolled oats, 2 cups (use certified gluten-free oats if needed; old-fashioned oats work best for texture, but quick oats work in a pinch—just expect a softer bite)
- Creamy peanut butter, 1 cup (I prefer natural peanut butter with no added sugar, but regular Jif or Skippy works great too; just avoid the “natural” ones that separate completely unless you stir them really well)
- Honey, 1/2 cup (local honey adds a nice floral note, but any liquid honey works; maple syrup is a great vegan swap, though the mixture will be slightly stickier)
- Semi-sweet chocolate chips, 1/2 cup (I use Ghirardelli for the best melt-in-your-mouth texture, but any brand works; mini chips distribute more evenly)
- Ground flaxseed, 2 tablespoons (optional but recommended—adds omega-3s and helps bind everything together; chia seeds work as a substitute)
- Vanilla extract, 1 teaspoon (pure vanilla extract adds warmth, but imitation works fine in a pinch)
- Pinch of salt (skip this if your peanut butter is already salted; it balances the sweetness beautifully)
For substitutions, here’s what I’ve learned through trial and error: Almond butter or sunflower seed butter swap in perfectly for peanut butter if you have allergies. Just note that sunflower seed butter can turn the bites a weird green color after a day or two—still tastes fine, just looks a little funny. If you’re avoiding chocolate, dried cranberries or chopped dates are excellent alternatives. I’ve also added shredded coconut or hemp seeds when I wanted to change things up. The beauty of this recipe is how forgiving it is.
Equipment Needed
You don’t need much for these easy no-bake peanut butter energy bites, which is honestly my favorite part. Here’s what you’ll want to have on hand:
- Large mixing bowl (any bowl works, but a wider one makes mixing easier)
- Measuring cups and spoons (I use my trusty set from Target—nothing fancy)
- Rubber spatula or wooden spoon (for stirring that thick mixture; a spatula makes scraping the bowl easier)
- Cookie scoop or small spoon (for portioning; a 1-inch scoop gives you perfectly uniform bites)
- Parchment-lined baking sheet or plate (for chilling the bites)
- Refrigerator (the most important tool—they need at least 30 minutes to set)
If you don’t have a cookie scoop, just use two spoons or your hands—honestly, I often just use my hands because it’s faster. A friend of mine uses a melon baller and swears by it. The only thing I’d recommend not skimping on is a good spatula, because this mixture is thick and you’ll want to get every last bit out of the bowl.
Preparation Method
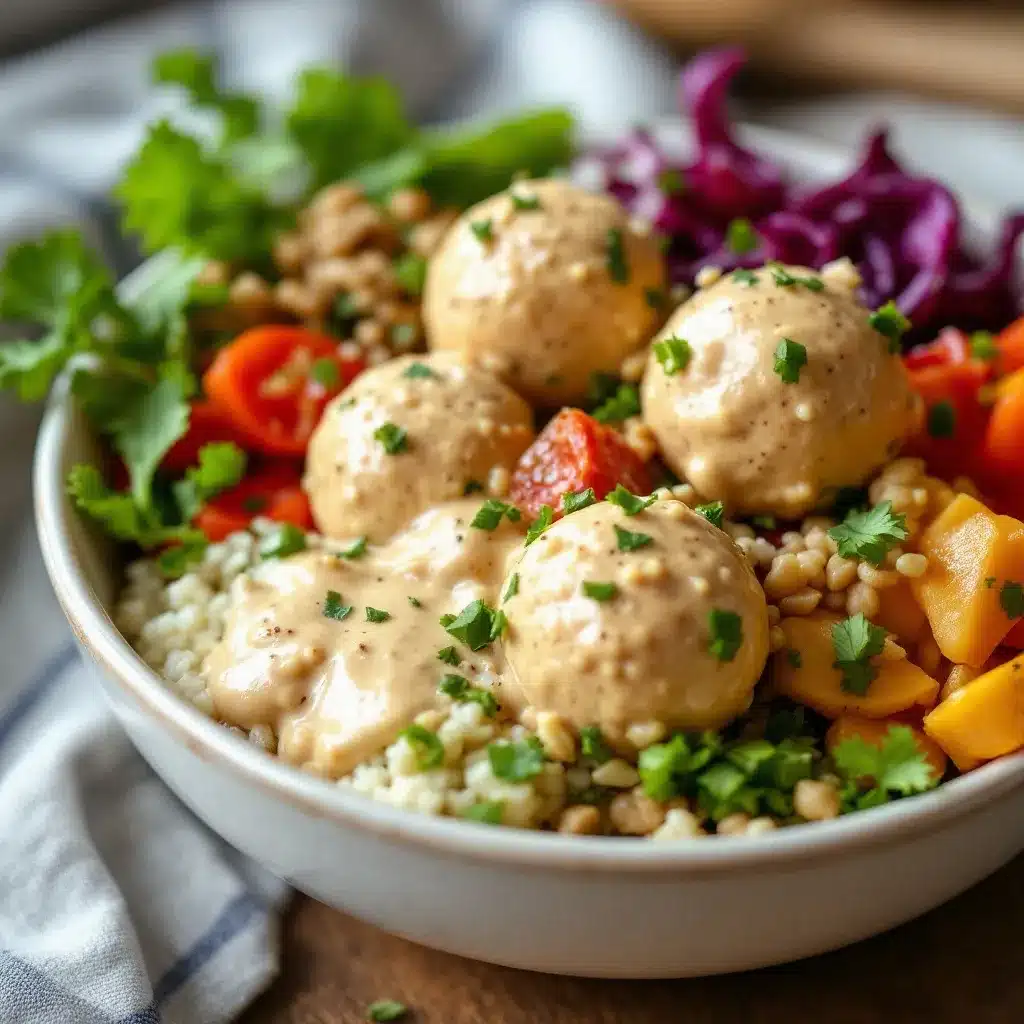
These energy bites come together fast, so make sure you have everything measured before you start. Trust me, once you get your hands in that mixture, you won’t want to stop to measure anything.
- Combine the dry ingredients: In your large mixing bowl, add 2 cups of rolled oats, 2 tablespoons of ground flaxseed (if using), and a pinch of salt. Give them a quick stir with your spatula to distribute everything evenly. This step takes about 30 seconds but makes a difference—nobody wants a pocket of salt in one bite.
- Add the wet ingredients: Pour in 1 cup of creamy peanut butter, 1/2 cup of honey, and 1 teaspoon of vanilla extract. Don’t worry if the peanut butter is stiff—just stir slowly at first, then increase your speed as everything starts coming together. The mixture will look crumbly for a minute, then suddenly it’ll all come together into a cohesive dough. That’s your cue that it’s ready.
- Fold in the chocolate chips: Add 1/2 cup of semi-sweet chocolate chips and fold them in gently. You want them distributed evenly without crushing them. If the mixture feels too warm and the chocolate chips start melting, pop the bowl in the fridge for 5 minutes before continuing.
- Chill the mixture: Here’s a trick I learned the hard way—if you try to roll these immediately, the mixture will be too sticky and you’ll end up with a mess on your hands. Cover the bowl and refrigerate for 20-30 minutes. This makes rolling infinitely easier. I usually set a timer because I’ve forgotten and let it chill for hours, which makes the mixture too hard to roll easily.
- Roll into balls: Once chilled, use your cookie scoop or a spoon to portion the mixture into 1-inch balls. Roll them between your palms gently—don’t squeeze too hard or they’ll be dense. You should get about 20-24 bites depending on size. If your hands get sticky, lightly dampen them with water.
- Final chill: Place the rolled bites on your parchment-lined baking sheet and refrigerate for at least 30 minutes. This final chill helps them hold their shape. I’ve definitely skipped this step when I was in a hurry, and they were fine—just a little softer and more likely to fall apart.
The mixture should feel slightly sticky but not wet. If it’s too dry, add a tablespoon of honey or peanut butter. If it’s too wet, add another tablespoon of oats. Your hands should be able to roll the mixture without it sticking everywhere—if it does, just chill it a bit longer.
Cooking Tips & Techniques
After making these easy no-bake peanut butter energy bites more times than I can count, I’ve collected some hard-won wisdom. Here’s what I wish someone had told me from the start:
Don’t overmix. I know it’s tempting to keep stirring until everything looks perfectly uniform, but overmixing can make the oats break down and create a gummy texture. Stir just until everything comes together, then stop.
Temperature matters. If your kitchen is warm, the peanut butter will be softer and the mixture will be stickier. On hot summer days, I chill the bowl and the peanut butter beforehand. In winter, the mixture comes together faster and is easier to handle. Pay attention to your environment.
Texture troubleshooting. The first time I made these, I used old oats that had been sitting in my pantry for over a year. They were stale and the bites had a weird, dusty texture. Fresh oats make a noticeable difference. Also, if you prefer a crunchier bite, toast your oats in a dry pan for 3-4 minutes before adding them. Let them cool completely first, though.
My biggest failure: I once tried to make these with crunchy peanut butter because that’s all I had. The chunks of peanuts made it hard to roll even balls, and the texture was inconsistent. Stick with creamy unless you want a more rustic, chunky bite. I learned that lesson the hard way.
Multitasking strategy: While the mixture chills, clean up your dishes. This recipe barely makes a mess, and having a clean kitchen makes the rolling step more enjoyable. I also use that time to line my baking sheet and get my storage container ready.
Variations & Adaptations
One of the best things about these energy bites is how customizable they are. I’ve made so many versions over the years, and each one brings something different to the table.
Chocolate Peanut Butter: Add 2 tablespoons of cocoa powder to the dry ingredients for a double-chocolate version. Reduce the oats by 2 tablespoons to compensate. My kids beg for this version every time.
Vegan Option: Swap the honey for maple syrup or agave nectar. The texture will be slightly softer, so you might need an extra tablespoon of oats. I’ve made this for vegan friends and they couldn’t tell the difference.
Protein-Packed: Add 2 tablespoons of your favorite protein powder. Vanilla or chocolate both work well. You’ll need to add an extra tablespoon of honey or a splash of milk to balance the dryness. I use this version after workouts.
Seasonal Twist: In fall, I add 1/2 teaspoon of pumpkin pie spice and swap the chocolate chips for dried cranberries. In summer, I use white chocolate chips and add a tablespoon of freeze-dried strawberries crushed into powder. It’s like a different recipe every season.
Nut-Free: Use sunflower seed butter or WowButter instead of peanut butter. Just be aware of the green color thing I mentioned earlier—it’s harmless but startling the first time. I’d also add a tablespoon of maple syrup because sunflower butter is less sweet than peanut butter.
My personal favorite variation came from a happy accident. I ran out of chocolate chips and used chopped dark chocolate bar instead. The irregular chunks of chocolate created these pockets of melted goodness that were incredible. Now I sometimes chop a good quality chocolate bar on purpose just for that effect.
Serving & Storage Suggestions
These energy bites are best served cold or at room temperature. I actually prefer them straight from the fridge—the texture is firmer and more satisfying. If you’re serving them at a party or gathering, let them sit at room temperature for about 10 minutes before serving. They’ll soften slightly and become even more irresistible.
For presentation, I like to arrange them on a white platter with a few whole oats sprinkled around for visual interest. If I’m feeling fancy, I’ll drizzle a little melted chocolate over the top and let it set before serving. They look like you spent way more effort than you actually did.
Storage: Keep these in an airtight container in the refrigerator for up to two weeks. I use a glass container with a tight lid, and I layer them with parchment paper so they don’t stick together. They also freeze beautifully—just place them in a freezer-safe bag or container and they’ll keep for up to three months. Grab a few straight from the freezer for a cold, chewy snack on hot days.
Reheating: You don’t really need to reheat these, but if you want a softer texture, let them sit at room temperature for 15-20 minutes. I’ve also microwaved one for about 10 seconds when I wanted a warm, gooey treat. Just be careful not to overheat them or they’ll fall apart.
One thing I’ve noticed: these bites actually get better after a day in the fridge. The flavors meld together, the oats soften slightly, and everything becomes more cohesive. So if you can wait, make them a day ahead.
Nutritional Information & Benefits
Here’s the estimated nutritional breakdown for one energy bite (based on 24 bites per batch):
| Nutrient | Amount per bite |
|---|---|
| Calories | 145 |
| Protein | 5g |
| Carbohydrates | 18g |
| Fiber | 2g |
| Sugar | 10g |
| Fat | 7g |
These numbers will vary based on your specific ingredients and how big you roll your bites. The peanut butter provides healthy fats and protein to keep you full, while the oats offer slow-release energy. The flaxseed adds omega-3 fatty acids and extra fiber, which is great for digestion.
These easy no-bake peanut butter energy bites are naturally gluten-free if you use certified gluten-free oats. They’re also dairy-free since we’re using chocolate chips that don’t contain milk—just check the label to be sure. For anyone watching their sugar intake, you can reduce the honey to 1/3 cup, though the bites will be less sweet and slightly more crumbly.
I personally love having these as a pre-workout snack because they give me steady energy without weighing me down. They’re also perfect for kids’ lunchboxes, road trips, or any time you need something satisfying that won’t leave you feeling sluggish.
Conclusion
These easy no-bake peanut butter energy bites have saved me more times than I can count. From forgotten party snacks to frantic weekday mornings, they’ve been my reliable backup plan for years. They’re proof that you don’t need complicated techniques or fancy ingredients to make something truly delicious.
I encourage you to make these your own. Add your favorite mix-ins, adjust the sweetness to your taste, or experiment with different nut butters. That’s the beauty of this recipe—it’s a starting point, not a rigid set of rules. My version has changed a dozen times over the years, and it’ll probably change a dozen more.
I’d love to hear how yours turn out. Did you add something unexpected? Did your kids help you roll them? Drop a comment below and let me know—I read every single one. And if you share a photo on Pinterest or Instagram, tag me so I can see your creation. Happy rolling, friends!
Frequently Asked Questions
Can I use quick oats instead of rolled oats?
Yes, you can. Quick oats will give you a softer, more uniform texture. The bites won’t have the same chewy texture as with rolled oats, but they’ll still taste great. Just keep in mind that quick oats absorb moisture differently, so you might need slightly less honey or peanut butter.
Why are my energy bites too dry?
This usually happens if your peanut butter is too thick or if you added too many oats. Try adding an extra tablespoon of honey or a splash of milk (dairy or plant-based) to bring the mixture together. If you’re using natural peanut butter, make sure you stir it well before measuring—the oil separation can throw off the ratio.
Can I freeze these energy bites?
Absolutely. Place them in a single layer on a baking sheet and freeze for an hour, then transfer to a freezer-safe bag or container. They’ll keep for up to three months. You can eat them straight from the freezer or let them thaw for a few minutes at room temperature.
How long do these stay fresh at room temperature?
They’re best stored in the refrigerator, but they’ll be fine at room temperature for up to 24 hours. If you’re taking them to a picnic or packing them in a lunchbox, they’ll hold up well for a day. Just avoid leaving them in a hot car or direct sunlight.
Can I make these without chocolate chips?
Definitely. Swap the chocolate chips for dried fruit like raisins, cranberries, or chopped apricots. You can also use chopped nuts, seeds like sunflower or pumpkin seeds, or shredded coconut. The recipe is very forgiving, so feel free to use whatever you have on hand.
Pin This Recipe!
Easy No-Bake Peanut Butter Energy Bites: 5-Minute Best Snack

These easy no-bake peanut butter energy bites are the perfect quick snack, made with simple pantry ingredients like oats, peanut butter, honey, and chocolate chips. They come together in under 10 minutes and are a crowd-pleaser for any occasion.
- Prep Time: 10 minutes
- Cook Time: 0 minutes
- Total Time: 40 minutes (includes chilling time)
- Yield: 20-24 bites 1x
- Category: Snack
- Cuisine: American
Ingredients
- 2 cups rolled oats (use certified gluten-free oats if needed)
- 1 cup creamy peanut butter
- 1/2 cup honey
- 1/2 cup semi-sweet chocolate chips
- 2 tablespoons ground flaxseed (optional)
- 1 teaspoon vanilla extract
- Pinch of salt (skip if peanut butter is salted)
Instructions
- Combine the dry ingredients: In a large mixing bowl, add 2 cups of rolled oats, 2 tablespoons of ground flaxseed (if using), and a pinch of salt. Stir to distribute evenly.
- Add the wet ingredients: Pour in 1 cup of creamy peanut butter, 1/2 cup of honey, and 1 teaspoon of vanilla extract. Stir until a cohesive dough forms.
- Fold in the chocolate chips: Add 1/2 cup of semi-sweet chocolate chips and fold gently until evenly distributed. If mixture feels too warm, refrigerate for 5 minutes.
- Chill the mixture: Cover the bowl and refrigerate for 20-30 minutes to make rolling easier.
- Roll into balls: Use a cookie scoop or spoon to portion the mixture into 1-inch balls. Roll between your palms gently. You should get about 20-24 bites.
- Final chill: Place the rolled bites on a parchment-lined baking sheet and refrigerate for at least 30 minutes to help them hold their shape.
Notes
For best results, use fresh rolled oats and creamy peanut butter. If mixture is too dry, add a tablespoon of honey or peanut butter. If too wet, add a tablespoon of oats. These bites actually taste better after a day in the fridge as flavors meld. Store in an airtight container in the refrigerator for up to two weeks, or freeze for up to three months.
Nutrition
- Serving Size: 1 bite
- Calories: 145
- Sugar: 10
- Sodium: 60
- Fat: 7
- Saturated Fat: 2
- Carbohydrates: 18
- Fiber: 2
- Protein: 5
Keywords: no-bake energy bites, peanut butter energy balls, healthy snack, easy snack, gluten-free snack, dairy-free snack, kid-friendly snack