Love this? Save it for later!
Share the inspiration with your friends
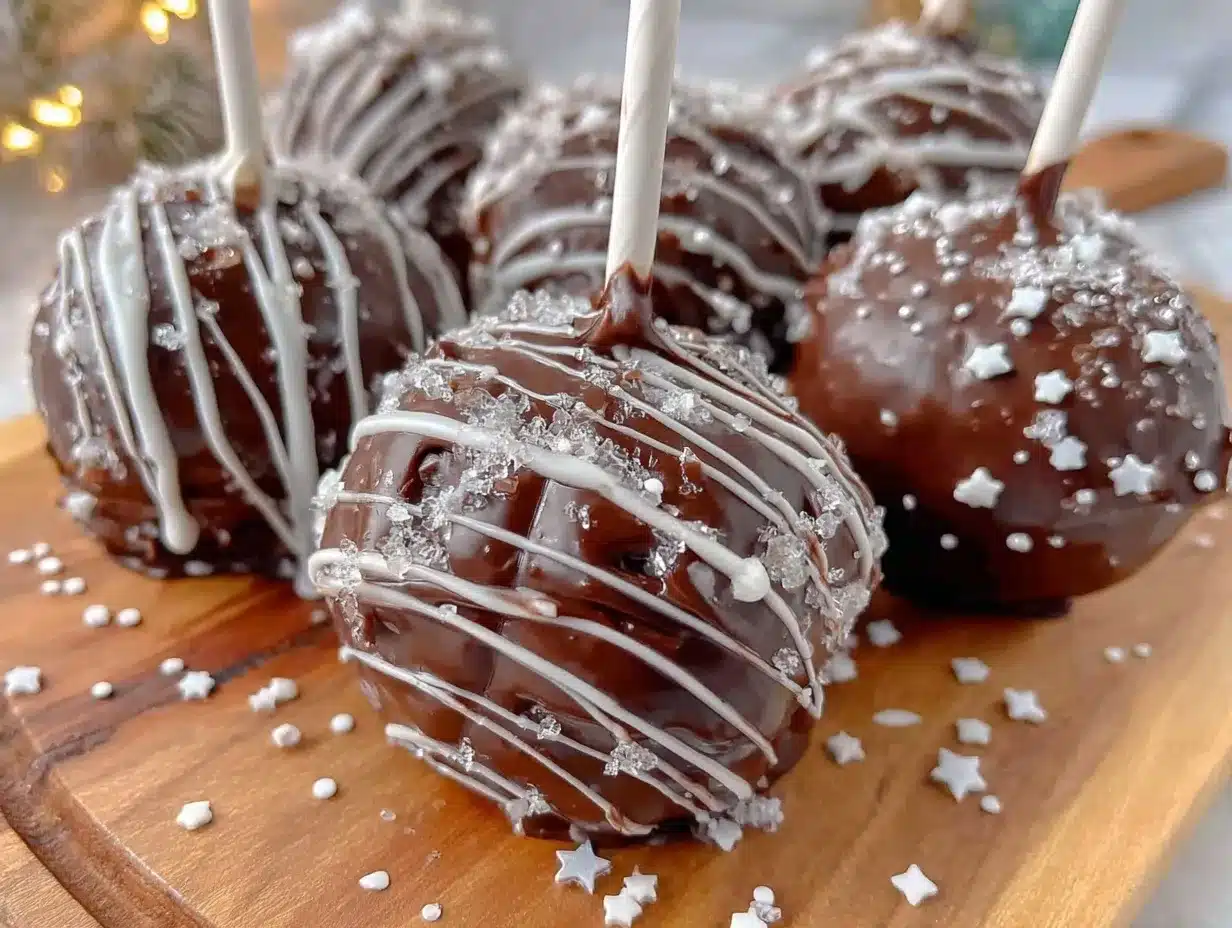
“I never thought a box mix could turn into something this epic,” I confessed to my friend Mark as we stood in my tiny kitchen surrounded by crumbs and half-finished cake pops. It was a Friday night, and honestly, I was just trying to whip up something quick for a last-minute sci-fi movie marathon. The idea came to me out of nowhere when I spotted a Star Wars sticker on a leftover cake mix box in the pantry—why not make Death Star cake pops? I mean, you know that feeling when you get a wild idea and just go for it? Well, that night was exactly that.
The first batch was a mess—too crumbly, a few sticks snapped, and I forgot the chocolate coating in the microwave (hello, smoky kitchen!). But somehow, the wonky shapes and imperfect finishes only made them more charming. Mark was already nibbling the “destroyed” Death Stars before I could even finish decorating. It turned out that these easy show-stopping box mix Death Star cake pops weren’t just a fun project—they became a favorite party trick and a quick way to impress friends without spending hours in the kitchen.
Maybe you’ve been there, staring at a plain box mix wondering how to turn it into something spectacular without losing your mind. Let me tell you, this recipe stays with me because it’s the kind of dessert that’s approachable, playful, and perfect for beginners who want to wow without the stress. So grab your cake mix, and let’s get ready to build some Death Stars that’re truly out of this world!
Why You’ll Love This Recipe
As someone who’s tried countless cake pop recipes—some complicated, some just plain disappointing—I can honestly say these Death Star cake pops are a winner every single time. Here’s why you’ll want to keep this recipe close:
- Quick & Easy: From mixing to decorating, you’ll have these ready in under two hours. Perfect for busy evenings or unexpected guests.
- Simple Ingredients: No rare or fancy ingredients needed — just your favorite box cake mix and a handful of pantry staples.
- Perfect for Themed Parties: Whether it’s a Star Wars birthday bash, movie night, or just a fun weekend treat, these pops steal the show.
- Crowd-Pleaser: Kids and adults go nuts over the fun shape and delicious flavor combo. I’ve yet to meet a guest who didn’t ask for seconds!
- Unbelievably Delicious: The moist cake combined with smooth chocolate coating hits that comfort food spot with a playful twist.
What makes this recipe stand apart is the way the simple box mix gets transformed with a little creativity and care. The key is in the chilling time and the decoration technique that gives each pop that signature Death Star look without needing fancy molds or tools. Honestly, it’s a recipe that makes you feel like a baking Jedi—no special force powers required.
What Ingredients You Will Need
This recipe sticks to basics so you can grab everything from your pantry or local store without hassle. Each ingredient plays its role in crafting moist, flavorful cake pops with a clean finish.
- Box Cake Mix: One standard 15.25 oz (432 g) box of your favorite flavor (I prefer yellow or vanilla for the best texture).
- Eggs: 3 large eggs (room temperature helps the batter mix smoothly).
- Vegetable Oil: 1/2 cup (120 ml) for moistness; you can swap with melted coconut oil for a subtle twist.
- Water: 1 cup (240 ml) — tap or filtered, whatever you have on hand.
- Cream Cheese or Buttercream Frosting: About 1 cup (240 g) to bind the crumbled cake into dough. I usually use store-bought cream cheese frosting for ease, but homemade buttercream works beautifully too.
- White Candy Melts or Almond Bark: 12 oz (340 g) for coating. Wilton brand melts have worked best for me.
- Black and Gray Food Coloring: Gel-based colors for decorating the Death Star details.
- Black Edible Marker or Piping Gel: For drawing the intricate lines that bring the Death Star to life.
- Cake Pop Sticks: About 20 sticks, reusable or disposable, depending on preference.
Pro tip: If you want a gluten-free version, go for a gluten-free box mix and check your frosting ingredients carefully. Also, in warmer months, keep your cake pops refrigerated before decorating to avoid sticky messes.
Equipment Needed
- Mixing Bowls: Medium and large for batter and frosting blending.
- Electric Hand Mixer or Stand Mixer: Makes mixing the batter and frosting easier, but a sturdy whisk works if you’re patient.
- Baking Pan: 9×13 inch (23×33 cm) works well for the cake.
- Baking Sheet with Parchment Paper: For chilling the cake balls before dipping.
- Cake Pop Sticks: Essential for holding your pops securely.
- Microwave-Safe Bowls: For melting candy melts carefully.
- Piping Bags or Small Squeeze Bottles: Helpful for drawing Death Star details precisely.
- Cooling Rack: Handy but optional for drying pops after dipping.
If you don’t have a stand mixer, don’t sweat it—using a good hand whisk or spoon works fine, just takes a bit more elbow grease. For melting candy coatings, low and slow in the microwave avoids burning; stirring often is key. I once melted my coating too quickly and ended up with a clumpy mess—so trust me, patience pays off!
Preparation Method
- Prepare the Cake Batter: Preheat your oven to 350°F (175°C). In a large bowl, combine the box cake mix, eggs, vegetable oil, and water. Use your mixer on medium speed for 2-3 minutes until the batter is smooth and well combined.
- Bake the Cake: Pour batter into a greased 9×13 inch (23×33 cm) pan. Bake for 28-32 minutes or until a toothpick inserted comes out clean. Let the cake cool completely on a wire rack—this usually takes about 45 minutes.
- Crumble the Cake: Once cooled, crumble the cake into a large bowl with your hands or a fork until it resembles fine crumbs. This is the fun part where you get to feel the texture change from fluffy to crumbly.
- Add Frosting: Add about 1 cup (240 g) of cream cheese or buttercream frosting to the cake crumbs. Mix gently but thoroughly until the mixture holds together when pressed. Add a little more frosting if it feels too dry, but be careful not to overdo it or the mixture becomes too sticky.
- Shape the Cake Balls: Take small portions (about 1.5 tablespoons or 22 g) and roll them into smooth balls. To get the Death Star shape, gently press in slight indentations with your thumb or a small spoon to create that iconic surface texture. Place them on a parchment-lined baking sheet.
- Chill: Refrigerate the shaped cake balls for at least 1 hour or freeze for 20 minutes. This step is crucial to keep them firm for dipping.
- Prepare the Candy Coating: Melt the white candy melts or almond bark in a microwave-safe bowl in 30-second intervals, stirring between each, until smooth. Add a few drops of gray food coloring to get that Death Star hue.
- Dip the Cake Pops: Dip each chilled cake ball into the melted coating. Tap off excess gently and stick the cake pop stick in place if you haven’t already inserted it. Place the dipped pops upright in a styrofoam block or glass to dry.
- Decorate: Use black edible marker or piping gel to draw the Death Star’s distinct lines and craters. This is where your creativity shines—don’t worry if it’s not perfect; each one has character!
- Set and Serve: Let the pops dry completely at room temperature or in the fridge for about 30 minutes. Serve them proudly and watch the smiles light up the room.
Note: If the coating thickens too much during dipping, reheat gently to keep it smooth. Also, avoid stirring vigorously once colored, or the candy can become grainy. I learned that the hard way during my first batch!
Cooking Tips & Techniques
Making perfect cake pops might seem tricky, but a few tricks can make the process smooth and enjoyable.
- Don’t Overmix the Batter: Overworking cake batter can make the cake dense. Mix just until combined for the fluffiest texture.
- Chill Thoroughly: Cold cake balls hold their shape better when dipped. If your kitchen is warm, chilling longer helps avoid melting or cracking.
- Use Quality Candy Melts: They melt evenly and harden with a nice sheen, perfect for decorating. Cheaper coatings might crack or dull.
- Tap Off Excess Coating: After dipping, tap the stick gently on the bowl’s edge to avoid thick clumps that can ruin the look.
- Practice Your Decoration: Try drawing Death Star details on parchment paper first to get comfortable with the piping gel or edible markers.
- Keep Your Workspace Cool: Warm temps can make the coating sticky or cause cake balls to soften prematurely.
Once, I skipped chilling, and the pops turned into sad, droopy spheres—lesson learned! Also, prep your decorating tools ahead of time to keep the flow going. Multitasking between melting candy and shaping pops saves a ton of time.
Variations & Adaptations
Want to switch things up or cater to different tastes? Here are some fun ideas to customize your Death Star cake pops:
- Flavor Variations: Use chocolate or red velvet box mixes to create unique color bases. You can also add a teaspoon of instant espresso powder to intensify chocolate flavors.
- Coating Alternatives: Swap candy melts for melted white chocolate tinted with food coloring for a richer taste. For a dairy-free option, try vegan chocolate melts.
- Gluten-Free Version: Use a certified gluten-free cake mix and frosting. These pops still turn out moist and delicious!
- Decor Style: Instead of drawing lines, try stamping with edible silver dust or using star-shaped sprinkles for a galactic effect.
- Personal Twist: I once added finely chopped peppermint to the batter for a holiday-themed Death Star—it was surprisingly refreshing!
Serving & Storage Suggestions
These Death Star cake pops are best enjoyed slightly chilled or at room temperature. Serve them on a decorative platter or in a themed container for maximum fun impact.
They pair wonderfully with a cold glass of milk, hot cocoa, or even a sparkling lemonade for a party vibe. For movie nights, these treats make a stellar snack that keeps the energy up.
Store leftovers in an airtight container in the refrigerator for up to 5 days. If you want to save them longer, freeze the pops individually wrapped in plastic wrap and foil for up to 2 months.
When reheating, thaw in the fridge overnight, then bring to room temperature before serving. Flavors actually develop a bit more after resting, so they taste even better the next day.
Nutritional Information & Benefits
Each Death Star cake pop contains approximately 150-180 calories, depending on the cake mix and frosting used. While these treats are indulgent, they also bring joy and fun to any gathering, which honestly counts for something!
The basic ingredients include eggs for protein, and using a box mix means some vitamins and minerals are added in by manufacturers. You can tweak the recipe to reduce sugar or use dairy-free options for dietary needs.
Be mindful that these pops contain common allergens like eggs, dairy, and gluten (unless substituted). As a treat, they fit well into a balanced diet when enjoyed in moderation.
Conclusion
Easy show-stopping box mix Death Star cake pops are proof that fun desserts don’t have to be complicated or time-consuming. Whether you’re a beginner baker or just short on time, this recipe brings a bit of magic and creativity to your kitchen.
Feel free to tweak flavors, colors, and decorations to make it your own. I still smile thinking about that smoky kitchen and Mark’s surprised face the first time I served these—because sometimes, simple ideas turn into lasting favorites.
Go ahead, grab your cake mix, and start building your edible galaxy. And hey, if you try this recipe, I’d love to hear about your adventures in the kitchen—leave a comment or share how your Death Stars turned out!
Frequently Asked Questions
Can I make these cake pops ahead of time?
Yes! You can prepare and decorate them a day or two in advance. Store them in an airtight container in the fridge to keep them fresh.
What if my cake pops fall off the sticks?
Make sure to chill the cake balls well before dipping and dip the stick into the melted coating before inserting into the cake ball. This acts like glue and helps them stay secure.
Can I use homemade cake instead of box mix?
Absolutely! Just make sure your homemade cake is fully cooled and not too moist to hold together well when mixed with frosting.
How do I fix cracked candy coating?
Cracks usually happen if the coating is too thick or the cake pop is too warm. Try reheating the coating gently and ensure cake pops are well chilled before dipping.
What’s the best way to store leftover cake pops?
Keep them in an airtight container in the refrigerator for up to 5 days or freeze them wrapped individually for longer storage.
By the way, if you enjoy creative treats, you might also like my crispy garlic chicken recipe for a savory complement to your sweet celebrations.
Pin This Recipe!
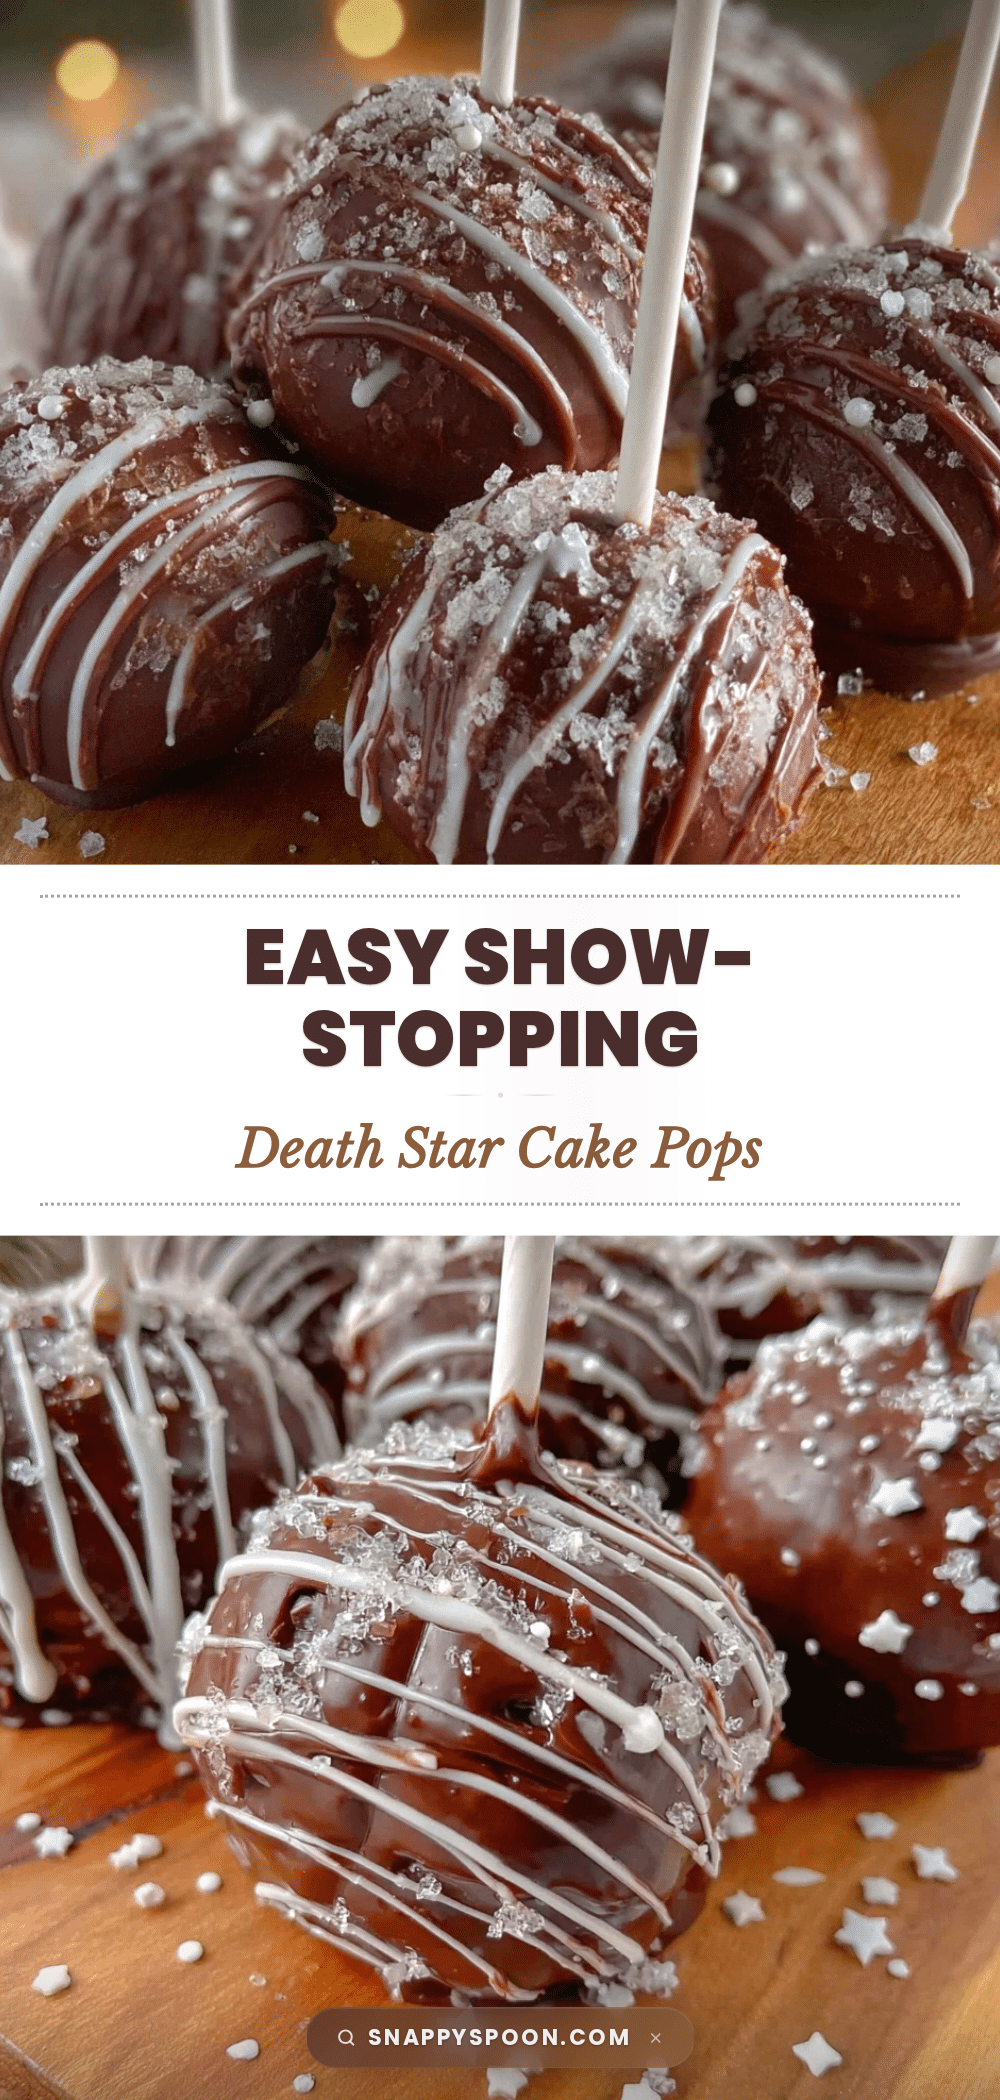
Easy Show-Stopping Box Mix Death Star Cake Pops Recipe for Beginners

A quick and fun recipe to transform a simple box cake mix into impressive Death Star-shaped cake pops, perfect for themed parties and beginners.
- Prep Time: 20 minutes
- Cook Time: 30 minutes
- Total Time: 1 hour 45 minutes
- Yield: About 20 cake pops 1x
- Category: Dessert
- Cuisine: American
Ingredients
- 1 standard 15.25 oz (432 g) box of your favorite cake mix (yellow or vanilla recommended)
- 3 large eggs (room temperature)
- 1/2 cup (120 ml) vegetable oil (can substitute melted coconut oil)
- 1 cup (240 ml) water
- About 1 cup (240 g) cream cheese or buttercream frosting
- 12 oz (340 g) white candy melts or almond bark
- Gel-based black and gray food coloring
- Black edible marker or piping gel
- About 20 cake pop sticks
Instructions
- Preheat oven to 350°F (175°C). In a large bowl, combine box cake mix, eggs, vegetable oil, and water. Mix on medium speed for 2-3 minutes until smooth.
- Pour batter into a greased 9×13 inch (23×33 cm) pan. Bake for 28-32 minutes or until a toothpick inserted comes out clean. Cool completely on a wire rack (about 45 minutes).
- Crumble the cooled cake into a large bowl until fine crumbs form.
- Add about 1 cup (240 g) frosting to the crumbs. Mix gently until the mixture holds together when pressed. Add more frosting if too dry, but avoid making it too sticky.
- Roll small portions (about 1.5 tablespoons or 22 g) into smooth balls. Press slight indentations with thumb or spoon to create Death Star texture. Place on parchment-lined baking sheet.
- Refrigerate cake balls for at least 1 hour or freeze for 20 minutes to firm up.
- Melt white candy melts or almond bark in microwave-safe bowl in 30-second intervals, stirring until smooth. Add gray food coloring to achieve Death Star hue.
- Dip each chilled cake ball into melted coating. Tap off excess and insert cake pop stick if not already inserted. Place upright to dry in styrofoam block or glass.
- Decorate with black edible marker or piping gel to draw Death Star lines and craters.
- Let cake pops dry completely at room temperature or in fridge for about 30 minutes before serving.
Notes
Avoid overmixing batter to keep cake fluffy. Chill cake balls thoroughly before dipping to prevent melting or cracking. Use quality candy melts for best coating results. Reheat coating gently if it thickens. Practice decoration on parchment paper first. Keep workspace cool to avoid sticky coating.
Nutrition
- Serving Size: 1 cake pop
- Calories: 150180
- Sugar: 18
- Sodium: 150
- Fat: 7
- Saturated Fat: 3
- Carbohydrates: 24
- Fiber: 0.5
- Protein: 2
Keywords: cake pops, Death Star cake pops, box mix cake pops, easy cake pops, Star Wars dessert, party treats, beginner baking