Love this? Save it for later!
Share the inspiration with your friends
There used to be a small bakery tucked away on Pine Street in Charleston that made this unforgettable red velvet flag cake with cream cheese frosting. When they shuttered their doors for good one chilly November, I was honestly crushed. You know that feeling when you lose a little piece of your culinary happy place? Yeah, that. After no less than seven attempts—some messy, some downright tragic—I finally nailed it. The kind of cake that’s moist, with that signature red hue, and a frosting so tangy and creamy it makes you close your eyes and savor every bite.
I still remember the afternoon I almost gave up—my kitchen looked like a flour bomb exploded, and my neighbor, Jim, stopped by just in time to rescue me with a fresh cup of coffee and some much-needed moral support. Maybe you’ve been there, chasing a perfect recipe that just won’t cooperate. But let me tell you, this red velvet flag cake stayed with me because it wasn’t just about baking—it was about recreating a slice of joy that disappeared too soon. And now, I keep making it, sharing that same smile the first bite always brings.
Why You’ll Love This Recipe
Making the perfect red velvet flag cake with cream cheese frosting isn’t just a baking task—it’s a delight that fills your kitchen with love and nostalgia. I’ve tested this recipe countless times (and yes, eaten my fair share of samples), so I’m confident it delivers every single time.
- Quick & Easy: Comes together in under 90 minutes, perfect for last-minute celebrations or when you just need a treat.
- Simple Ingredients: No hunting for exotic spices here—just pantry staples and a splash of buttermilk.
- Perfect for Gatherings: Whether it’s a birthday, a picnic, or a casual get-together, this cake always shines.
- Crowd-Pleaser: Kids, adults—everyone asks for seconds. The iconic red and white look is as inviting as the taste.
- Unbelievably Delicious: The velvety crumb combined with the tangy cream cheese frosting is honestly next-level comfort food.
What makes this recipe stand apart is the careful balance of flavors and textures. The cake is moist but not soggy, thanks to a little vinegar and buttermilk magic, while the frosting is smooth without being overly sweet, because I blend in cream cheese just right. It’s not just another red velvet recipe—it’s the version you’ll want to make again and again, the one you’ll proudly bring to potlucks and family dinners.
What Ingredients You Will Need
This recipe uses straightforward, wholesome ingredients that come together to create that classic red velvet flavor and stunning flag design. Most are pantry staples, and I’ve included some handy substitution tips to help you customize.
- For the Cake:
- All-purpose flour, 2 ½ cups (310g)
- Granulated sugar, 1 ½ cups (300g)
- Cocoa powder, 1 tablespoon (unsweetened, for subtle chocolate flavor)
- Baking soda, 1 teaspoon
- Salt, ½ teaspoon
- Buttermilk, 1 cup (240ml) (adds tang and moisture; you can use dairy-free milk with 1 tablespoon lemon juice if needed)
- Vegetable oil, 1 cup (240ml) (I like to use a light, neutral oil like canola or sunflower)
- Large eggs, 2 (room temperature)
- White vinegar, 1 tablespoon (balances the buttermilk acidity)
- Pure vanilla extract, 2 teaspoons (I recommend Nielsen-Massey for best flavor)
- Red food coloring, 2 tablespoons (liquid or gel; gel gives a richer color without thinning batter)
- For the Cream Cheese Frosting:
- Cream cheese, 8 oz (225g) (full-fat, softened)
- Unsalted butter, ½ cup (115g) (softened)
- Powdered sugar, 3 cups (360g) (sifted for smooth frosting)
- Pure vanilla extract, 1 teaspoon
- Pinch of salt (balances sweetness)
For the flag design, you’ll also need:
- Blueberries, fresh, about 1 cup (for the blue field)
- Strawberries or raspberries, sliced, about 1 cup (for the red stripes)
- Whipped cream or extra frosting (optional, for piping white stripes)
Pro tip: If you want a gluten-free version, swap all-purpose flour with a 1:1 gluten-free baking flour blend. And if dairy is a concern, try substituting cream cheese and butter with vegan alternatives—you’ll still get a luscious frosting!
Equipment Needed
- Two 9-inch (23 cm) round cake pans — nonstick or well-greased to avoid sticking
- Mixing bowls — at least two, medium and large size
- Electric mixer or stand mixer — makes frosting and batter mixing much easier
- Measuring cups and spoons — for precise ingredient amounts
- Rubber spatula — great for scraping down bowl sides and folding ingredients
- Wire cooling racks — helps cakes cool evenly and prevents sogginess
- Offset spatula or butter knife — for smooth frosting application
- Piping bag with small round tip (optional) — if you want to pipe the white stripes for the flag
If you don’t have a stand mixer, no worries—an electric hand mixer works just fine. I remember using a whisk and arm power back when I first tried this recipe, and while it took longer, it still worked. Also, investing in a good-quality offset spatula changed my frosting game—it spreads like a dream.
Preparation Method
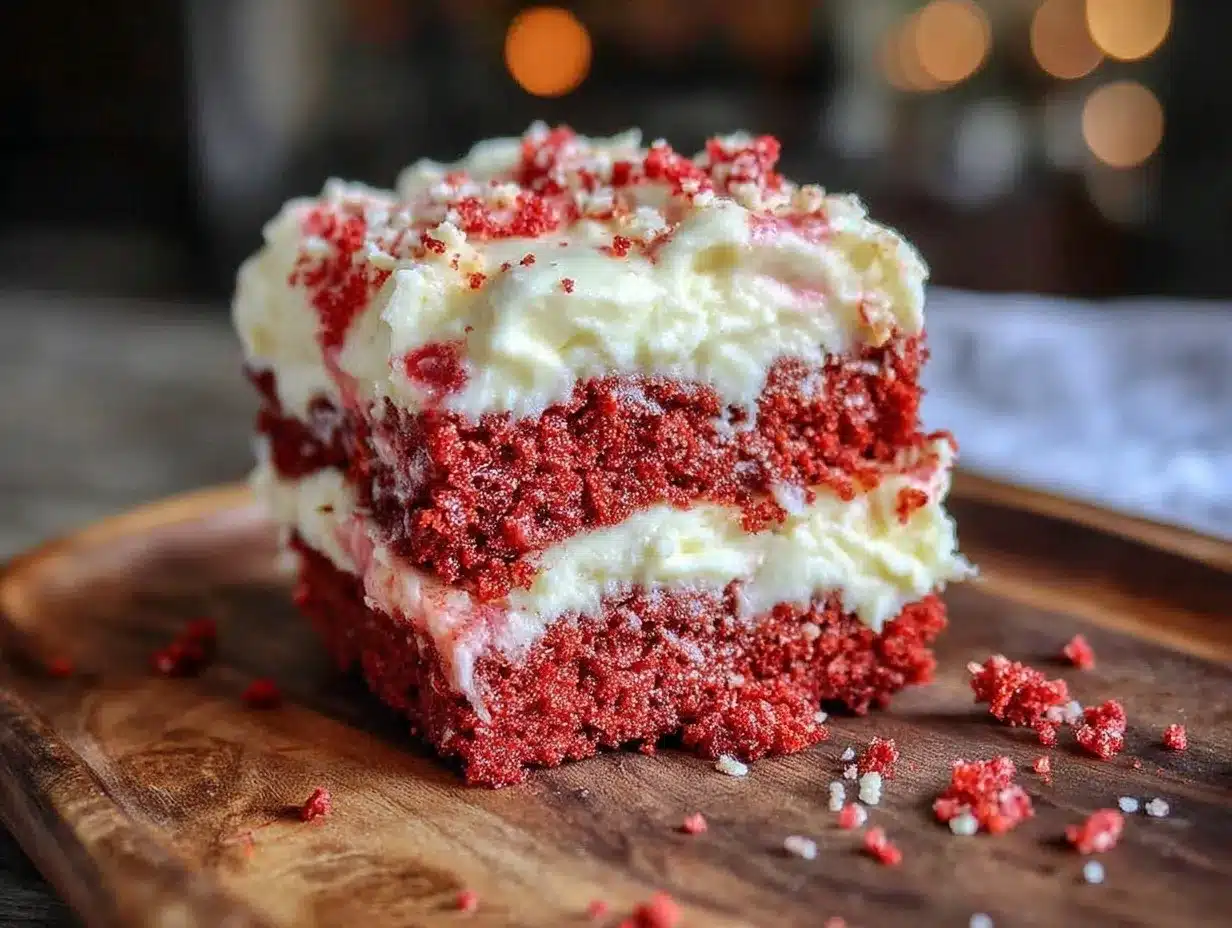
- Preheat and prep: Set your oven to 350°F (175°C). Grease and flour two 9-inch round cake pans, or line them with parchment paper for easy removal. This step is key to avoid cake sticking and tearing.
- Mix dry ingredients: In a large bowl, sift together 2 ½ cups (310g) all-purpose flour, 1 ½ cups (300g) sugar, 1 tablespoon cocoa powder, 1 teaspoon baking soda, and ½ teaspoon salt. Sifting helps keep the batter light and ensures even mixing.
- Combine wet ingredients: In another bowl, whisk 1 cup (240ml) buttermilk, 1 cup (240ml) vegetable oil, 2 large eggs, 1 tablespoon white vinegar, 2 teaspoons vanilla extract, and 2 tablespoons red food coloring until smooth. The red food coloring gives that iconic vibrant hue—don’t skimp here!
- Mix wet into dry: Slowly add the wet mixture into the dry ingredients, stirring gently with a rubber spatula until just combined. Avoid overmixing; a few lumps are okay. Overmixing can make the cake dense, and honestly, that’s the last thing we want.
- Divide and bake: Pour the batter evenly into your prepared pans. Tap the pans lightly on the counter to release any air bubbles. Bake for 30-35 minutes, or until a toothpick inserted into the center comes out clean or with a few moist crumbs.
- Cool the cakes: Let the cakes cool in the pans for 10 minutes, then transfer to wire racks to cool completely. This prevents sogginess and helps the frosting stick better.
- Make the frosting: Beat 8 oz (225g) softened cream cheese and ½ cup (115g) softened unsalted butter together until creamy. Gradually add 3 cups (360g) powdered sugar, 1 teaspoon vanilla extract, and a pinch of salt, beating until smooth and fluffy.
- Assemble the cake: Place one cake layer on your serving platter. Spread a generous layer of cream cheese frosting on top. Carefully place the second cake layer over it and frost the entire cake with a thin crumb coat. Chill for 30 minutes to set.
- Create the flag design: After chilling, frost the cake with a final smooth layer. Arrange blueberries in a rectangle in the top left corner for the blue field. Use sliced strawberries or raspberries to form red stripes across the cake, alternating with thin lines of whipped cream or extra frosting for the white stripes.
- Final touches: Refrigerate the cake for at least an hour before serving. This helps the frosting firm up and the flavors meld. Before serving, let the cake sit at room temperature for about 20 minutes to soften slightly—makes cutting easier and tastier.
When I first made this cake, I was worried about the flag design looking messy. But patience and a steady hand won out. If you mess up, just smooth it over with more frosting and try again—practice makes perfect!
Cooking Tips & Techniques
- Use room temperature ingredients: Eggs, butter, and cream cheese at room temp blend more smoothly, giving better texture.
- Don’t skip sifting: Sifting dry ingredients like flour and cocoa powder prevents lumps and makes the cake lighter.
- Mix batter gently: Stir just until combined to avoid a tough crumb.
- Test doneness carefully: Ovens vary, so start checking at 30 minutes. A toothpick with moist crumbs means perfect moisture.
- Chill the cake before decorating: A cold cake is easier to frost smoothly and prevents crumbs from mixing in.
- For flawless frosting: Beat frosting ingredients until light and fluffy. If too thick, add a teaspoon of milk or cream; if too thin, add a bit more powdered sugar.
- Flag design tips: Use a ruler or toothpicks to mark your stripes lightly before placing berries and frosting lines.
- Common mistake: Overly wet batter can ruin crumb texture. Measure liquids carefully and avoid extra stirring after adding flour.
Honestly, I learned the hard way not to rush cooling times. Trying to frost a warm cake is a recipe for disaster—crumbs everywhere and frosting sliding off like it’s on a slip ‘n slide. Patience, my friend, patience.
Variations & Adaptations
- Vegan Version: Swap buttermilk with almond milk plus lemon juice, use flax eggs instead of chicken eggs, and replace cream cheese and butter with vegan spreads.
- Chocolate-Intense: Add an extra tablespoon of cocoa powder for a richer chocolate flavor without overpowering the classic red velvet taste.
- Seasonal Fruit Flags: In summer, swap berries for fresh cherries and blackberries for a seasonal twist on the flag design.
- Gluten-Free: Use a 1:1 gluten-free flour blend. I’ve tried this with Bob’s Red Mill and it worked great!
- Mini Cakes or Cupcakes: Bake the batter in cupcake liners for individual servings—perfect for parties or picnics.
I once tried a version with a hint of orange zest in the frosting for a citrus surprise. It was unexpected but fun, and my friends loved it. Don’t be afraid to experiment with flavors to make it your own.
Serving & Storage Suggestions
This red velvet flag cake is best served at room temperature so the cream cheese frosting is soft and luscious. I like to cut it into generous slices and serve alongside a cup of strong coffee or a cold glass of milk—classic comforts that never fail.
For storage, wrap the cake tightly with plastic wrap or store it in an airtight container in the refrigerator. It keeps beautifully for up to 4 days. If you want to freeze it, flash freeze the frosted cake uncovered for a couple of hours, then wrap it well and freeze for up to 2 months. Thaw overnight in the fridge before serving.
Flavors actually develop and mellow when refrigerated overnight, so making the cake a day ahead is a solid strategy for stress-free entertaining.
Nutritional Information & Benefits
Each slice of this red velvet flag cake with cream cheese frosting clocks in around 350-400 calories, depending on slice size. It offers a comforting balance of carbohydrates and fats, with protein from eggs and cream cheese.
Key ingredients like cream cheese provide calcium and vitamin A, while buttermilk adds probiotics that support digestion. Using real cocoa powder means you get a dose of antioxidants, too.
If you’re watching sugar intake, you can reduce the powdered sugar slightly in the frosting or try a natural sweetener alternative, though it may change texture a bit. This recipe can be adapted to fit low-gluten or dairy-free diets, making it flexible for many needs.
Conclusion
This perfect red velvet flag cake with cream cheese frosting is more than just a dessert—it’s a slice of cherished memories, a bit of kitchen chaos, and a whole lot of love baked in. Whether you’re celebrating a special day or just want to impress friends with a visually stunning and delicious cake, this recipe is your go-to.
Feel free to tweak the ingredients or the flag design to suit your style—cooking is all about making it your own. I hope this cake brings you as much joy and satisfaction as it has brought me, through all those trials and triumphs in my kitchen.
If you try this recipe, please share your experience or any fun twists you’ve added. I love hearing how these recipes live in your own homes. Happy baking, and may your kitchen be filled with sweet memories!
FAQs
Can I make this red velvet cake without food coloring?
You can, but the classic red velvet look won’t be the same. The cake will have a subtle cocoa color instead. Some people use beet juice as a natural alternative, but it can affect moisture and flavor.
How do I prevent the cream cheese frosting from being too runny?
Make sure your cream cheese and butter are softened but not melted. Beat them well before adding powdered sugar gradually. If it’s still too soft, chill the frosting for 15-20 minutes before using.
Can I bake this cake in a different pan size?
Yes, but baking times will vary. For example, a 9×13-inch pan will need about 35-40 minutes. Keep an eye on it and do the toothpick test.
What’s the best way to store leftover cake?
Wrap it tightly and refrigerate in an airtight container. It keeps well for up to 4 days. Bring to room temp before serving for best flavor.
Can I make the cake layers ahead of time?
Absolutely! Bake the layers a day or two ahead, wrap them tightly in plastic wrap, and keep refrigerated. Bring them to room temperature before frosting.
Pin This Recipe!
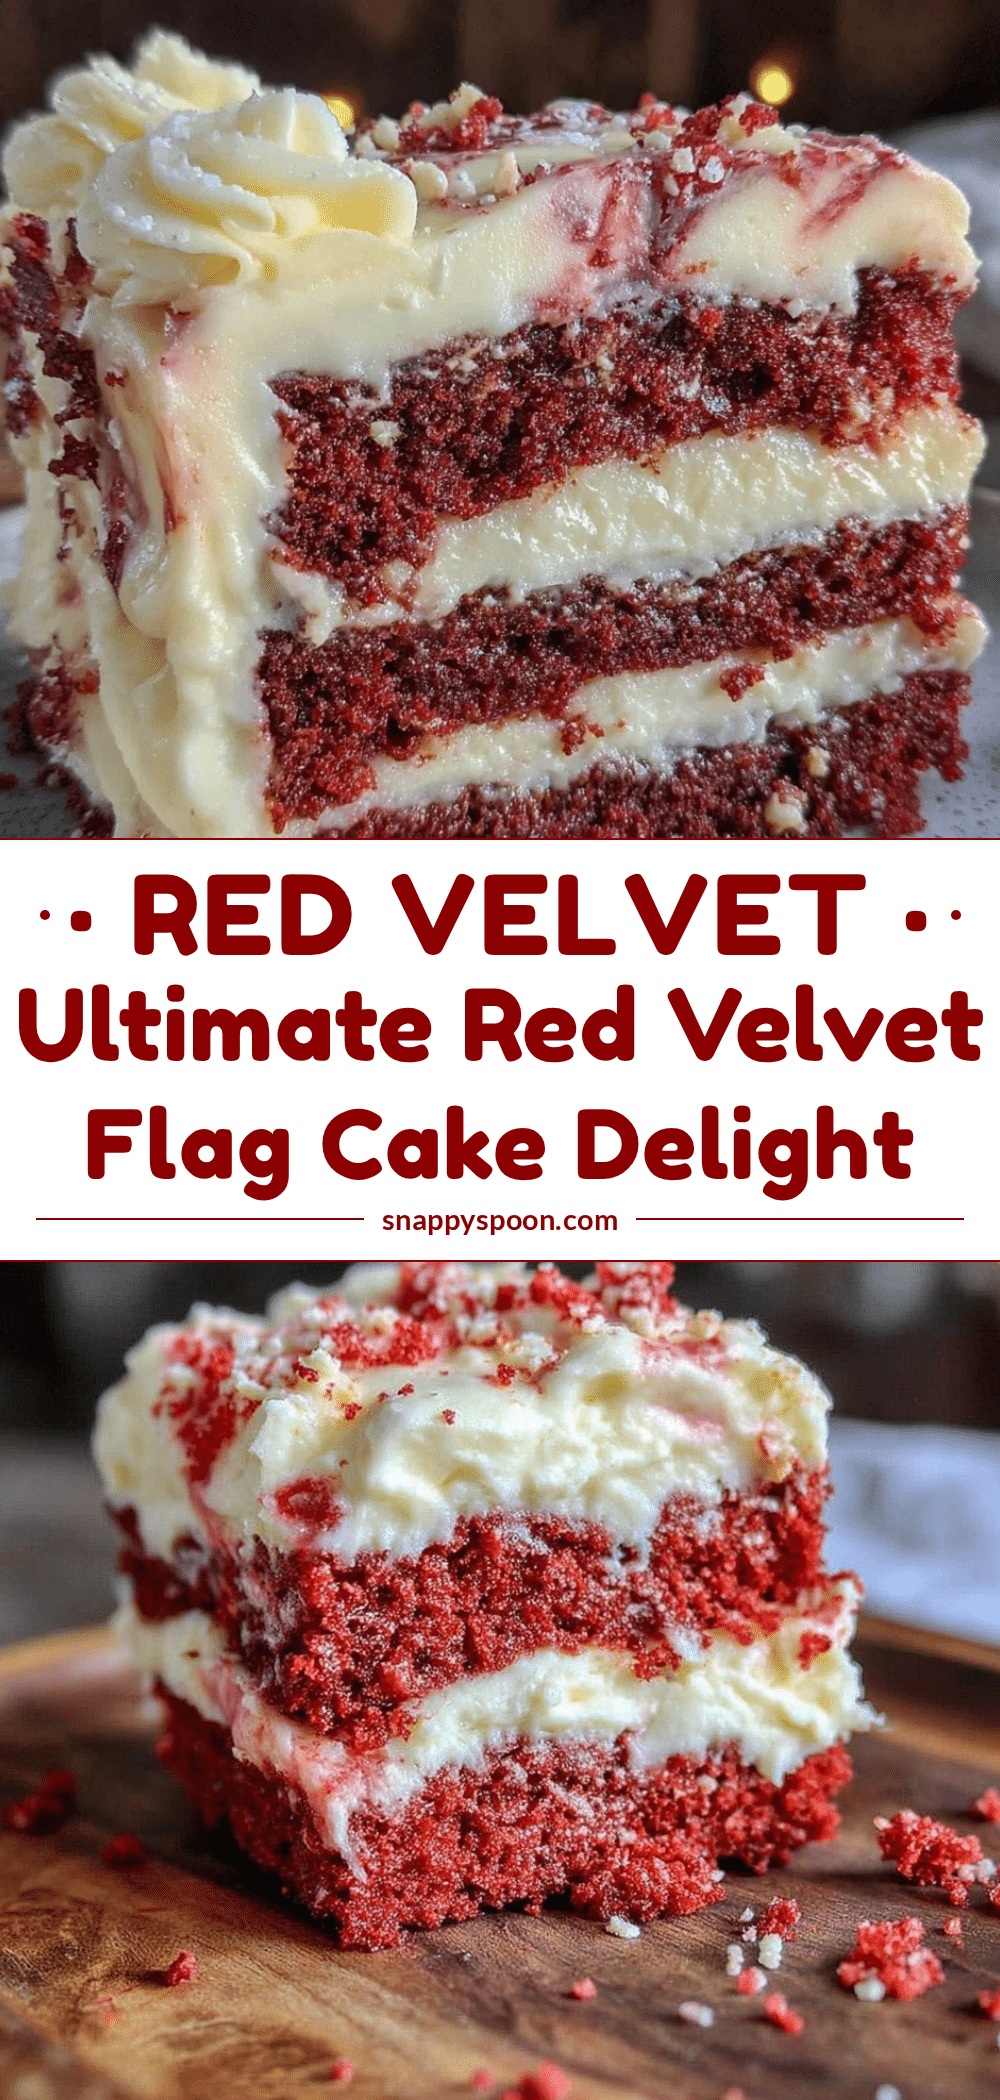
Perfect Red Velvet Flag Cake Recipe with Cream Cheese Frosting
A moist and vibrant red velvet cake with tangy cream cheese frosting, decorated with a patriotic flag design using fresh berries and whipped cream.
- Prep Time: 20 minutes
- Cook Time: 35 minutes
- Total Time: 1 hour 55 minutes
- Yield: 12 servings 1x
- Category: Dessert
- Cuisine: American
Ingredients
- 2 ½ cups (310g) all-purpose flour
- 1 ½ cups (300g) granulated sugar
- 1 tablespoon unsweetened cocoa powder
- 1 teaspoon baking soda
- ½ teaspoon salt
- 1 cup (240ml) buttermilk (or dairy-free milk with 1 tablespoon lemon juice)
- 1 cup (240ml) vegetable oil (canola or sunflower recommended)
- 2 large eggs, room temperature
- 1 tablespoon white vinegar
- 2 teaspoons pure vanilla extract
- 2 tablespoons red food coloring (liquid or gel)
- 8 oz (225g) full-fat cream cheese, softened
- ½ cup (115g) unsalted butter, softened
- 3 cups (360g) powdered sugar, sifted
- 1 teaspoon pure vanilla extract
- Pinch of salt
- 1 cup fresh blueberries (for blue field)
- 1 cup sliced strawberries or raspberries (for red stripes)
- Whipped cream or extra frosting (optional, for white stripes)
Instructions
- Preheat oven to 350°F (175°C). Grease and flour two 9-inch round cake pans or line with parchment paper.
- Sift together flour, sugar, cocoa powder, baking soda, and salt in a large bowl.
- In another bowl, whisk buttermilk, vegetable oil, eggs, white vinegar, vanilla extract, and red food coloring until smooth.
- Slowly add wet ingredients to dry ingredients, stirring gently with a rubber spatula until just combined; avoid overmixing.
- Divide batter evenly between prepared pans. Tap pans lightly to release air bubbles.
- Bake for 30-35 minutes or until a toothpick inserted in the center comes out clean or with a few moist crumbs.
- Cool cakes in pans for 10 minutes, then transfer to wire racks to cool completely.
- Beat cream cheese and butter together until creamy. Gradually add powdered sugar, vanilla extract, and salt; beat until smooth and fluffy.
- Place one cake layer on serving platter. Spread a generous layer of frosting on top. Place second layer over it and apply a thin crumb coat. Chill for 30 minutes.
- Frost cake with a final smooth layer. Arrange blueberries in a rectangle on the top left corner for the blue field.
- Use sliced strawberries or raspberries to form red stripes across the cake, alternating with thin lines of whipped cream or extra frosting for white stripes.
- Refrigerate cake for at least 1 hour before serving. Let sit at room temperature for 20 minutes before slicing.
Notes
Use room temperature ingredients for best texture. Sift dry ingredients to avoid lumps. Avoid overmixing batter to keep cake light. Chill cake before frosting to prevent crumbs. If frosting is too thick, add a teaspoon of milk; if too thin, add more powdered sugar. Use a ruler or toothpicks to mark stripes for the flag design. For gluten-free, substitute flour with 1:1 gluten-free blend. Vegan adaptations include almond milk with lemon juice, flax eggs, and vegan cream cheese and butter alternatives.
Nutrition
- Serving Size: 1 slice (1/12 of cak
- Calories: 375
- Sugar: 30
- Sodium: 320
- Fat: 22
- Saturated Fat: 9
- Carbohydrates: 42
- Fiber: 1
- Protein: 4
Keywords: red velvet cake, cream cheese frosting, flag cake, patriotic cake, berry cake, easy red velvet, moist cake, holiday dessert