Love this? Save it for later!
Share the inspiration with your friends
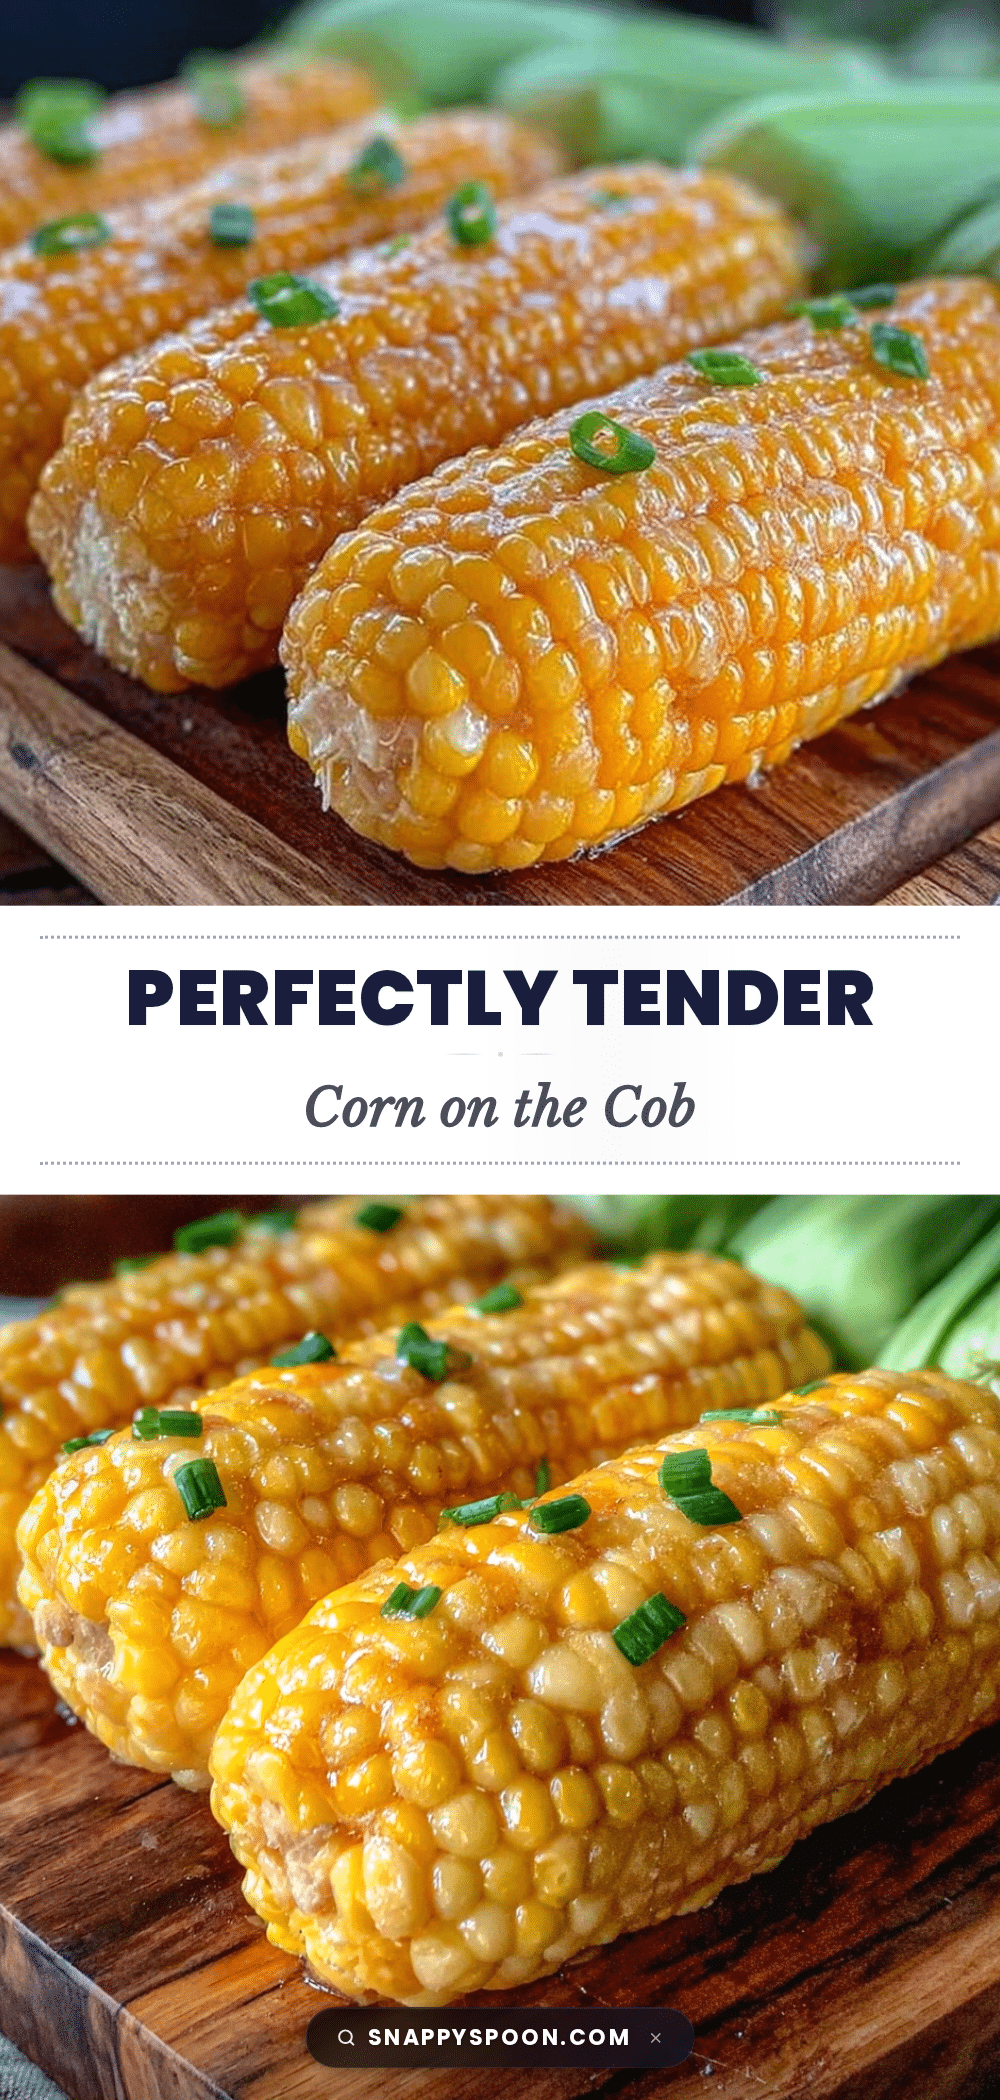
“You wouldn’t believe how tricky it is to get corn on the cob just right,” my friend Lisa confessed one humid summer afternoon as we stood by her backyard grill. She had just pulled off what looked like the most perfect ears of corn, glistening and tender, with kernels bursting with sweetness. It wasn’t some fancy marinade or elaborate cooking method—just simple, honest corn cooked with care.
I wasn’t expecting much when she offered to share her method, especially since I’d long struggled with rubbery or bland corn, no matter how many times I boiled or grilled it. But Lisa’s technique was a game-changer. The way the corn slipped off the cob, juicy and tender yet still with a slight crunch, honestly surprised me. It was like tasting summer itself.
Maybe you’ve been there too—trying to make a quick side dish for a BBQ or family dinner and ending up with dry, tough kernels that no one really enjoys. Well, let me tell you, this perfect tender corn on the cob recipe is simple, fuss-free, and honestly, it might just change how you feel about corn forever. And yes, I made a mess that day dropping a couple of ears into the grass, but it was totally worth it.
This recipe stuck with me because it’s approachable and so reliable. Whether you’re a grill rookie or a seasoned cook, you’ll find it easy to nail that sweet, juicy corn every time. So grab your favorite butter, maybe a sprinkle of salt, and let’s get cooking!
Why You’ll Love This Recipe
Having tested this perfect tender corn on the cob recipe over countless summer gatherings and cozy dinners, I can tell you it ticks all the boxes for a winning dish. Here’s why it’s become a staple in my kitchen:
- Quick & Easy: Ready in under 20 minutes, it’s perfect for busy weeknights or those last-minute grill sessions.
- Simple Ingredients: No need for anything fancy—just fresh corn, water, and a pinch of salt will do.
- Perfect for Any Occasion: Whether it’s family BBQs, potlucks, or just a comforting dinner side, this corn fits right in.
- Crowd-Pleaser: Kids, adults, picky eaters—they all ask for seconds.
- Unbelievably Delicious: The balance of tenderness and juiciness with that natural sweetness is just next-level comfort food.
What sets this recipe apart is the subtle but crucial step of soaking the corn before cooking, which locks in moisture and sweetness. Plus, the gentle cooking time ensures the kernels stay plump without turning mushy. Honestly, it’s the kind of recipe that makes you close your eyes after the first bite and smile. It’s simple, soul-satisfying, and just right every time.
What Ingredients You Will Need
This perfect tender corn on the cob recipe relies on just a handful of straightforward ingredients, making it an easy pick from your pantry or farmers market haul. Each component plays a role in bringing out the natural sweetness and tender texture you’re after.
- Fresh corn on the cob: Ideally, choose ears with bright green husks and plump kernels. Look for local or organic when possible for the best flavor.
- Water: For soaking and boiling the corn, use cold filtered water if you can; it helps keep the taste clean and pure.
- Salt: Just a pinch to season the cooking water and enhance the corn’s natural sweetness.
- Unsalted butter: Softened, for slathering on after cooking. Adds richness and a silky finish.
- Optional toppings: Fresh cracked black pepper, chili powder, grated Parmesan, or a squeeze of lime for a little zing.
Substitution tip: If you’re watching dairy, swap butter for a drizzle of good-quality olive oil or a dairy-free spread. For a smoky twist, sprinkle smoked paprika instead of chili powder.
Equipment Needed
- Large pot or stockpot: Big enough to hold the corn and water comfortably. I prefer a heavy-bottomed pot to maintain even heat.
- Tongs: For safely lowering and lifting the hot corn from the water.
- Kitchen timer: To keep track of the soaking and cooking times precisely.
- Butter knife or small spatula: To spread butter smoothly over the hot corn.
If you don’t have a big pot, a deep skillet or even a large saucepan will work, but you might need to cook the corn in batches. For a more rustic touch, a grill basket can be handy when finishing on the barbecue — just remember to adjust the cooking time accordingly.
Preparation Method
- Husk and clean the corn: Remove the outer green husks and silk threads carefully. It’s okay if a few strands remain; they add a rustic charm.
- Soak the corn: Place the ears in a large pot or bowl filled with cold water. Let them soak for 15-20 minutes. This step helps prevent the kernels from drying out during cooking.
- Bring water to boil: In a large pot, bring enough water to cover the corn to a rolling boil. Add a pinch of salt to the water to enhance the flavor.
- Cook the corn: Using tongs, carefully lower the soaked corn into the boiling water. Cover the pot and let the corn cook for 4-6 minutes, depending on size. The corn should turn bright yellow and the kernels tender yet firm.
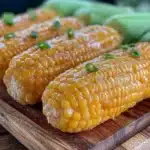
- Drain and serve: Remove the corn from the water and let it drain briefly. While still hot, slather with softened butter and sprinkle with your favorite toppings.
Pro tip: Don’t overcook! Corn can go from tender to mushy surprisingly fast. Keep an eye on the timer and test a kernel if you’re unsure. Also, boiling the corn with the pot covered helps it cook evenly and stay juicy.
Cooking Tips & Techniques
Cooking perfect corn on the cob is all about timing and moisture control. Here are some tips I’ve picked up after plenty of trial and error:
- Freshness matters: Corn loses sweetness quickly after picking. Try to cook it within a day or two of purchase for the best flavor.
- Soaking is key: I learned the hard way that skipping this step results in dry kernels. The soak keeps the corn hydrated and juicy.
- Salt the water lightly: Too much salt can toughen the kernels, so just a pinch will do.
- Use a timer: It’s easy to get distracted (trust me, I once started peeling potatoes mid-boil and forgot the corn for a few extra minutes). Set a timer and stick to it.
- Butter right away: Butter melts into the warm kernels best when applied immediately after cooking, sealing in moisture and flavor.
Remember, every stove and pot heats differently, so some adjustments might be needed. My trick is to start checking at 4 minutes and then every minute after until the corn is tender but still has a little snap.
Variations & Adaptations
This perfect tender corn on the cob recipe is wonderfully adaptable to different tastes and dietary needs. Here are some ways to mix it up:
- Grilled Corn Variation: After boiling, finish the corn on a hot grill for 2-3 minutes per side to get a smoky char and a slightly crisp texture.
- Spicy Twist: Mix softened butter with smoked paprika, cayenne, and a squeeze of lime for a zesty kick.
- Vegan Version: Use coconut oil or olive oil in place of butter, and sprinkle with nutritional yeast for a cheesy flavor.
- Seasonal Toppings: In summer, fresh chopped herbs like basil or cilantro add freshness. In fall, try a dusting of cinnamon sugar for a sweet treat.
- Allergen-Friendly: This recipe is naturally gluten-free and can be dairy-free with simple swaps, making it accessible to most diets.
I once tried topping the corn with crumbled feta and fresh mint for a Mediterranean flair, and it was a surprising hit at a dinner party.
Serving & Storage Suggestions
Serve your perfect tender corn on the cob hot off the stove or grill, slathered with butter and a sprinkle of salt or your favorite seasoning. It pairs beautifully with grilled meats, fresh salads, or even a hearty bowl of chili.
If you have leftovers, wrap the ears tightly in plastic wrap or foil and store in the fridge for up to 2 days. To reheat, steam the corn gently on the stovetop or microwave it wrapped in a damp paper towel to keep it from drying out.
Flavors often deepen after a day in the fridge, so sometimes I actually prefer the corn slightly chilled or at room temperature, especially when topped with a tangy dressing or herb butter.
Nutritional Information & Benefits
One ear of corn on the cob (about 90 grams) typically contains around 80-100 calories, depending on size and added toppings. It’s naturally gluten-free and a good source of dietary fiber, vitamins B and C, and antioxidants like lutein and zeaxanthin, which support eye health.
Fresh corn provides complex carbohydrates for lasting energy without a heavy glycemic load. The fiber helps with digestion, and the natural sugars offer a sweet, wholesome treat that feels indulgent but is nourishing.
Just keep an eye on butter and salt amounts if you’re managing sodium intake. Overall, it’s a feel-good side dish that complements a balanced meal.
Conclusion
This perfect tender corn on the cob recipe has become my go-to for any summer meal or when I want a quick, comforting side. It’s simple, forgiving, and delivers that juicy, sweet flavor that makes you smile with every bite.
Feel free to tweak the toppings and cooking method based on your preferences—this recipe is all about making corn your way. Honestly, once you get the timing and soaking steps down, you’ll wonder how you ever settled for less.
If you try this recipe, I’d love to hear how it turned out for you and any fun variations you whipped up. Share your stories or tips in the comments—it’s always great to swap kitchen wins and happy accidents!
So, grab some fresh corn, and let’s make summer taste unforgettable.
FAQs
How do I know when corn on the cob is cooked perfectly?
The kernels should be bright yellow and tender but still have a slight snap when you bite in. Cooking for 4-6 minutes after boiling usually gets this right.
Can I cook corn on the cob without husking it?
Yes, but husking first allows the salt water to season the kernels directly and helps the corn cook evenly. Cooking with the husk on is more common on the grill for a smoky flavor.
Is it better to boil or grill corn on the cob?
Both methods have their charm. Boiling keeps corn tender and juicy, while grilling adds smoky notes and a little char. You can even combine both for the best of both worlds.
How long can I store cooked corn on the cob?
Store cooked corn wrapped in plastic or foil in the fridge for up to 2 days. Reheat gently to keep it juicy.
Can I make this recipe dairy-free?
Absolutely! Swap butter for olive oil, coconut oil, or a dairy-free spread. The cooking method stays the same, and you still get tender, tasty corn.
Pin This Recipe!
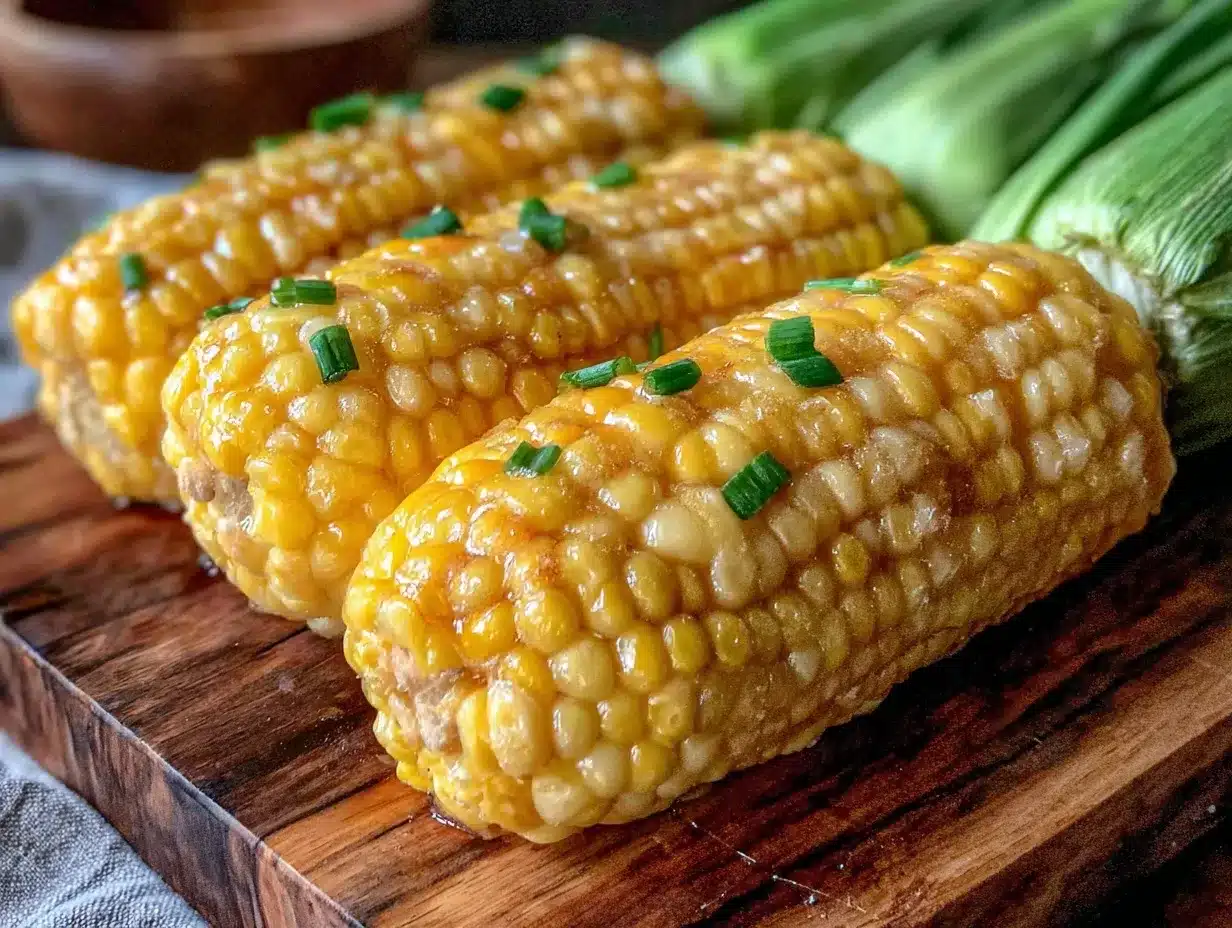
Perfect Tender Corn on the Cob Recipe
A simple and reliable method to cook juicy, sweet corn on the cob with a tender yet slightly crunchy texture. Perfect for quick side dishes, BBQs, and family dinners.
- Prep Time: 5 minutes
- Cook Time: 10 minutes
- Total Time: 15 minutes
- Yield: 4 servings
- Category: Side Dish
- Cuisine: American
Ingredients
- Fresh corn on the cob (ears with bright green husks and plump kernels)
- Water (cold, filtered if possible)
- Pinch of salt
- Unsalted butter, softened (for serving)
- Optional toppings: fresh cracked black pepper, chili powder, grated Parmesan, lime juice
Instructions
- Husk and clean the corn by removing outer green husks and silk threads, leaving a few strands if desired.
- Soak the ears of corn in a large pot or bowl filled with cold water for 15-20 minutes to keep kernels hydrated.
- Bring enough water to cover the corn to a rolling boil in a large pot. Add a pinch of salt to the water.
- Using tongs, carefully lower the soaked corn into the boiling water. Cover the pot and cook for 4-6 minutes until kernels are bright yellow and tender but still firm.
- Remove the corn from the water and let drain briefly. While still hot, slather with softened butter and sprinkle with your favorite toppings.
Notes
Do not overcook the corn to avoid mushy kernels. Soaking the corn before cooking locks in moisture and sweetness. Use a timer to ensure perfect cooking time. Butter melts best when applied immediately after cooking.
Nutrition
- Serving Size: 1 ear of corn (about
- Calories: 90
- Sugar: 6
- Sodium: 150
- Fat: 3
- Saturated Fat: 1.8
- Carbohydrates: 19
- Fiber: 2
- Protein: 3
Keywords: corn on the cob, tender corn, juicy corn, easy corn recipe, summer side dish, BBQ side, quick corn recipe