Love this? Save it for later!
Share the inspiration with your friends
“Why can’t you just mix those three things and freeze it?” my friend asked while I was laying out my usual ice cream-making gear—a big mixer, multiple bowls, and a timer. I started to explain why that wouldn’t work—then stopped. It was a quiet afternoon, and honestly, I was a bit skeptical. I mean, no churning? Just three ingredients? That sounded too simple to be true, especially for something as rich and decadent as salted caramel ice cream.
The hum of the freezer filled the kitchen as I reluctantly gave it a shot, following my friend’s minimalistic approach. I forgot to set a timer at one point—got distracted by the mail—and honestly, I wasn’t expecting much. But when I finally scooped that creamy, perfectly balanced salted caramel ice cream, I was wrong in the best possible way. It was smooth, luscious, and had that perfect hit of salt to cut through the sweetness. You know that feeling when you think you’re the teacher but end up being the student? Yep, that afternoon was one of those moments.
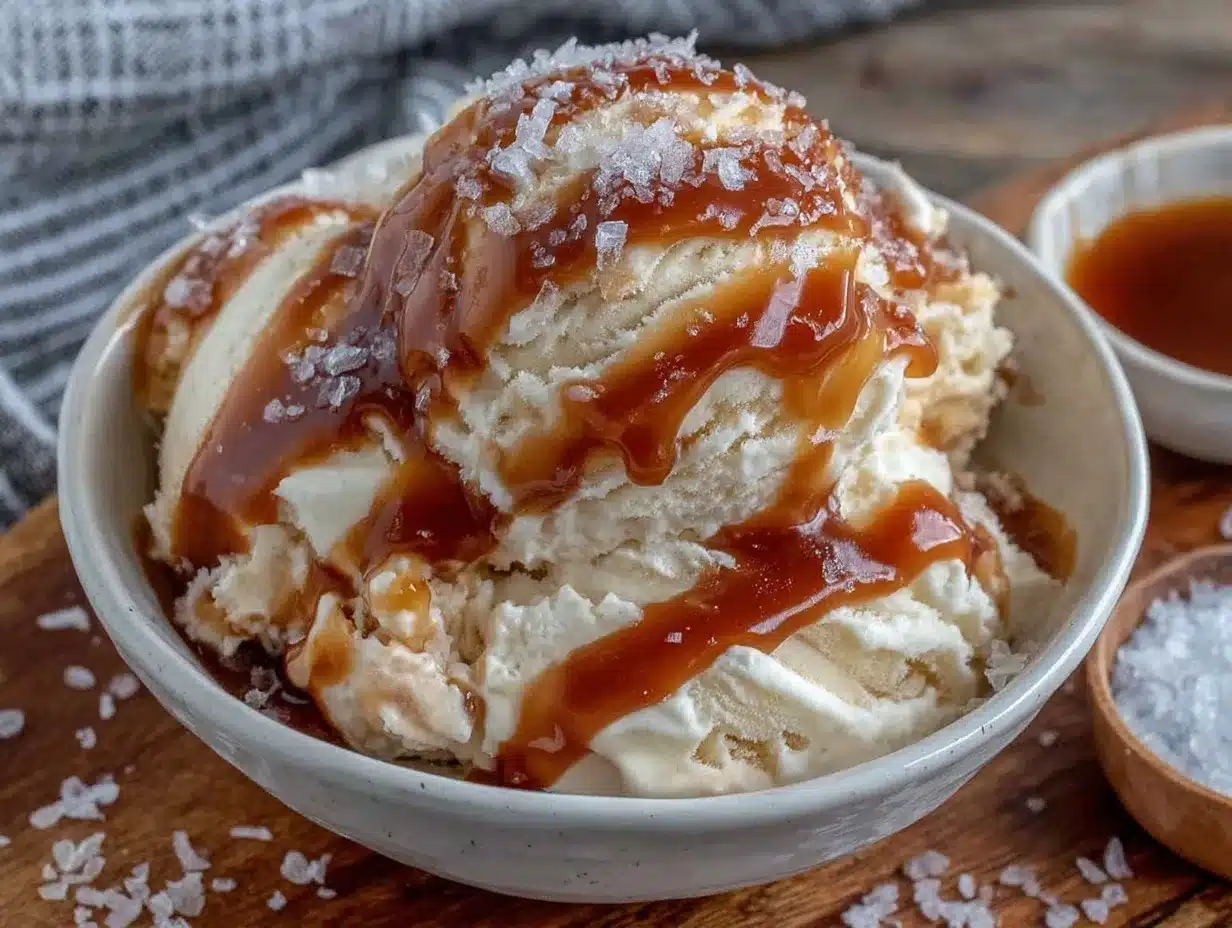
This recipe stuck with me because it’s effortlessly impressive. Maybe you’ve been there—wanting to whip something homemade but dread the complicated steps or the long waits. This easy no-churn salted caramel ice cream with 3 ingredients is exactly the kind of recipe that turns that around. It’s pure, simple, and honestly, a little bit magical.
Why You’ll Love This Recipe
Having tested many ice cream recipes over the years, I can say this no-churn salted caramel ice cream is a game changer. Whether you’re a beginner or seasoned home cook, it delivers satisfying results with minimal fuss. Here’s why it’s become a favorite:
- Quick & Easy: Ready to enjoy in under 4 hours (most of that is freezing time), making it perfect for spontaneous summer cravings or last-minute desserts.
- Simple Ingredients: No need to hunt specialty stores—just three pantry staples you likely already have: heavy cream, sweetened condensed milk, and salted caramel sauce.
- Perfect for Summer: Cool, creamy, and indulgent without the hassle of a machine, it’s great for backyard barbecues, casual family dinners, or just treating yourself on a hot day.
- Crowd-Pleaser: The salted caramel flavor hits that perfect balance of sweet and salty, loved by kids and adults alike.
- Unbelievably Delicious: The texture is silky and dense, not icy or grainy like some quick-fix ice creams.
This isn’t your average no-churn ice cream. The secret is in the quality of the salted caramel sauce and the gentle folding, which keeps the airiness intact. I’ve swapped in different caramel brands and even homemade sauces, and the results are consistently creamy and rich. Honestly, every time I make it, it feels like a little holiday in a bowl.
Ingredients Needed
This recipe keeps things delightfully simple, relying on just three ingredients that work together to create that classic salted caramel ice cream flavor and texture. Here’s what you’ll need:
- Heavy Whipping Cream (1 1/2 cups / 360 ml) – chilled. This is the base that whips into fluffy peaks to give the ice cream its light texture. I prefer using Organic Valley or any high-fat cream for best results.
- Sweetened Condensed Milk (1 can, 14 oz / 396 g) – the natural sweetness and thickness from this ingredient helps keep the ice cream creamy without the need for an ice cream maker.
- Salted Caramel Sauce (3/4 cup / 180 ml) – homemade or store-bought. I often use Trader Joe’s salted caramel sauce for convenience, but a simple homemade caramel with a pinch of sea salt works beautifully too.
Optional additions: If you want to get a bit fancy, swirl in some chopped toasted pecans or a sprinkle of flaky sea salt on top before freezing. But honestly, the base is so good, it stands perfectly on its own.
For a dairy-free version, substitute the heavy cream with full-fat coconut cream and the sweetened condensed milk with coconut condensed milk, but keep in mind the flavor will shift slightly.
Equipment Needed
One of the best parts about this recipe is the minimal equipment required. Here’s what you’ll want on hand:
- Mixing Bowl: A large, chilled bowl works best for whipping the cream. Glass or metal bowls keep the cream cold longer, which helps it whip up better.
- Electric Hand Mixer or Stand Mixer: Essential for whipping the heavy cream to stiff peaks. I’ve tried whisking by hand, but it’s a workout and the texture isn’t quite right.
- Spatula: For gently folding the condensed milk and caramel sauce into the whipped cream without deflating it.
- Freezer-Safe Container: A loaf pan or plastic container with a lid works well for freezing. I like using silicone loaf pans because they make scooping easier.
If you don’t have an electric mixer, a sturdy balloon whisk and some elbow grease can get the job done, just expect it to take a bit longer. Also, keeping your bowl and beaters chilled in the fridge before starting can make a big difference in whipping success.
Preparation Method
- Chill Your Equipment (10 minutes): Place your mixing bowl and beaters in the fridge for about 10 minutes. Cold equipment helps the cream whip faster and hold its shape better.
- Whip the Heavy Cream (5-7 minutes): Pour the 1 1/2 cups (360 ml) of cold heavy whipping cream into the chilled bowl. Using your electric mixer on medium-high speed, beat until stiff peaks form. You’ll know it’s ready when the cream holds its shape firmly when you lift the beaters.
- Fold in Sweetened Condensed Milk (2 minutes): Pour the entire 14 oz (396 g) can of sweetened condensed milk into the whipped cream. Using a spatula, gently fold together with slow, deliberate strokes. Take care to keep the mixture airy—don’t overmix or you’ll lose volume.
- Add Salted Caramel Sauce (2 minutes): Fold in 3/4 cup (180 ml) of salted caramel sauce gently. For a marbled effect, fold just enough to create swirls. For uniform flavor, fold until fully blended. Taste and add a pinch more sea salt if you want a saltier kick.
- Transfer and Freeze (4-6 hours): Pour the mixture into your freezer-safe container. Smooth the top with your spatula. Cover tightly with a lid or plastic wrap. Freeze for at least 4 hours, preferably overnight, until firm.
- Serving Prep: Remove from freezer about 5-10 minutes before serving to soften slightly for perfect scoopability.
Pro tip: If your ice cream hardens too much, let it sit at room temperature a little longer. And if you want to speed up the freezing, you can chill the container in the fridge before filling it.
Cooking Tips & Techniques
Making no-churn ice cream might sound foolproof, but here are some insider tips that make a huge difference in texture and flavor:
- Whip to Stiff Peaks: This is crucial. If your cream is under-whipped, the ice cream will be dense and icy rather than light and creamy. If you go too far, it’ll turn buttery. Watch carefully!
- Gentle Folding: When combining the condensed milk and caramel, be gentle but thorough. You want an even distribution of flavor without knocking the air out of the whipped cream.
- Quality Caramel: The caramel sauce is the star flavor here. I’ve learned that homemade caramel or a good-quality store-bought one makes a noticeable difference. Avoid caramel sauces that are too thin or overly sweet.
- Salt Balance: Salted caramel means a balance of sweet and salty. If you like it saltier, add a pinch of flaky sea salt right before freezing or when serving for that perfect pop.
- Freezing Time: Patience is key. Rushing the freeze can lead to icy textures. Plan ahead to give it the full 4-6 hours (or overnight) to set properly.
I’ve had my share of ice creams that turned out icy or too sweet, and honestly, it’s mostly about the whipping and folding technique. Once I nailed those, every batch was a winner.
Variations & Adaptations
This easy no-churn salted caramel ice cream is a fantastic base that welcomes tweaks and twists. Here are some ideas to make it your own:
- Nutty Addition: Fold in 1/2 cup toasted pecans or walnuts for a crunchy contrast. The nuts bring a warm, toasty note that complements the caramel beautifully.
- Chocolate Swirl: Add a swirl of melted dark chocolate or chocolate ganache before freezing for a salted caramel chocolate combo that’s hard to beat.
- Vegan Version: Swap heavy cream for full-fat coconut cream and use a dairy-free sweetened condensed milk alternative. Use coconut caramel sauce or make your own with coconut sugar and coconut milk.
- Spiced Caramel: Mix a pinch of cinnamon or nutmeg into the caramel sauce to give the ice cream a cozy, autumnal twist.
- Fruit Swirl: For a summer twist, swirl in some homemade peach or apple compote along with the caramel.
I once made a batch with a generous handful of crushed pretzels folded in—salt and crunch married perfectly with the caramel. It was a hit at a summer party and disappeared fast.
Serving & Storage Suggestions
This salted caramel ice cream is best served slightly softened so the texture is creamy and easy to scoop. Let it sit at room temperature for about 5-10 minutes before serving.
Try pairing it with warm apple crisp or drizzled over brownies for an indulgent dessert combo. A cup of strong espresso or a salted caramel latte alongside really rounds out the experience.
Store leftovers tightly covered in the freezer to prevent ice crystals from forming. It keeps well for up to 2 weeks, though I doubt it will last that long! If the ice cream becomes too hard, thaw it on the counter for a little longer before scooping.
Over time, the flavors deepen, so if you make it ahead, you might notice the salted caramel notes become richer the next day. Just don’t forget to stir gently after a couple of hours if you want to keep a swirl effect.
Nutritional Information & Benefits
This no-churn salted caramel ice cream is indulgent but surprisingly straightforward in its nutritional profile. Here’s a rough estimate per 1/2 cup (125g) serving:
| Calories | 250-300 kcal |
|---|---|
| Fat | 15-20g (mostly from heavy cream) |
| Sugar | 25-30g (from sweetened condensed milk and caramel) |
| Protein | 3-4g |
While it’s a treat, the heavy cream provides fat that helps keep you full longer, and the salted caramel adds a small amount of sodium, balancing sweetness and flavor. For those watching dairy or sugar intake, consider using sugar-free caramel sauce or dairy-free alternatives as noted above.
From my experience, this recipe fits nicely into a balanced summer treat rotation—sometimes you just need that sweet, creamy comfort without complicated ingredients or processes.
Conclusion
If you’re looking for a no-fuss dessert that tastes like it took hours of work, this easy no-churn salted caramel ice cream with 3 ingredients is your go-to. It’s proof that sometimes less really is more, and that simple ingredients can come together to create something genuinely delicious.
Feel free to tweak the caramel intensity, saltiness, or add-ins to make it truly yours. I keep coming back to this recipe because it reminds me that ice cream doesn’t have to be complicated to be memorable.
Give it a try, and I’d love to hear how you made it your own—drop a comment below or share your favorite twists!
Happy scooping and enjoy the sweet, salty goodness of summer!
Frequently Asked Questions
Can I use regular caramel sauce instead of salted caramel?
Yes, but you might want to add a pinch of sea salt to the mixture to get that perfect salted caramel flavor.
Do I need an ice cream maker for this recipe?
Nope! That’s the best part. This recipe is designed to be no-churn and relies on whipped cream and freezing.
Can I make this ahead of time?
Absolutely! It actually tastes better if frozen overnight. Just let it soften a bit before serving.
What if I don’t have sweetened condensed milk?
Sweetened condensed milk is key for sweetness and texture. You could try homemade versions, but store-bought is easiest and most consistent.
How do I store leftover ice cream?
Keep it in an airtight container in the freezer for up to 2 weeks. Let it thaw a few minutes before scooping.
Pin This Recipe!
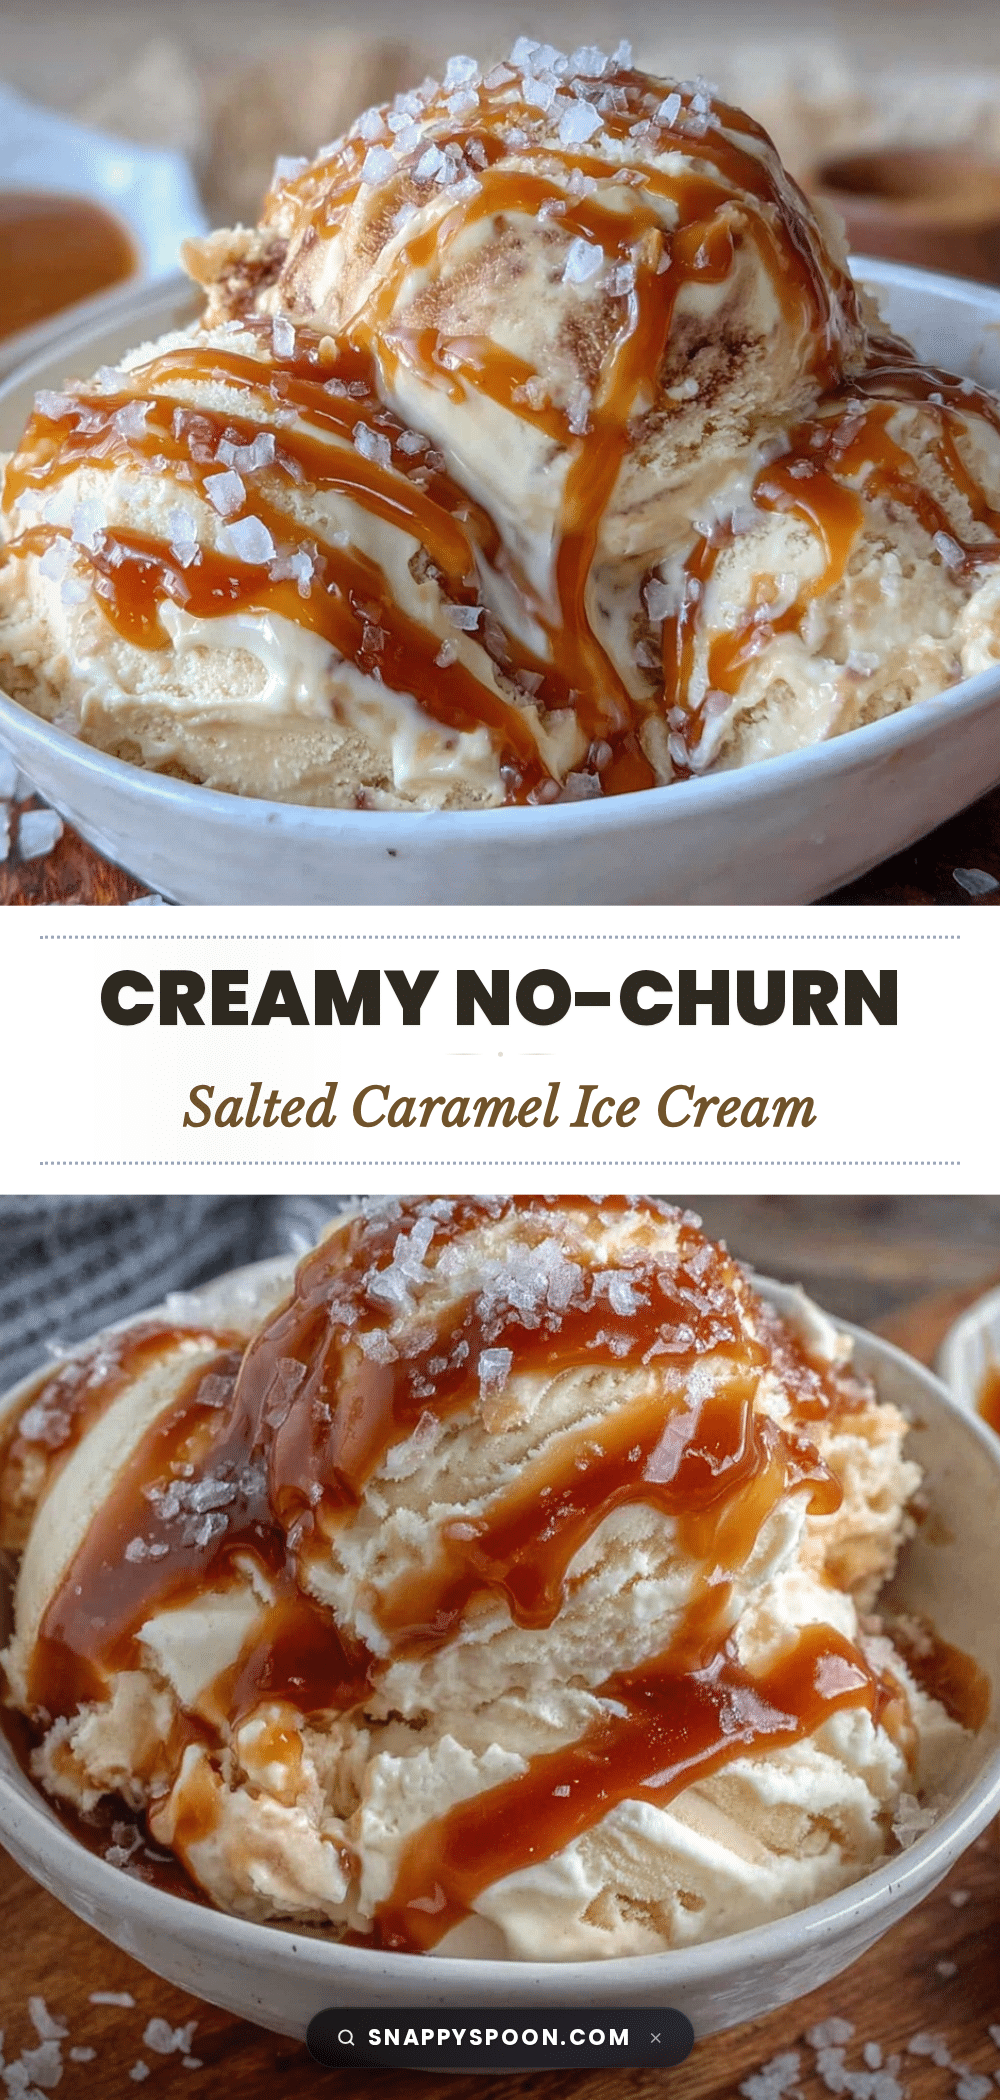
Easy No-Churn Salted Caramel Ice Cream Recipe with 3 Ingredients Perfect for Summer

A simple and delicious no-churn salted caramel ice cream made with just three ingredients. Perfect for summer, this recipe delivers creamy, luscious ice cream without the need for an ice cream maker.
- Prep Time: 15 minutes
- Cook Time: 0 minutes
- Total Time: 4 hours 15 minutes
- Yield: 8 servings 1x
- Category: Dessert
- Cuisine: American
Ingredients
- 1 1/2 cups (360 ml) heavy whipping cream, chilled
- 1 can (14 oz / 396 g) sweetened condensed milk
- 3/4 cup (180 ml) salted caramel sauce, homemade or store-bought
Instructions
- Chill your mixing bowl and beaters in the fridge for about 10 minutes to help the cream whip faster and hold its shape better.
- Pour the cold heavy whipping cream into the chilled bowl. Using an electric mixer on medium-high speed, beat until stiff peaks form, about 5-7 minutes.
- Pour the entire can of sweetened condensed milk into the whipped cream. Using a spatula, gently fold together with slow, deliberate strokes to keep the mixture airy.
- Fold in the salted caramel sauce gently. For a marbled effect, fold just enough to create swirls; for uniform flavor, fold until fully blended. Optionally, add a pinch of sea salt for extra saltiness.
- Pour the mixture into a freezer-safe container. Smooth the top with a spatula, cover tightly with a lid or plastic wrap.
- Freeze for at least 4 hours, preferably overnight, until firm.
- Remove from freezer about 5-10 minutes before serving to soften slightly for perfect scoopability.
Notes
Chill your bowl and beaters before whipping the cream for best results. Be careful to whip to stiff peaks but not overwhip. Fold ingredients gently to keep the mixture airy. Let ice cream soften 5-10 minutes before serving for easier scooping. Store leftovers tightly covered in the freezer for up to 2 weeks.
Nutrition
- Serving Size: 1/2 cup (125 g)
- Calories: 275
- Sugar: 27.5
- Sodium: 80
- Fat: 17.5
- Saturated Fat: 11
- Carbohydrates: 27.5
- Protein: 3.5
Keywords: no-churn ice cream, salted caramel ice cream, easy ice cream recipe, 3 ingredient ice cream, summer dessert, homemade ice cream, no ice cream maker