Love this? Save it for later!
Share the inspiration with your friends
I was standing in my kitchen last Tuesday, staring at a drawer full of wilting produce that I’d bought with such good intentions. A half-used bell pepper, some carrots that were starting to look a little sad, a cucumber that had seen better days. You know that feeling when you open the fridge and realize your meal prep ambitions have gotten the better of you? That was me. And then my phone buzzed — a text from my sister-in-law asking what I pack for my kids’ lunches that actually comes back empty. Not half-eaten. Not traded. Empty.
Honestly, I laughed out loud. Because the truth is, I’ve had my share of lunchbox failures. The soggy sandwiches, the untouched veggie sticks, the whole “I’ll eat it later” routine that never happens. But this one recipe — these rainbow veggie ranch wraps — they’re different. They’re the ones my nephew actually requests. The ones my friend texted me about at 10pm asking for the recipe again because her daughter devoured them. I mean, I’ve been making these for about two years now, and they’ve become my secret weapon for using up whatever vegetables are hanging around.
Let me tell you how it started. I had a half-empty bottle of ranch dressing, a stack of tortillas, and a fridge full of colorful vegetables. I was tired, it was Thursday, and I just needed something that wouldn’t fall apart in a lunchbox. So I started chopping. Red, orange, yellow, green — I just kept adding colors. Spread some ranch on a tortilla, piled on the veggies, rolled it tight. And when my husband took one to work the next day and came home asking for more, I knew I’d stumbled onto something. These wraps aren’t just pretty — they actually stay crisp, taste amazing, and make you feel like you’ve got your life together. Maybe you’ve been there, staring at produce that needs using, wondering what to do. This is the answer.
Why You’ll Love This Recipe
Look, I’m not going to pretend these wraps are complicated. They’re not. But that’s exactly why they work. Here’s what makes them stand out from every other lunch idea you’ve tried:
- Ready in 10 Minutes: No joke — from fridge to finished wrap in under ten minutes. Perfect for Sunday meal prep or those chaotic weekday mornings when you’re running late.
- Simple Ingredients: You probably have most of this stuff already. Tortillas, cream cheese, ranch seasoning, and whatever vegetables are in your crisper drawer. No special grocery trips required.
- Perfect for Lunchboxes: These wraps hold up beautifully. No sogginess, no falling apart. They’re sturdy enough for school lunches, work lunches, picnics, or road trips.
- Crowd-Pleaser: I’ve served these to picky toddlers, skeptical teenagers, and grown adults who claim they don’t like vegetables. Everyone eats them. Seriously.
- Unbelievably Delicious: The cream cheese and ranch combo creates this creamy, tangy base that makes every vegetable taste better. It’s like eating a veggie platter with dip — but way more satisfying.
What makes this recipe different from all those other veggie wrap recipes out there? It’s the method. Most recipes just smear some dressing on a tortilla and call it done. But I’ve learned that mixing the ranch seasoning into softened cream cheese creates a spread that actually stays put, doesn’t make the tortilla soggy, and gives you that perfect ranch flavor in every single bite. Plus, the cream cheese acts as a barrier that keeps the vegetables crisp, even after hours in a lunchbox. Trust me, I’ve tested this dozens of times. This is the version that works.
And honestly? This recipe is the kind that makes you close your eyes after the first bite. It’s comfort food reimagined — healthier, faster, but with the same soul-soothing satisfaction. Perfect for impressing guests without stress, or turning a simple lunch into something memorable.
What Ingredients You Will Need
This recipe uses simple, wholesome ingredients to deliver bold flavor and satisfying texture without the fuss. Most of these are pantry staples or easy to find at any grocery store. Here’s what you’ll need:
For the Ranch Spread
- 4 ounces cream cheese, softened to room temperature (I prefer Philadelphia for the creamiest texture)
- 2 tablespoons ranch seasoning mix (I use Hidden Valley, but any brand works — just check the sodium levels)
- 1 tablespoon milk (or buttermilk for extra tang — dairy-free milk works too)
For the Rainbow Vegetables
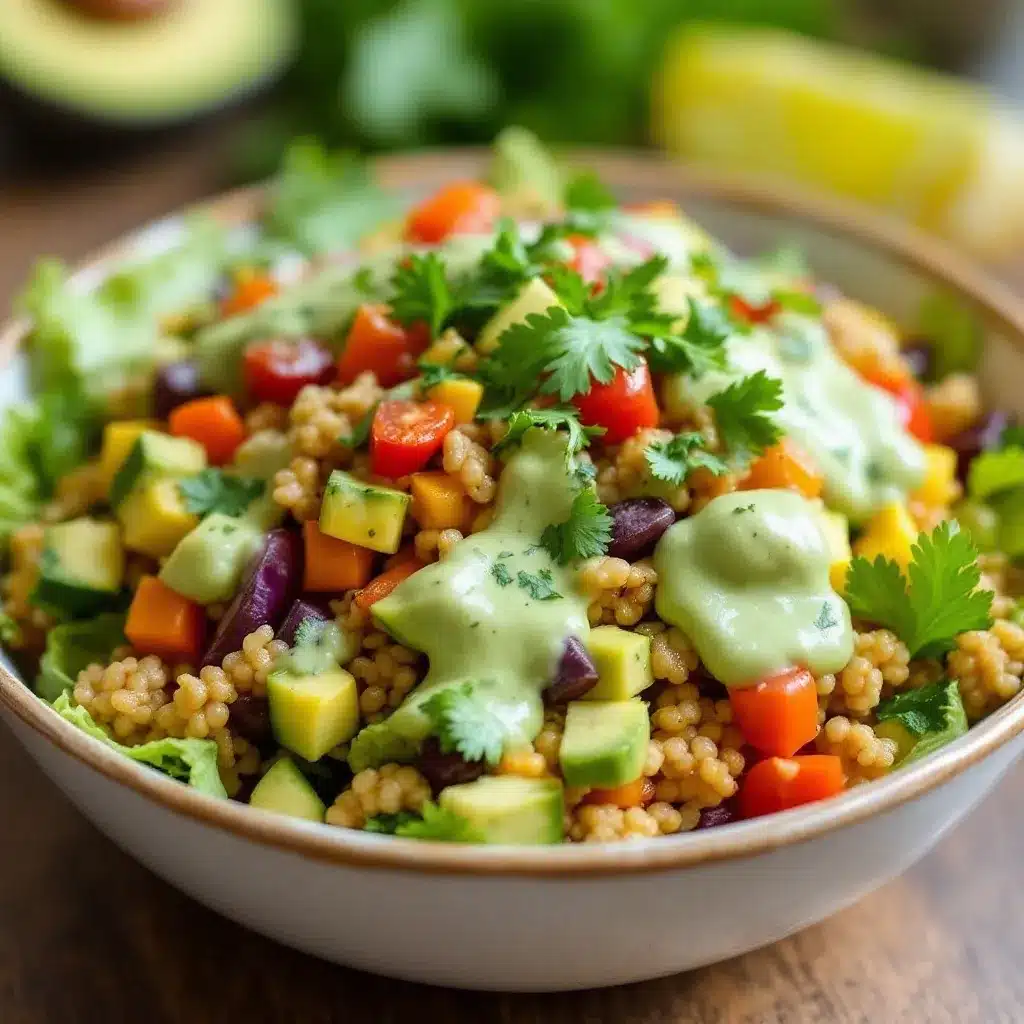
- 1/2 cup red bell pepper, thinly sliced into matchsticks (adds sweetness and crunch)
- 1/2 cup orange bell pepper, thinly sliced (or yellow — whatever looks brightest)
- 1/2 cup shredded carrots (I buy the pre-shredded kind to save time)
- 1/2 cup English cucumber, thinly sliced into half-moons (English cucumbers have fewer seeds and stay crunchier)
- 1/2 cup purple cabbage, finely shredded (adds that gorgeous purple pop and extra crunch)
- 1/4 cup fresh spinach leaves, roughly chopped (optional, but adds extra nutrients)
For the Wraps
- 4 large flour tortillas (10-inch size works best — I like Mission brand for flexibility, but use gluten-free if needed)
- Optional: 1/2 cup shredded cheese (cheddar, Monterey Jack, or pepper jack for a kick)
- Optional: 1/2 cup cooked, crumbled bacon or diced ham (for extra protein)
Ingredient Selection Tips: Look for firm, brightly colored vegetables — they’ll stay crunchier longer. If you’re using pre-shredded carrots, give them a quick chop to make them shorter so they don’t poke out of the wrap. For the tortillas, I’ve found that the softer, more pliable ones roll better without cracking. If your tortillas are stiff, microwave them for 10 seconds between damp paper towels to make them more flexible.
Substitution Guidance: Use vegan cream cheese and dairy-free milk for a dairy-free version. Swap the flour tortillas for large lettuce leaves or collard greens for a low-carb option. No ranch seasoning? Use 1 teaspoon dried dill, 1 teaspoon garlic powder, 1 teaspoon onion powder, and 1/2 teaspoon salt. For a different flavor profile, try Italian seasoning or everything bagel seasoning instead of ranch.
Equipment Needed
You don’t need fancy equipment for these wraps, which is part of why I love them. Here’s what you’ll need:
- Cutting Board: A sturdy one that won’t slide around. I use a large wooden board, but plastic works fine.
- Sharp Knife: A good chef’s knife makes all the difference for thinly slicing vegetables. A dull knife will crush your peppers instead of slicing them cleanly.
- Mixing Bowl: Small to medium size for combining the cream cheese and ranch seasoning.
- Spatula or Spoon: For mixing the spread. A rubber spatula works best to get every bit of cream cheese.
- Measuring Spoons: For the ranch seasoning and milk.
- Plastic Wrap or Parchment Paper: For wrapping the finished wraps tightly. This helps them hold their shape.
- Sharp Serrated Knife: For slicing the wraps cleanly without squishing them. Trust me, a dull knife will ruin your pretty pinwheels.
Budget-Friendly Options: Don’t have a serrated knife? Use a very sharp chef’s knife and saw gently. No parchment paper? Wax paper works in a pinch. I’ve even used clean kitchen towels to hold wraps together while they chill — whatever works!
Personal Note: I learned the hard way that using a dull knife on these wraps just mashes everything out the sides. Spend the extra 30 seconds sharpening your knife, or use a bread knife. Your wraps will thank you.
Preparation Method
Let me walk you through this step by step. Once you’ve made these a couple times, you’ll be able to do it with your eyes closed. But for the first time, here’s exactly what to do:
- Make the ranch spread: In a small mixing bowl, combine the softened cream cheese, ranch seasoning mix, and milk. Stir until completely smooth and well combined. The mixture should be spreadable but not runny. If it’s too thick, add another teaspoon of milk. If it’s too thin, add a little more cream cheese. Set aside.
- Prep your vegetables: Wash and dry all your vegetables thoroughly. Wet vegetables will make your wraps soggy. Slice the bell peppers into thin matchsticks — about 2 inches long and 1/4 inch wide. Shred the carrots if you bought whole ones. Slice the cucumber into thin half-moons. Shred the purple cabbage finely. Chop the spinach if using. Try to keep all your vegetable pieces roughly the same size so they roll evenly.
- Warm the tortillas: This step is optional but highly recommended. Place each tortilla in the microwave for 10-15 seconds, or until warm and pliable. Alternatively, you can warm them in a dry skillet for about 30 seconds per side. Warm tortillas are much easier to roll without cracking.
- Spread the ranch mixture: Lay one warm tortilla flat on your cutting board. Using a spatula or the back of a spoon, spread about 2 tablespoons of the ranch cream cheese mixture evenly over the entire surface of the tortilla. Leave about a 1-inch border around the edges. Don’t skimp on this — the spread is what holds everything together and prevents sogginess.
- Layer your vegetables: Now for the fun part — creating your rainbow! Start by placing a layer of spinach leaves (if using) across the center of the tortilla, about 2 inches wide from top to bottom. Then arrange your colorful vegetables in rows: red bell pepper, orange bell pepper, shredded carrots, cucumber slices, and purple cabbage. You want a nice, even distribution of colors. Don’t overfill — about 1/2 cup of vegetables per wrap is perfect. Too many vegetables and you won’t be able to roll it tightly.
- Add optional toppings: If you’re using shredded cheese or protein, sprinkle it over the vegetables now. Keep it light — about 2 tablespoons of cheese or 2 tablespoons of crumbled bacon per wrap.
- Roll it up tight: Starting at the edge closest to you, fold the tortilla over the filling, tucking it under slightly. Then roll forward, keeping the filling snug inside. As you roll, use your fingers to tuck in any stray vegetable pieces. Roll all the way to the end, and place the wrap seam-side down. The cream cheese spread will help seal the edge.
- Wrap and chill: Tightly wrap each finished wrap in plastic wrap or parchment paper, twisting the ends like a candy wrapper. This helps the wrap hold its shape and keeps the ingredients from shifting. Place the wrapped rolls in the refrigerator for at least 30 minutes, or up to 24 hours. This chilling time is crucial — it allows the cream cheese to firm up, which makes slicing much easier.
- Slice and serve: When you’re ready to eat, unwrap the roll and place it on a cutting board. Using a sharp serrated knife, slice the roll into 1-inch thick pinwheels. Slice gently with a sawing motion — don’t press down hard or you’ll squish the filling. Arrange the pinwheels on a plate or pack them in a lunchbox.
Pro Tip: If you’re making these for lunchboxes, I recommend slicing them in the morning rather than the night before. The pinwheels stay fresher when they’re still in whole roll form. Just slice right before packing.
Cooking Tips & Techniques
After making these wraps probably fifty times (I’m not exaggerating), I’ve learned a few things that make the difference between a good wrap and a great one. Here are my best tips:
The Cream Cheese Must Be Softened: This is non-negotiable. If your cream cheese is cold, you’ll end up with lumpy spread that tears your tortilla. Leave it on the counter for 30 minutes before starting, or microwave it for 10 seconds at half power. I’ve made this mistake more times than I care to admit, and it never ends well.
Don’t Skip the Chilling Step: I know, I know — you’re hungry and you want to eat now. But trust me on this one. The 30-minute chill in the fridge makes the cream cheese firm up just enough that you can slice clean pinwheels without everything oozing out. The first time I made these, I skipped the chill and ended up with a pile of vegetable mush. Learn from my failure.
Pat Your Vegetables Dry: After washing your veggies, dry them thoroughly with a clean kitchen towel or paper towels. Any excess moisture will make your wraps soggy within hours. This is especially important for cucumber — it releases a lot of water. I actually pat my cucumber slices dry between paper towels before adding them to the wrap.
Use a Serrated Knife for Slicing: A sharp serrated knife (like a bread knife) cuts through the tortilla cleanly without squishing the filling. A regular chef’s knife tends to press down and push the filling out. I learned this after ruining three beautiful wraps in a row. Now I only use my bread knife for slicing.
Keep Your Fillings Even: Try to distribute the vegetables evenly across the entire length of the tortilla. If you pile everything in the middle, the ends will be empty and the middle will be too fat to roll. Think of it like rolling a sleeping bag — you want even distribution for a tight, uniform roll.
Make Ahead Strategy: These wraps actually taste better after sitting for a few hours. The flavors meld together, and the ranch seasoning soaks into the cream cheese beautifully. I often make a batch on Sunday evening, keep them wrapped in the fridge, and slice them fresh each morning for lunches. They stay good for up to 3 days in the fridge.
Variations & Adaptations
One of the best things about this recipe is how adaptable it is. Here are some of my favorite variations:
Protein-Packed Wraps
Add 1/4 cup of cooked, shredded chicken, diced turkey, or crumbled tofu to each wrap. I love using rotisserie chicken for extra flavor. For a vegetarian protein boost, add 2 tablespoons of hemp seeds or chopped nuts.
Low-Carb/Keto Version
Swap the flour tortillas for large lettuce leaves (romaine or butter lettuce work great) or collard greens. Use full-fat cream cheese and add extra protein. Skip the carrots (they’re higher in carbs) and load up on cucumber, bell peppers, and cabbage.
Dairy-Free Version
Use vegan cream cheese (I like Kite Hill or Violife) and dairy-free milk. Most ranch seasoning mixes are naturally dairy-free, but double-check the label. The texture will be slightly different, but still delicious.
Seasonal Variations
- Spring: Add thinly sliced radishes, snap peas, and fresh herbs like dill or chives.
- Summer: Include fresh corn kernels, cherry tomatoes (halved), and fresh basil.
- Fall: Add roasted butternut squash cubes, thinly sliced apple, and a sprinkle of cinnamon.
- Winter: Use roasted sweet potato strips, shredded Brussels sprouts, and pomegranate seeds.
Different Flavor Profiles
Not a ranch fan? Try these flavor variations for the cream cheese spread:
- Italian: Mix cream cheese with 1 tablespoon Italian seasoning and 1 clove minced garlic.
- Everything Bagel: Mix cream cheese with 2 tablespoons everything bagel seasoning.
- Spicy Southwest: Mix cream cheese with 1 tablespoon taco seasoning and a squeeze of lime.
- Herb & Garlic: Mix cream cheese with 1 teaspoon dried dill, 1 teaspoon garlic powder, and fresh parsley.
Personal Favorite: My go-to variation is the Everything Bagel version with cucumber, cream cheese, and smoked salmon. It’s like a bagel sandwich but in wrap form — absolutely addictive.
Serving & Storage Suggestions
Serving Temperature: These wraps are best served cold or at room temperature. If you’re packing them for lunch, they’ll be perfect by lunchtime after sitting in a cooler or lunchbox for a few hours.
Presentation Ideas: Arrange the pinwheels on a platter with the colorful sides facing up so everyone can see the rainbow. Garnish with fresh herbs like parsley or dill. For parties, serve with extra ranch dressing on the side for dipping.
Complementary Dishes: These wraps pair beautifully with:
- A simple side salad with vinaigrette
- Fresh fruit skewers
- Veggie chips or baked potato chips
- A cup of tomato soup (for dipping!)
- Hummus and extra veggie sticks
Storage Instructions: Store whole, uncut wraps tightly wrapped in plastic wrap or parchment paper in the refrigerator for up to 3 days. Once sliced, the pinwheels are best eaten within 24 hours. I don’t recommend freezing these — the vegetables become watery and the texture suffers.
Reheating: These are meant to be eaten cold, so no reheating needed! If you prefer them warm, you can briefly microwave a whole wrap (not sliced) for 15-20 seconds, but the vegetables will lose some crunch.
Flavor Development: Here’s something interesting — these wraps actually taste better the next day. The ranch seasoning has time to meld with the cream cheese, and the vegetables soften slightly without becoming soggy. I actually prefer day-old wraps over fresh ones. The flavors just come together beautifully.
Nutritional Information & Benefits
Here’s the approximate nutritional breakdown for one wrap (without optional cheese or protein):
- Calories: 280-320
- Protein: 7-9g
- Carbohydrates: 32-38g
- Fiber: 4-6g
- Fat: 14-18g
- Saturated Fat: 7-9g
- Sodium: 580-720mg
- Vitamin A: 120% DV (from carrots and bell peppers)
- Vitamin C: 80% DV (from bell peppers)
Health Benefits: These wraps are packed with colorful vegetables, which means you’re getting a wide variety of vitamins, minerals, and antioxidants. The bell peppers provide immune-boosting vitamin C, carrots offer vision-supporting vitamin A, and purple cabbage contains anti-inflammatory anthocyanins. The cream cheese adds calcium and protein, while the whole wheat tortillas (if you choose them) provide fiber for digestive health.
Dietary Considerations: This recipe can easily be made gluten-free (use gluten-free tortillas), dairy-free (use vegan cream cheese), vegetarian, and nut-free. It’s naturally egg-free. For a lower-sodium option, use reduced-sodium ranch seasoning or make your own seasoning blend.
Personal Wellness Perspective: I love that these wraps make eating vegetables feel effortless. Instead of forcing yourself to eat a sad side salad, you’re getting multiple servings of veggies in a format that actually tastes good. It’s the kind of meal that makes you feel good about what you’re eating — not because you’re depriving yourself, but because you’re genuinely enjoying nutritious food.
Frequently Asked Questions
How do I keep my wraps from getting soggy in the lunchbox?
The cream cheese spread acts as a barrier that prevents moisture from the vegetables from soaking into the tortilla. Also, make sure to pat your vegetables completely dry before adding them. If you’re packing for later, keep the wrap whole (not sliced) until just before eating.
Can I make these wraps ahead of time?
Absolutely! These wraps are perfect for meal prep. Make the whole rolls up to 3 days in advance, keep them tightly wrapped in the fridge, and slice them fresh each morning. The flavors actually get better after a day in the fridge.
What can I use instead of cream cheese?
You can use hummus, mashed avocado, plain Greek yogurt (thickened), or dairy-free cream cheese. Each option will give a different flavor profile. Hummus works great for a Mediterranean twist, while avocado adds healthy fats and a creamy texture.
How do I roll the wrap tightly without it falling apart?
Start by warming your tortilla so it’s pliable. Don’t overfill — about 1/2 cup of vegetables per wrap is perfect. Roll tightly, tucking the filling in as you go. The cream cheese spread helps everything stick together. Finally, wrap the roll in plastic wrap and chill for 30 minutes before slicing.
Can I use different vegetables?
Absolutely! The rainbow concept is flexible. Try shredded zucchini (squeeze out excess water first), thinly sliced radishes, julienned jicama, roasted red peppers, or fresh corn kernels. Just keep the pieces small and uniform for easy rolling.
Conclusion
These Healthy Rainbow Veggie Ranch Wraps have genuinely changed my lunch game. They’re the kind of recipe that makes you feel like you’ve hacked the system — healthy, beautiful, and actually delicious. No more sad desk salads or boring sandwiches. Just vibrant, crunchy, creamy goodness that makes everyone who sees them say, “Wait, you made that?”
What I love most about this recipe is how forgiving it is. Use whatever vegetables you have. Swap the ranch for your favorite dressing. Add protein or leave it out. The basic formula — creamy spread plus colorful veggies rolled in a tortilla — works every single time. It’s less a rigid recipe and more a template for using up whatever’s in your fridge.
I’d love to hear how these turn out for you! Did you try a fun variation? Did your kids actually eat their vegetables without complaint? Drop a comment below and let me know. And if you’re looking for more easy lunch ideas, check out my quick vegetable soup recipe that pairs perfectly with these wraps. Happy rolling, friends — your lunchbox is about to get a whole lot more colorful!
Pin This Recipe!
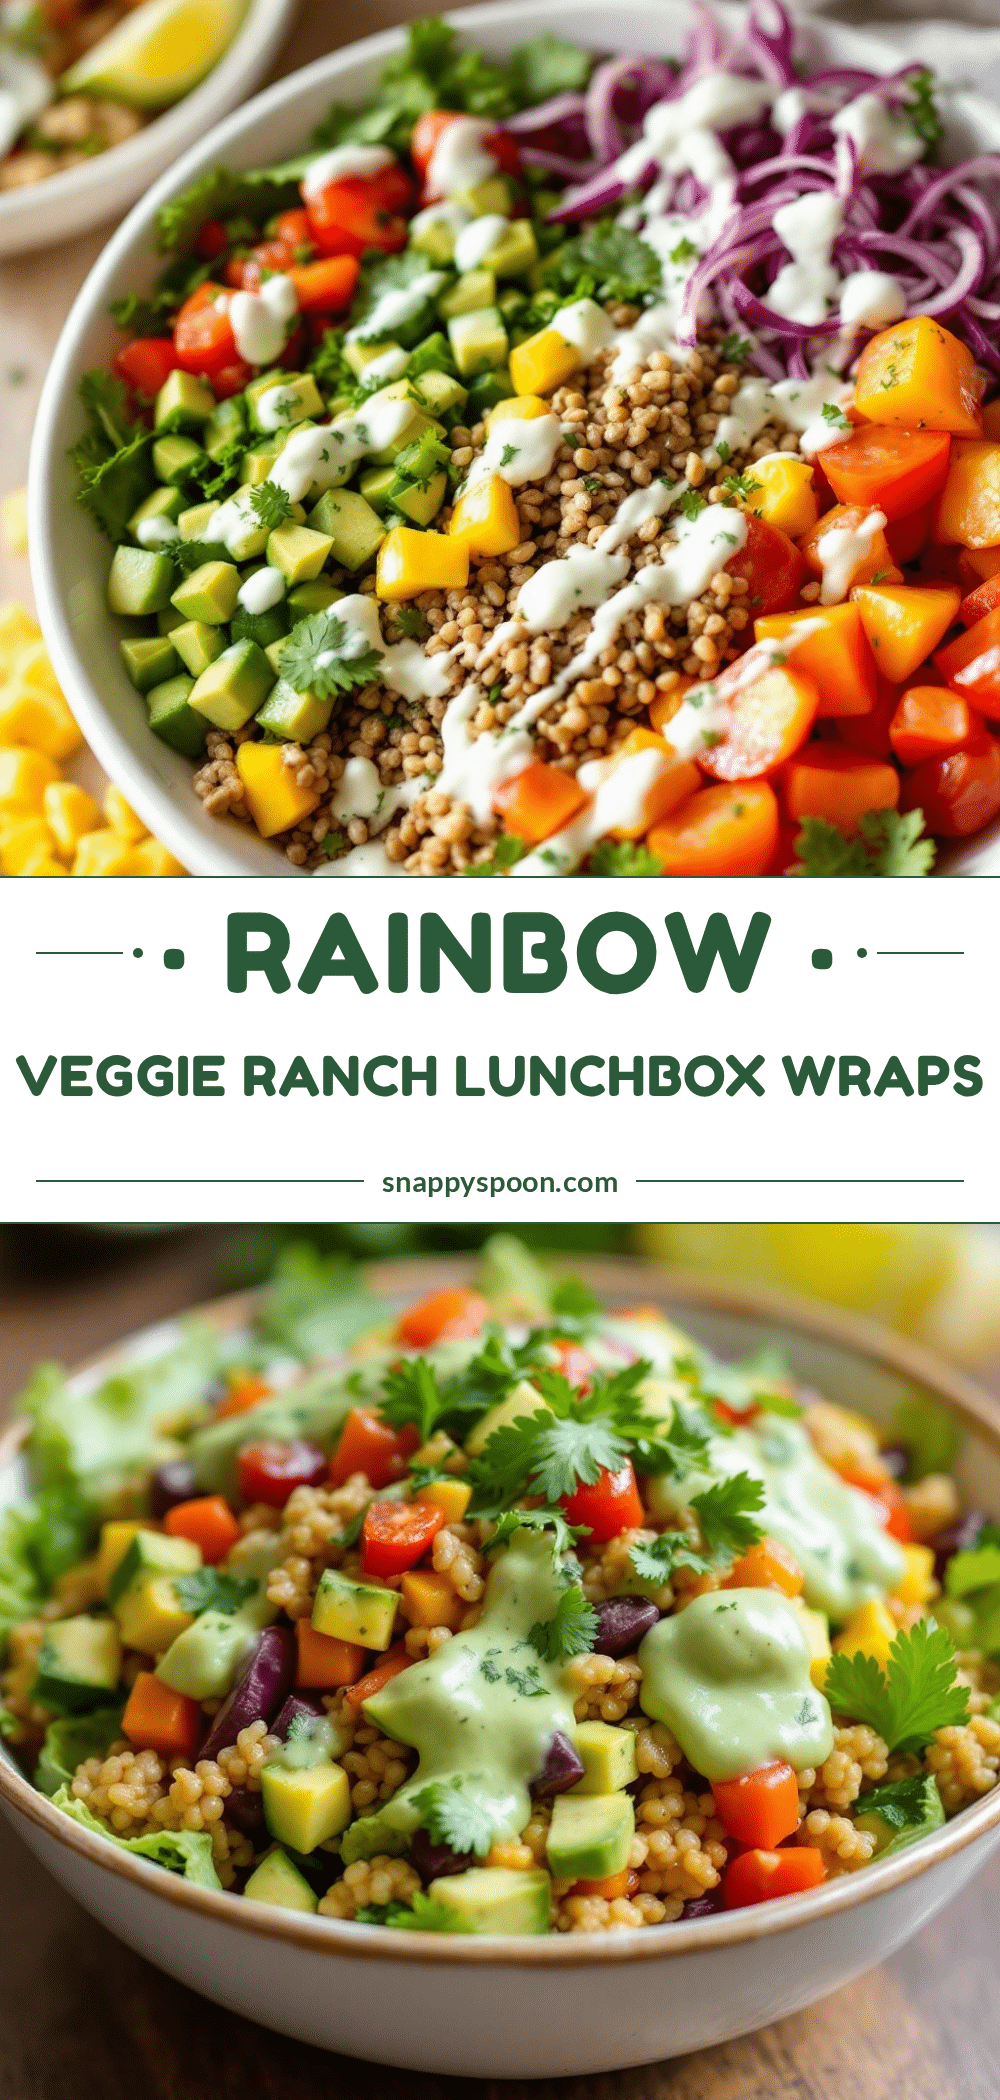
Healthy Rainbow Veggie Ranch Wraps: Easy Lunchbox Idea
These rainbow veggie ranch wraps are a quick, healthy, and colorful lunchbox solution. Ready in 10 minutes, they stay crisp and delicious, making them a crowd-pleaser for kids and adults alike.
- Prep Time: 10 minutes
- Cook Time: 0 minutes
- Total Time: 40 minutes (including 30 minutes chilling)
- Yield: 4 servings 1x
- Category: Lunch
- Cuisine: American
Ingredients
- 4 ounces cream cheese, softened to room temperature
- 2 tablespoons ranch seasoning mix
- 1 tablespoon milk (or buttermilk)
- 1/2 cup red bell pepper, thinly sliced into matchsticks
- 1/2 cup orange bell pepper, thinly sliced
- 1/2 cup shredded carrots
- 1/2 cup English cucumber, thinly sliced into half-moons
- 1/2 cup purple cabbage, finely shredded
- 1/4 cup fresh spinach leaves, roughly chopped (optional)
- 4 large flour tortillas (10-inch size)
- 1/2 cup shredded cheese (cheddar, Monterey Jack, or pepper jack, optional)
- 1/2 cup cooked, crumbled bacon or diced ham (optional)
Instructions
- Make the ranch spread: In a small mixing bowl, combine the softened cream cheese, ranch seasoning mix, and milk. Stir until completely smooth and well combined. Set aside.
- Prep your vegetables: Wash and dry all vegetables thoroughly. Slice bell peppers into thin matchsticks (about 2 inches long and 1/4 inch wide). Shred carrots if whole. Slice cucumber into thin half-moons. Shred purple cabbage finely. Chop spinach if using.
- Warm the tortillas: Microwave each tortilla for 10-15 seconds, or until warm and pliable. Alternatively, warm in a dry skillet for about 30 seconds per side.
- Spread the ranch mixture: Lay one warm tortilla flat on a cutting board. Spread about 2 tablespoons of the ranch cream cheese mixture evenly over the entire surface, leaving a 1-inch border around the edges.
- Layer your vegetables: Place a layer of spinach leaves (if using) across the center of the tortilla, about 2 inches wide. Arrange colorful vegetables in rows: red bell pepper, orange bell pepper, shredded carrots, cucumber slices, and purple cabbage. Use about 1/2 cup of vegetables per wrap.
- Add optional toppings: If using shredded cheese or protein, sprinkle about 2 tablespoons over the vegetables.
- Roll it up tight: Starting at the edge closest to you, fold the tortilla over the filling, tucking it under slightly. Roll forward, keeping the filling snug inside. Roll all the way to the end and place seam-side down.
- Wrap and chill: Tightly wrap each finished wrap in plastic wrap or parchment paper, twisting the ends like a candy wrapper. Refrigerate for at least 30 minutes, or up to 24 hours.
- Slice and serve: When ready to eat, unwrap the roll and place on a cutting board. Using a sharp serrated knife, slice into 1-inch thick pinwheels. Slice gently with a sawing motion.
Notes
The cream cheese must be softened to avoid lumps. Don’t skip the chilling step for clean slicing. Pat vegetables dry to prevent sogginess. Use a serrated knife for slicing. Wraps taste better the next day as flavors meld. Store whole wraps in the fridge for up to 3 days; sliced pinwheels are best within 24 hours.
Nutrition
- Serving Size: 1 wrap (about 6-8 pi
- Calories: 300
- Sugar: 6
- Sodium: 650
- Fat: 16
- Saturated Fat: 8
- Carbohydrates: 35
- Fiber: 5
- Protein: 8
Keywords: veggie wraps, rainbow wraps, ranch wraps, lunchbox ideas, healthy lunch, easy wraps, meal prep, vegetarian wraps