Love this? Save it for later!
Share the inspiration with your friends
My seven-year-old nephew asked me last week why I couldn’t just smash the bread flat with a rolling pin before sealing it. I started to explain why that wouldn’t work—then stopped. I honestly had no good reason. I’d been making these quick 5-minute Uncrustable sandwiches for months, carefully pressing the edges with a fork like my grandmother taught me, never once questioning if there was a faster way. That kid handed me a glass jar and said “use this.” I felt ridiculous, but I tried it. It worked perfectly. The edges sealed tighter than ever, and I finished the whole batch in under four minutes. Sometimes the best cooking hacks come from people who haven’t learned the “right” way yet, you know?
Let me tell you, that moment changed my entire lunch-prep routine. I mean, I’d been spending my Sunday evenings meticulously crimping edges like some sort of sandwich artisan, convinced that was the only path to a proper seal. My nephew just looked at me with that “are you serious?” expression kids master by age five. I handed him the jar, watched him press down once, and there it was—a perfect, sealed, crustless sandwich ready for the freezer. I may have muttered something under my breath about not needing to be shown up by a second-grader, but honestly? I was thrilled.
These copycat Uncrustable sandwiches have become our household staple. They save me time, money, and the constant negotiation with my kids about what goes in their lunchboxes. The best part? They taste exactly like the store-bought version—maybe better, since you control what goes inside. I’ve been making these for two years now, tweaking the method until it’s foolproof. Maybe you’ve been there, staring at the freezer aisle prices and wondering why something so simple costs so much. Well, here’s your solution, and it takes five minutes flat.
Why You’ll Love This Recipe
I’ve tested this method more times than I care to admit, and let me tell you—it works. Every single time. These sandwiches have survived school lunches, park picnics, and even a three-hour car ride without turning into a soggy mess. Here’s what makes them special:
- Five Minutes Flat: From start to finish, including cleanup. That’s faster than driving to the store.
- Simple Ingredients: Bread, peanut butter, jelly, and maybe a glass jar. You probably have everything right now.
- Perfect for School Lunches: Thaw by lunchtime, no ice pack required. Kids love the no-crust format.
- Budget-Friendly: Store-bought versions cost about a dollar each. These cost pennies.
- Customizable: Allergies? Preferences? You’re in control. No mystery ingredients here.
- Crowd-Pleaser: I’ve yet to meet a kid who turns down a crustless PB&J. Adults sneak them too, honestly.
What makes this recipe different from the dozens of other copycat versions out there? Two things. First, the jar trick—that’s the game changer. Second, the freeze-and-pack method I’ve perfected over countless lunchboxes. These quick 5-minute Uncrustable sandwiches aren’t just another recipe; they’re the version I’d serve my own kids every single week. And I do.
This recipe is the kind that makes you feel like you’ve hacked the system. It’s comfort food simplified—faster, cheaper, and with the same nostalgic satisfaction of biting into that soft, seal-pressed bread. Perfect for busy mornings when you’re packing lunches at 6 AM with one eye still closed.
What Ingredients You Will Need
This recipe keeps things simple—just four ingredients, all of which are probably in your kitchen right now. The magic isn’t in fancy components; it’s in how you put them together. Here’s what you’ll need:
- 8 slices white bread (I prefer Sara Lee or Wonder Bread for that soft, squishy texture that seals well. Day-old bread actually works better since it’s slightly drier and less likely to tear.)
- 1/2 cup creamy peanut butter (Jif or Skippy work great. Natural peanut butter that separates can be too oily and cause the seal to fail—stick with the processed stuff for this one.)
- 1/2 cup strawberry jelly or jam (Smucker’s is my go-to. Grape jelly works too, but strawberry has that classic Uncrustable flavor. Seedless jam prevents weird textures.)
- Optional: 1 tablespoon butter, softened (Spreading a thin layer on the outside before freezing gives the bread a golden, slightly crispy texture when toasted. Not necessary, but worth trying.)
The bread choice matters more than you’d think. I’ve tested whole wheat, sourdough, and even brioche, and nothing seals quite like plain white sandwich bread. It’s soft enough to press without cracking, sturdy enough to hold the filling, and freezes beautifully. If you’re looking for a healthier option, whole wheat sandwich bread works—just press a little more gently to avoid tears.
For the peanut butter, creamy is non-negotiable here. Chunky peanut butter creates gaps in the seal, and those gaps lead to leaks. Trust me on this one—I learned the hard way when my son’s lunchbox had jelly stains everywhere. Crunchy peanut butter lovers, save it for toast.
The jelly should be thick, not runny. If your jam is particularly loose, give it a stir before spreading. Thin jelly seeps out during pressing and makes a sticky mess. I’ve found that strawberry preserves with whole fruit pieces actually work best—they’re thick enough to stay put.
Equipment Needed
You don’t need a fancy sandwich sealer or special gadget for this. Here’s what actually works:
- Rolling pin or empty glass jar (The jar trick is my favorite—a clean, empty pasta sauce jar works perfectly. The flat bottom presses evenly without ripping the bread.)
- Butter knife (For spreading. Nothing fancy.)
- Small bowl or round cookie cutter (About 3-4 inches in diameter. A drinking glass works too if you don’t have a cutter.)
- Parchment paper (For wrapping. Wax paper works in a pinch, but parchment holds up better in the freezer.)
- Freezer-safe bag or container (Ziploc freezer bags are perfect. Squeeze out the air before sealing.)
- Cutting board (Any flat surface works, but a cutting board protects your counter from jelly drips.)
I’ve tried the fancy sandwich sealer gadgets, and honestly? They’re not worth the money. The glass jar method works better and costs nothing. My favorite jar is a Classico pasta sauce jar—the bottom is perfectly flat and the right size for pressing. Just wash it thoroughly first.
If you’re making these regularly, invest in a good rolling pin. I use a simple wooden one that cost eight dollars, and it’s lasted years. The key is finding something with a smooth, even surface that won’t tear the bread.
Preparation Method
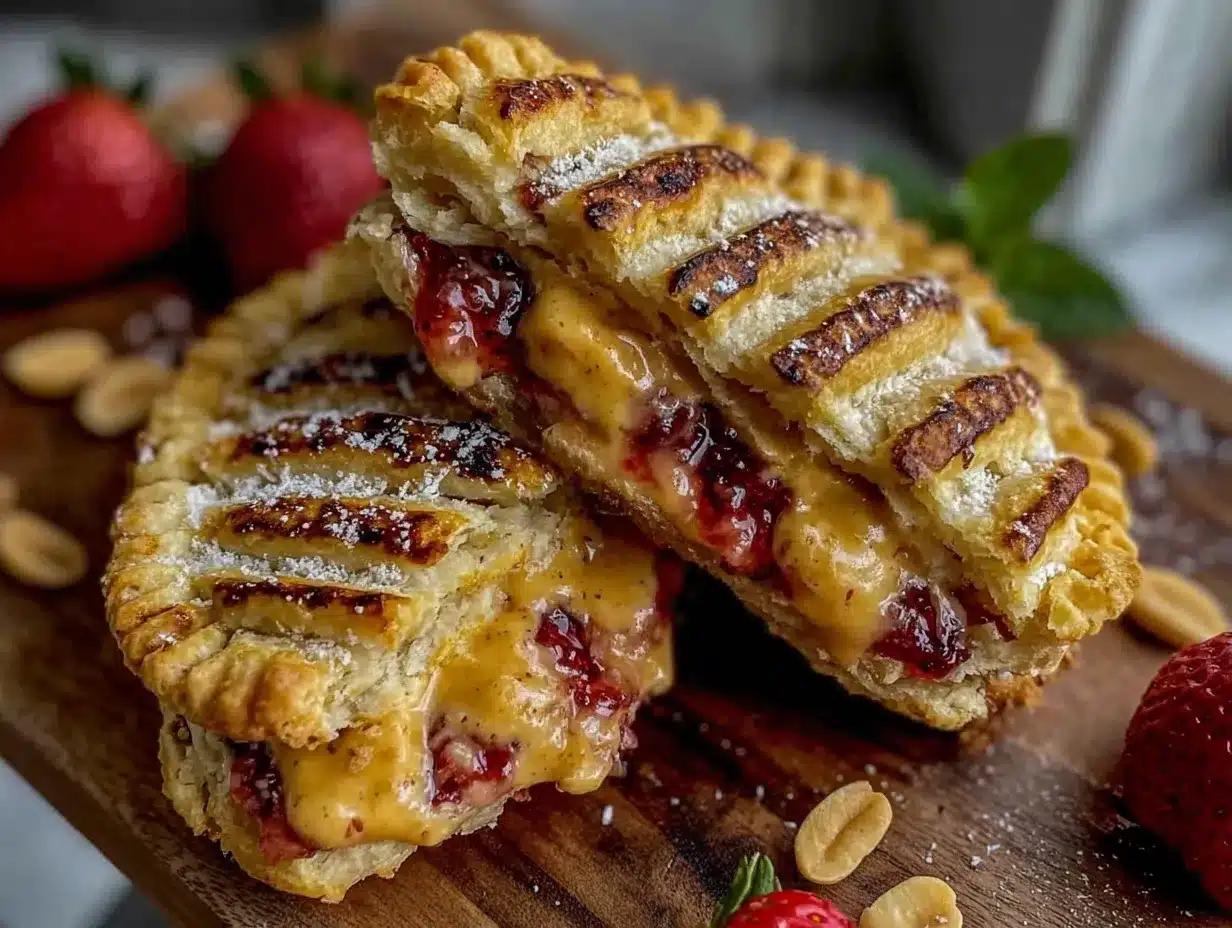
This whole process takes five minutes, maybe six if you’re distracted. Here’s exactly how to make these copycat Uncrustable sandwiches:
- Flatten the bread slices (1 minute): Lay out all 8 slices of bread on your cutting board. Using your rolling pin or clean glass jar, gently roll over each slice until it’s about 1/4 inch thick. Press evenly—you want the bread thin but not transparent. If the bread tears, you’re pressing too hard. Go easy.
- Spread the peanut butter (1 minute): Take 4 slices of the flattened bread. Spread about 2 tablespoons of peanut butter on each, leaving a 1/2-inch border around the edges. This border is crucial—it’s what seals the sandwich. Don’t spread all the way to the crust.
- Add the jelly (30 seconds): Spoon about 2 tablespoons of jelly on top of the peanut butter on those same 4 slices. Spread it gently, keeping it inside the peanut butter border. The peanut butter acts as a barrier to prevent the jelly from seeping out during pressing.
- Top with remaining bread (15 seconds): Place the remaining 4 flattened bread slices on top, pressing down lightly to adhere. Don’t press hard yet—just enough to hold everything together.
- Seal the edges (1 minute): Here’s where the magic happens. Take your glass jar or rolling pin and press firmly around the edges of each sandwich. Start from the center and work outward. You’ll see the bread crimp and seal together. For extra security, run your finger along the edges to check for gaps.
- Cut off the crusts (1 minute): Using your small bowl or round cookie cutter, press down firmly in the center of each sandwich to cut a perfect circle. Save the crusts—they make great breadcrumbs or croutons. I keep a bag in the freezer for exactly this purpose.
- Wrap individually (30 seconds): Cut 4 squares of parchment paper, about 6×6 inches each. Wrap each sandwich tightly, twisting the ends like a candy wrapper. This keeps them fresh and prevents freezer burn.
- Freeze (2 hours minimum): Place the wrapped sandwiches in a freezer bag, squeeze out the air, and seal. Freeze for at least 2 hours before packing in lunches. They’ll keep for up to 3 months.
A few things I’ve learned through trial and error: Don’t overfill the sandwiches. Too much jelly leads to leaks, and too much peanut butter makes them hard to press. Two tablespoons each is the sweet spot. Also, work quickly—if the bread dries out, it won’t seal properly. Keep the unused bread covered with a damp paper towel while you work.
When you’re pressing the edges, you should hear a slight squish sound as the bread compresses. That’s normal. If you see jelly seeping out, you’ve added too much. No worries—just wipe it off and press again. The sandwich will still taste great.
Cooking Tips & Techniques
After making hundreds of these sandwiches, I’ve picked up a few tricks that make the process smoother. Here’s what I wish someone had told me:
The bread temperature matters. Room temperature bread presses better than cold bread straight from the fridge. If your bread is cold, let it sit out for 10 minutes before starting. The gluten relaxes, making the bread more pliable and less likely to tear.
Don’t skip the flattening step. I know it seems unnecessary, but flattening the bread does two things: it creates more surface area for the filling, and it makes the bread thin enough to seal properly. Unflattened bread creates bulky sandwiches that fall apart. I learned this the hard way when my first batch turned into a crumbly mess.
Use the right pressure. Too much pressure tears the bread. Too little leaves gaps. The sweet spot is firm but gentle—think of it as a firm handshake, not a death grip. You’ll develop a feel for it after the first sandwich.
Work in batches. Don’t try to make all four sandwiches at once. Assemble them one at a time, pressing and sealing each before moving to the next. This prevents the bread from drying out and ensures even pressing.
The freezer is your friend. These sandwiches actually taste better after freezing. The flavors meld together, and the bread softens slightly, creating that signature Uncrustable texture. Don’t skip the freezer step—it’s not just for storage, it’s for flavor development.
Label your bags. I write the date and filling on each freezer bag with a sharpie. After a month, you won’t remember which sandwiches have strawberry jelly and which have grape. Trust me on this.
Variations & Adaptations
One of the best things about this recipe is how easy it is to customize. Here are some variations I’ve tried and loved:
Nut-Free Version: Swap the peanut butter for sunflower seed butter or WowButter. These spread similarly and seal just as well. My nephew has a classmate with nut allergies, and these have been a lifesaver for school events. Just be aware that sunflower seed butter can turn green when baked—not an issue here since these aren’t cooked.
Flavor Twists: Try different jam combinations. Raspberry-peach, blackberry-apple, or even fig jam with cream cheese. My personal favorite is apricot jam with a sprinkle of cinnamon—it tastes like a fancy pastry. For a savory version, use cream cheese and cucumber slices, though these don’t freeze as well.
Dietary Adaptations: Gluten-free bread works, but it’s more fragile. Press very gently and expect a few casualties. I’ve had best results with Schär brand gluten-free bread. For low-carb options, use keto bread—it seals differently but still works. Just be prepared for a slightly different texture.
Honey Cinnamon Variation: Mix 2 tablespoons of honey with 1/4 teaspoon of cinnamon, then spread it instead of jelly. This creates a warm, cozy flavor that kids love. I make these for my nephew’s sleepovers, and they disappear instantly.
Chocolate Dream: Swap the jelly for chocolate hazelnut spread. Use 2 tablespoons per sandwich, and add a few banana slices if you’re feeling adventurous. These freeze beautifully and taste like dessert for lunch.
Seasonal Options: In summer, use fresh berries mashed with a little sugar instead of jelly. In fall, try apple butter or pumpkin butter. These seasonal versions add variety and use up whatever fruit is in season.
Serving & Storage Suggestions
These sandwiches are designed for convenience, but a few tips make them even better:
Serving Temperature: Thaw at room temperature for about 1-2 hours before eating. If packing for school lunch, pull one from the freezer in the morning and it’ll be perfectly thawed by lunchtime. No ice pack needed—the bread acts as insulation. For a warm version, microwave for 10-15 seconds, but watch out for hot jelly spots.
Presentation Ideas: Cut the sandwiches into fun shapes using cookie cutters. Stars, hearts, or dinosaurs make lunch more exciting. My kids love the star-shaped ones, and they’re no extra work. Just press the cutter firmly and remove the excess bread.
Storage Instructions: Keep frozen for up to 3 months in a sealed freezer bag. Thawed sandwiches should be eaten within 24 hours. Don’t refreeze thawed sandwiches—the texture gets weird and the bread becomes soggy.
Reheating Methods: For a crispy exterior, toast a thawed sandwich in a pan with a little butter for 2 minutes per side. This creates a golden, crunchy crust that’s completely different from the original but absolutely delicious. My husband prefers them this way.
Flavor Development Over Time: These sandwiches actually improve after a week in the freezer. The flavors meld together, and the bread takes on that soft, slightly chewy texture that makes Uncrustables so addictive. I make a double batch every month and rotate through flavors.
Packing Tips: Write your child’s name on the parchment paper with a marker—it prevents lunch mix-ups and adds a personal touch. I also include a small napkin, since these can get sticky when they thaw.
Nutritional Information & Benefits
Here’s the approximate nutritional breakdown for one sandwich (using white bread, peanut butter, and strawberry jelly):
| Nutrient | Amount |
|---|---|
| Calories | 320 |
| Total Fat | 16g |
| Saturated Fat | 3g |
| Carbohydrates | 38g |
| Fiber | 2g |
| Sugar | 16g |
| Protein | 10g |
| Sodium | 320mg |
These quick 5-minute Uncrustable sandwiches provide a good balance of protein, healthy fats, and carbohydrates to keep kids energized through the school day. The peanut butter offers plant-based protein and heart-healthy monounsaturated fats. The jelly provides quick energy from natural fruit sugars.
For dietary considerations: This recipe contains peanuts and gluten. For nut-free options, use sunflower seed butter. For gluten-free, use certified gluten-free bread. Always check labels if serving to children with allergies.
From a wellness perspective, I love that these sandwiches are portion-controlled. Store-bought versions often have added preservatives and high fructose corn syrup. Making them at home means you control the ingredients—no mystery additives, just real food.
Conclusion
These copycat Uncrustable sandwiches have genuinely changed our lunch routine. What started as a Sunday evening chore has become a five-minute task I actually look forward to. The best part? Watching my nephew’s face light up when he opens his lunchbox and sees a sandwich we made together. That’s worth more than any store-bought version could offer.
I encourage you to make these your own—try different fillings, experiment with bread types, and find what works for your family. Maybe you’ll discover your own hack, like my nephew did with the glass jar. That’s the beauty of cooking, honestly. There’s always room to improve, and sometimes the best ideas come from the most unexpected places.
Have you tried making these? I’d love to hear about your variations and successes. Drop a comment below sharing your favorite filling combination or any tips you’ve discovered. And if you’re looking for more lunchbox ideas, check out our healthy school lunch ideas for more inspiration. Happy sandwich-making, friends!
Frequently Asked Questions
Can I use whole wheat bread instead of white bread?
Yes, whole wheat bread works, but it’s denser and may not seal as tightly. Press gently and expect a slightly different texture. I’ve had good results with soft whole wheat sandwich bread, but avoid crusty artisan loaves—they’re too firm to seal properly.
How long do these sandwiches last in the freezer?
Up to 3 months when stored properly in a sealed freezer bag. After that, the bread may develop freezer burn or ice crystals. I recommend making a month’s supply at a time and rotating through flavors.
Can I make these without a rolling pin or jar?
Absolutely. Use your hands to gently press the bread flat, or use a clean wine bottle. The key is even pressure—anything with a flat, smooth surface works. I’ve even used a heavy book wrapped in plastic wrap in a pinch.
Why did my sandwich fall apart after thawing?
This usually happens when the edges weren’t sealed properly. Make sure you leave a 1/2-inch border when spreading the filling, and press firmly around the entire edge. Also, don’t overfill—too much jelly creates weak spots in the seal.
Can I use natural peanut butter for this recipe?
You can, but it’s riskier. Natural peanut butter has more oil, which can seep into the bread and prevent a good seal. If using natural peanut butter, stir it well and spread it thinly. I recommend sticking with processed peanut butter for best results.
Pin This Recipe!
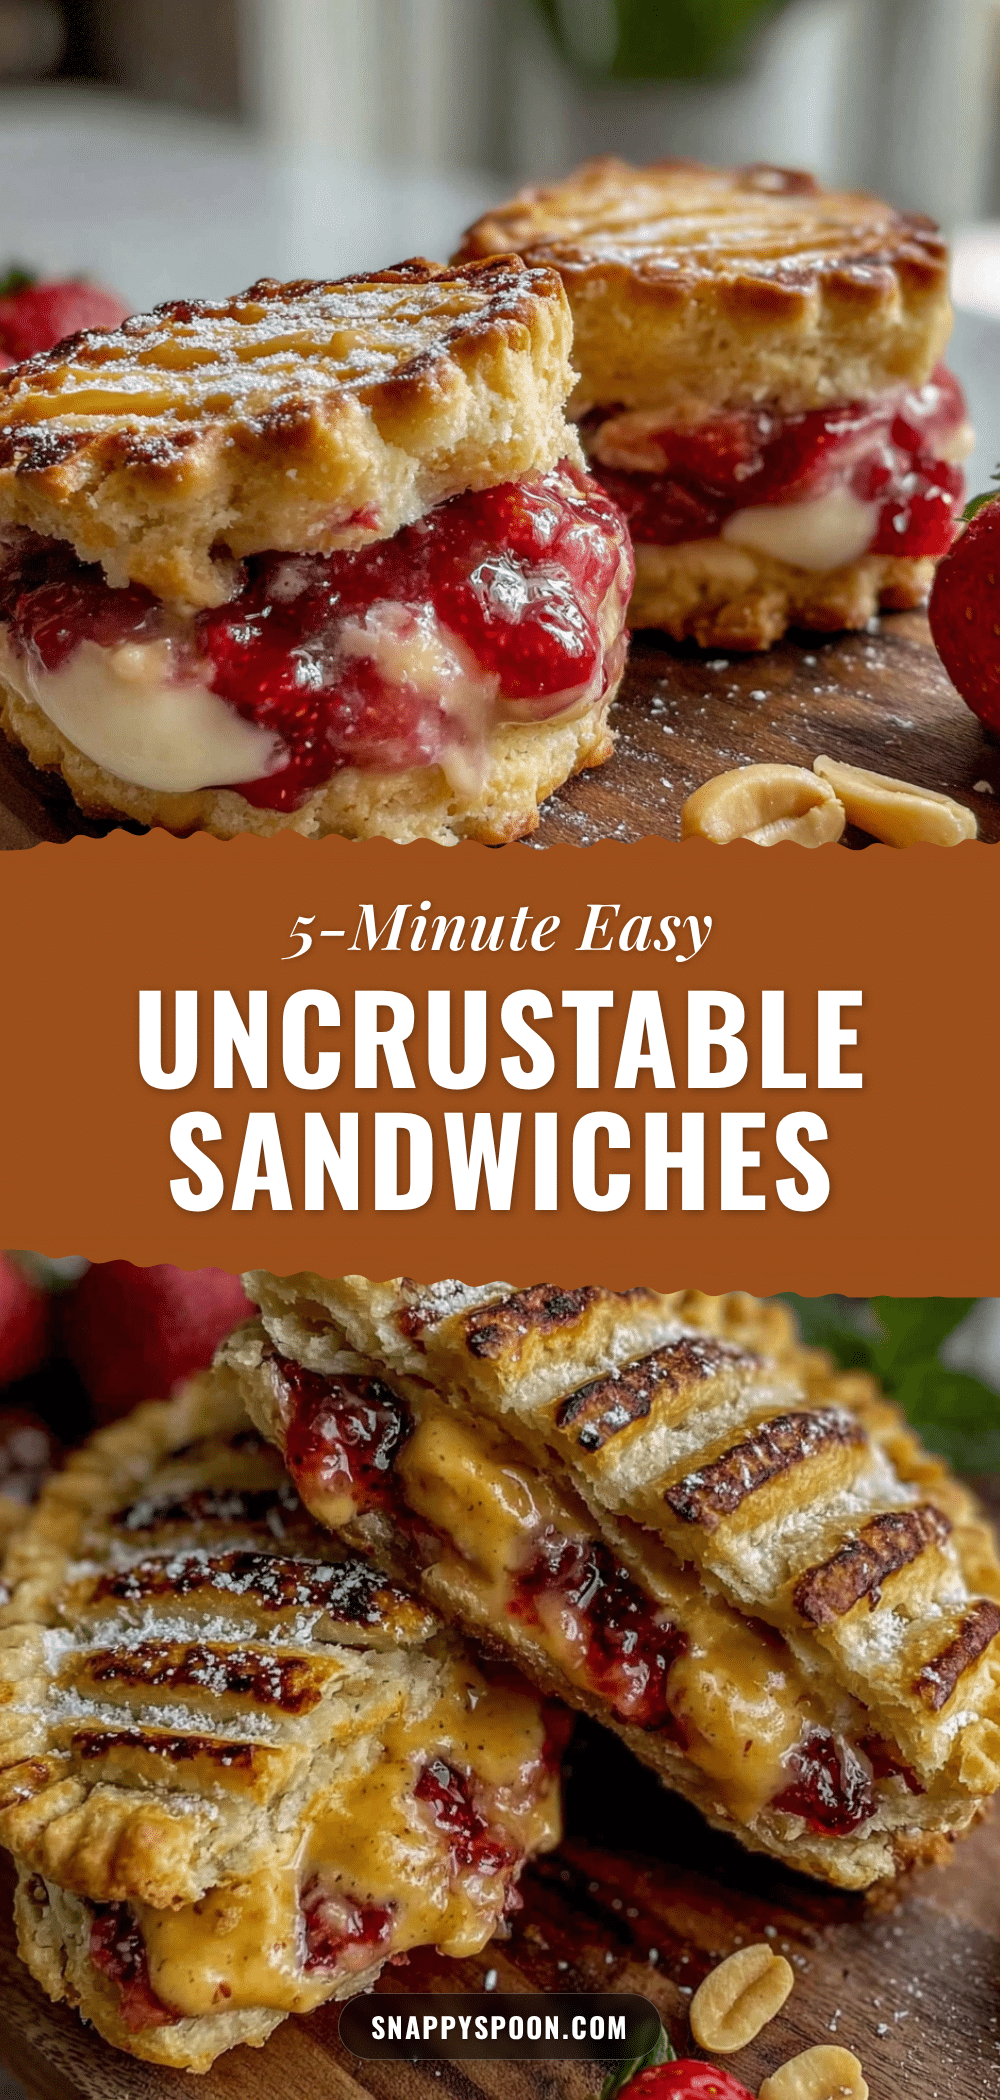
Quick 5-Minute Uncrustable Sandwiches Best School Lunch Hack

These quick 5-minute Uncrustable sandwiches are a copycat version of the store-bought favorite, made with simple ingredients and a clever jar trick for perfect sealing. They’re budget-friendly, customizable, and perfect for school lunches.
- Prep Time: 5 minutes
- Cook Time: 0 minutes
- Total Time: 5 minutes
- Yield: 4 servings 1x
- Category: Lunch
- Cuisine: American
Ingredients
- 8 slices white bread (preferably Sara Lee or Wonder Bread)
- 1/2 cup creamy peanut butter (Jif or Skippy recommended)
- 1/2 cup strawberry jelly or jam (Smucker’s preferred)
- 1 tablespoon butter, softened (optional, for toasting)
Instructions
- Flatten the bread slices: Lay out all 8 slices of bread on a cutting board. Using a rolling pin or clean glass jar, gently roll over each slice until it’s about 1/4 inch thick. Press evenly—you want the bread thin but not transparent.
- Spread the peanut butter: Take 4 slices of the flattened bread. Spread about 2 tablespoons of peanut butter on each, leaving a 1/2-inch border around the edges.
- Add the jelly: Spoon about 2 tablespoons of jelly on top of the peanut butter on those same 4 slices. Spread it gently, keeping it inside the peanut butter border.
- Top with remaining bread: Place the remaining 4 flattened bread slices on top, pressing down lightly to adhere.
- Seal the edges: Take your glass jar or rolling pin and press firmly around the edges of each sandwich. Start from the center and work outward. For extra security, run your finger along the edges to check for gaps.
- Cut off the crusts: Using a small bowl or round cookie cutter, press down firmly in the center of each sandwich to cut a perfect circle. Save the crusts for breadcrumbs or croutons.
- Wrap individually: Cut 4 squares of parchment paper, about 6×6 inches each. Wrap each sandwich tightly, twisting the ends like a candy wrapper.
- Freeze: Place the wrapped sandwiches in a freezer bag, squeeze out the air, and seal. Freeze for at least 2 hours before packing in lunches. They’ll keep for up to 3 months.
Notes
For best results, use room temperature bread. Don’t overfill the sandwiches—2 tablespoons each of peanut butter and jelly is the sweet spot. Work quickly to prevent the bread from drying out. The sandwiches actually taste better after freezing as the flavors meld together.
Nutrition
- Serving Size: 1 sandwich
- Calories: 320
- Sugar: 16
- Sodium: 320
- Fat: 16
- Saturated Fat: 3
- Carbohydrates: 38
- Fiber: 2
- Protein: 10
Keywords: uncrustable, copycat uncrustable, school lunch, peanut butter and jelly, PB&J, freezer sandwich, quick lunch, kid-friendly