Love this? Save it for later!
Share the inspiration with your friends
The neighborhood pumpkin-carving party was in four hours and I’d completely forgotten I was supposed to bring dessert. Everyone else would be showing up with those elaborate Pinterest-perfect pies they’d spent all day on, and I had a can of pumpkin puree, a box of yellow cake mix, and about twenty minutes before I needed to leave. Honestly, I almost just grabbed a bag of store-bought cookies on the way out. But then I remembered this easy caramel pumpkin dump cake my aunt had thrown together one Thanksgiving when the turkey took way longer than expected. It saved her that day, and let me tell you, it saved me too.
I dumped the pumpkin into a baking dish—no mixer, no bowl, no fuss—and started layering. Cake mix on top, then pats of butter, then a generous drizzle of caramel sauce. I slid it into the oven, crossed my fingers, and ran to change out of my flour-dusted jeans. By the time everyone was huddled around the fire pit with their carved pumpkins, this golden, bubbly dessert was cooling on the counter. People took one bite and actually stopped mid-conversation. Someone asked for the recipe before I could even say it was a dump cake. I mean, I was a little embarrassed it was so simple, but honestly? That caramel pumpkin dump cake disappeared faster than the chili. It’s the kind of dessert that makes you look like a hero when you barely did anything at all. Maybe you’ve been there—scrambling at the last minute with a pantry that looks empty but somehow isn’t. That’s exactly when this recipe saves the day.
Why You’ll Love This Recipe
This isn’t just another pumpkin dessert. It’s the one that makes you wonder why you ever bothered with complicated layer cakes or finicky pie crusts. I’ve tested this easy caramel pumpkin dump cake more times than I can count, tweaking the butter distribution and the caramel-to-pumpkin ratio until it was absolutely perfect. Here’s why it works so well:
- Quick & Easy: From pantry to oven in under 10 minutes. No electric mixer, no rolling pin, no dirtying a dozen bowls. It’s the definition of dump-and-bake.
- Simple Ingredients: You need exactly five things—pumpkin puree, sweetened condensed milk, yellow cake mix, butter, and caramel sauce. Chances are you already have most of them.
- Perfect for Fall Gatherings: Whether it’s a last-minute potluck, a Thanksgiving potluck, or a cozy weeknight craving, this dessert fits right in. It travels well, too.
- Crowd-Pleaser: I’ve served this to everyone from picky toddlers to my uncle who “doesn’t do sweets.” The pan comes back empty every single time.
- Unbelievably Delicious: The top gets crispy and buttery, the middle stays soft and pumpkin-spiced, and the caramel seeps into everything. It’s like a pumpkin bar and a crumble had a baby.
What makes this recipe different from all the other pumpkin dump cakes out there? It’s the caramel. Most versions stop at the cake mix and butter, but that extra drizzle of caramel sauce right before baking creates pockets of gooey sweetness that make every bite feel special. Plus, I’ve learned the hard way that the way you layer the ingredients matters—dump the cake mix too aggressively and it mixes into the pumpkin layer before it bakes. I’ll show you exactly how to avoid that. This is comfort food at its most forgiving, and it’s the kind of dessert that makes you close your eyes after the first bite.
What Ingredients You Will Need
This recipe uses simple, wholesome ingredients to deliver bold flavor and satisfying texture without the fuss. Most of these are pantry staples, especially if you keep a can of pumpkin on hand during the fall months.
- 1 can (15 oz) pumpkin puree (not pumpkin pie filling—make sure it’s 100% pure pumpkin)
- 1 can (14 oz) sweetened condensed milk (adds richness and sweetness to the pumpkin layer)
- 1 box (15.25 oz) yellow cake mix (I prefer Duncan Hines or Betty Crocker for consistent texture)
- 1/2 cup salted butter, cold and sliced into thin pats (unsalted works too, just add a pinch of salt to the cake mix layer)
- 1/2 cup caramel sauce, plus more for drizzling (store-bought is fine—I like the one from the ice cream aisle, or use homemade if you’re feeling ambitious)
Optional additions:
- 1 teaspoon pumpkin pie spice (if your cake mix isn’t spiced)
- 1/2 cup chopped pecans or walnuts (sprinkle on top before baking for crunch)
- A pinch of flaky sea salt on top (trust me on this one—it makes the caramel pop)
Ingredient selection tips: Look for a pumpkin puree that’s thick and dark orange—avoid anything that looks watery or pale. For the caramel sauce, avoid the super-thin kind meant for coffee; you want something thick enough to hold its shape when drizzled. If you’re dairy-free, you can use a plant-based butter stick and a dairy-free caramel sauce, though the texture will be slightly less crisp on top.
Substitution guidance: You can swap the yellow cake mix for a spice cake mix or even a gluten-free yellow cake mix if needed. The spice cake version adds extra warmth and pairs beautifully with the caramel. If you’re cutting sugar, use a sugar-free cake mix and a sugar-free caramel sauce—the condensed milk is harder to replace, but a can of coconut cream mixed with a few tablespoons of maple syrup can work in a pinch.
Equipment Needed
The beauty of this easy caramel pumpkin dump cake is that you barely need anything special. Here’s what you’ll need to pull this off:
- 9×13-inch baking dish (glass or ceramic works best—metal can sometimes cause the bottom to brown too quickly)
- Mixing bowl (just one, for whisking the pumpkin and condensed milk)
- Whisk or spatula
- Cutting board and knife (for slicing the butter into pats)
- Measuring spoons (if you’re adding extra spices)
That’s it. No stand mixer, no food processor, no sifter. I’ve made this in a disposable aluminum pan for camping trips, and it worked beautifully. The only tip I’ll offer is to use a glass dish if you have one—you can see the caramel bubbling up the sides, which is oddly satisfying. If you don’t have a 9×13, you can use a slightly smaller dish (just watch the bake time) or even a cast-iron skillet for a rustic look.
Preparation Method
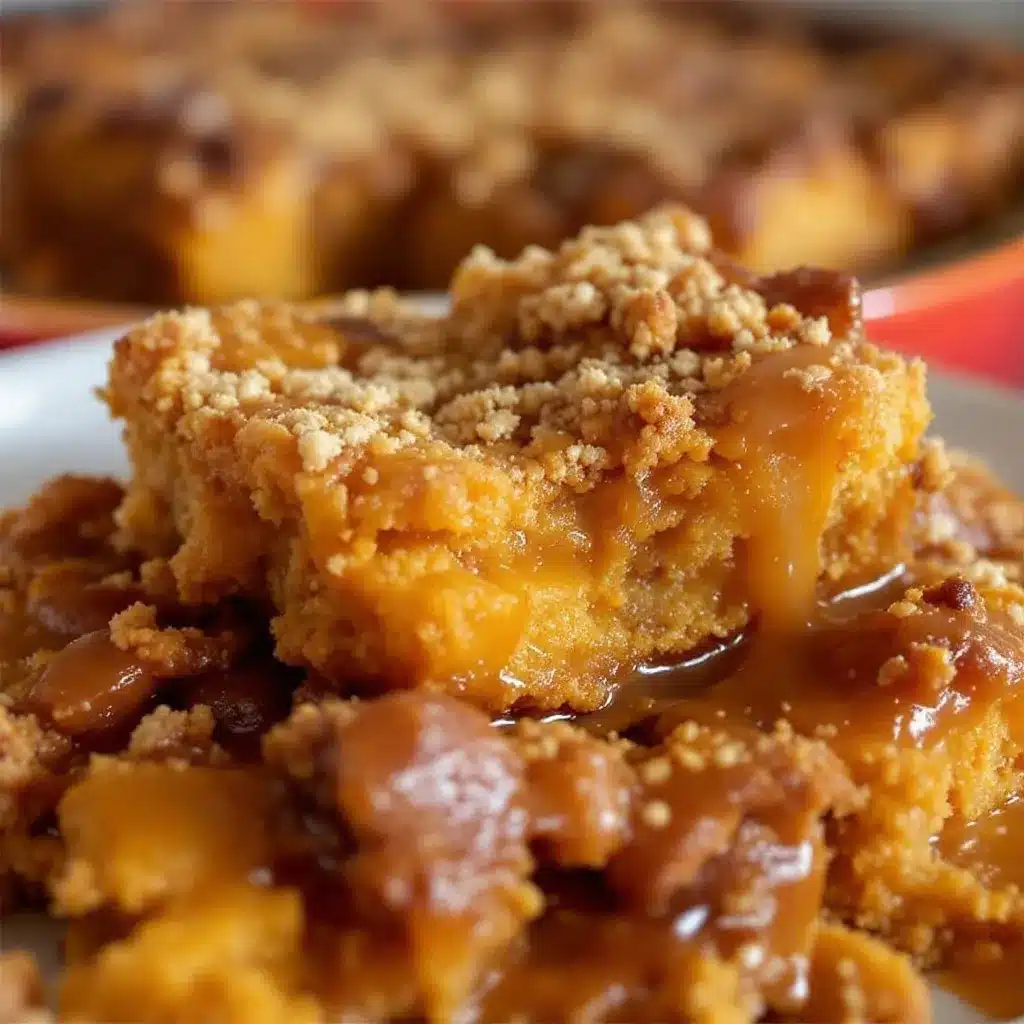
Let me walk you through this step by step. I’ve made this easy caramel pumpkin dump cake probably a dozen times, and I’ve learned a few tricks along the way.
- Preheat your oven to 350°F (175°C). Lightly grease your 9×13-inch baking dish with butter or non-stick spray. Don’t skip this—even with all that butter on top, the pumpkin layer can stick if the dish isn’t prepped.
- In a medium mixing bowl, whisk together the pumpkin puree and sweetened condensed milk until smooth and fully combined. It should look like a thick, creamy orange custard. If you’re adding pumpkin pie spice, whisk it in now. This is the only bowl you’ll dirty, so savor it.
- Spread the pumpkin mixture evenly into the prepared baking dish. Use a spatula to smooth it out to the edges. Don’t worry if it looks thin—it will puff up slightly as it bakes and the cake layer will add plenty of volume.
- Sprinkle the dry cake mix evenly over the pumpkin layer. This is the trickiest part. Don’t dump it all in one spot and try to spread it—you’ll end up with clumps of dry mix. Instead, sprinkle it slowly and evenly, like you’re seasoning a steak. Make sure every inch of the pumpkin is covered. I usually tilt the dish and tap it gently to settle the powder.
- Place the thin pats of cold butter evenly over the top of the cake mix. Don’t melt the butter first—cold pats work best because they melt slowly and create those signature crispy, buttery pockets. Space them about an inch apart. It might not look like enough butter, but trust the process. It will spread as it bakes.
- Drizzle the caramel sauce over the top. Don’t pour it all in the center—drizzle in a zigzag pattern so every slice gets a little caramel love. Some will sink into the cake mix, some will sit on top and get all sticky and wonderful.
- Bake for 40-45 minutes, or until the top is golden brown and the edges are bubbly. The center should still have a slight jiggle—it will set as it cools. If the top is browning too fast but the center isn’t done, tent loosely with foil for the last 10 minutes.
- Let it cool for at least 15-20 minutes before serving. I know it’s hard to wait, but this step is crucial. The caramel needs time to thicken, and the layers need to settle. If you dig in too soon, you’ll get a soupy mess. I learned this the hard way at that same pumpkin party—I served it too early and had to apologize for the “pumpkin soup.” It still tasted amazing, but the texture was much better after it rested.
- Drizzle with extra caramel sauce before serving. This is optional but highly recommended. A sprinkle of flaky sea salt takes it over the top.
Cooking Tips & Techniques
Over the years, I’ve made every mistake you can imagine with this recipe. Let me save you the trouble.
The butter distribution matters more than you think. The first time I made this, I just sliced the butter into big chunks and dropped them randomly. Half the top was dry, and the other half was a greasy mess. Now I slice the butter into thin, even pats—about 1/4 inch thick—and space them evenly. Each pat covers about a 2×2-inch area. This ensures every bite gets that buttery, crispy topping.
Don’t overmix the pumpkin layer. Just whisk until it’s combined. Overmixing can incorporate too much air, which makes the pumpkin layer puff up and separate from the cake layer. You want it dense and creamy.
The caramel sinking is normal. Some of the caramel will disappear into the cake mix, and that’s exactly what you want. It creates these hidden pockets of gooey sweetness throughout the dessert. If you want more caramel on top, reserve a tablespoon or two to drizzle after baking.
Watch the edges. The cake mix around the edges of the dish tends to brown faster than the center. If you see it getting too dark, cover the edges with foil strips or just pull the dish out a few minutes early. The residual heat will finish cooking the center.
My biggest failure: I once used a dark metal pan and forgot to adjust the bake time. The bottom burned while the top was still pale. Now I always use a glass or ceramic dish, and I check it at the 35-minute mark just to be safe. Every oven runs a little differently, so trust your eyes and nose more than the timer.
Variations & Adaptations
This easy caramel pumpkin dump cake is incredibly forgiving, so feel free to play around with it. Here are some variations I’ve tried and loved:
- Spice Cake Version: Swap the yellow cake mix for a spice cake mix. The cinnamon, nutmeg, and clove in the mix complement the pumpkin beautifully. Reduce the caramel to 1/4 cup so it doesn’t overpower the spices.
- Nutty Crunch: Sprinkle 1/2 cup of chopped pecans or walnuts over the cake mix before adding the butter. They toast up in the oven and add a wonderful crunch that contrasts with the soft pumpkin layer. I do this every time I serve it at Thanksgiving—it feels a little more special.
- Chocolate Lover’s Twist: Use a chocolate cake mix instead of yellow. The chocolate and pumpkin combination sounds weird, but trust me—it works. Drizzle with salted caramel and you’ve got a dessert that tastes like a fancy bakery item.
- Dairy-Free Adaptation: Use a plant-based butter stick (I like Miyoko’s or Country Crock Plant Butter) and a dairy-free caramel sauce. The texture will be slightly less crisp on top, but it’s still delicious. Make sure your cake mix is dairy-free too—most yellow cake mixes are, but check the label.
- Individual Servings: Divide the mixture into 6-8 ramekins or small oven-safe dishes. Bake for 20-25 minutes instead of 40-45. These are perfect for dinner parties—everyone gets their own little caramel pumpkin dump cake.
Serving & Storage Suggestions
Serving: This dessert is best served warm, about 15-20 minutes after it comes out of the oven. The top should be crispy, the middle soft, and the caramel still slightly runny. I like to serve it straight from the baking dish with a big spoon—it’s that kind of dessert. A scoop of vanilla ice cream or a dollop of whipped cream on top takes it from great to unforgettable. The cold creaminess against the warm, buttery cake is pure magic.
Storage: Cover the baking dish tightly with foil or plastic wrap and store in the refrigerator for up to 5 days. The texture will soften as it sits, but the flavor actually gets better—the pumpkin and caramel have time to meld together. I’ve been known to eat it cold straight from the fridge the next morning with my coffee. No judgment.
Reheating: The best way to reheat individual servings is in the microwave for 20-30 seconds. For a whole dish, pop it back in a 350°F oven for 10-15 minutes, uncovered, to re-crisp the top. If you’re in a rush, the microwave works fine, but the oven does a better job reviving that crunchy topping.
Freezing: This easy caramel pumpkin dump cake freezes beautifully. Let it cool completely, then wrap the entire dish in plastic wrap, followed by a layer of foil. Freeze for up to 3 months. To serve, thaw overnight in the refrigerator and reheat in a 350°F oven until warmed through. I’ve done this for Christmas when I wanted to get ahead on desserts, and no one could tell it wasn’t fresh.
Nutritional Information & Benefits
Let’s be real—this is a dessert, not a health food. But it does have some redeeming qualities. Here’s the estimated nutritional breakdown per serving (based on 12 servings):
- Calories: 380
- Fat: 16g
- Carbohydrates: 56g
- Protein: 5g
- Fiber: 2g
- Sugar: 40g
Health benefits of key ingredients: Pumpkin is packed with vitamin A (over 200% of your daily needs per serving), which supports eye health and immune function. It’s also a good source of fiber, which helps with digestion and keeps you feeling full. The sweetened condensed milk adds calcium, and the butter provides a small amount of vitamin A as well. Is it a superfood? No. But it’s a dessert that happens to have some nutritional perks, and that counts for something in my book.
Dietary considerations: This recipe contains dairy (butter, condensed milk) and gluten (cake mix). For a gluten-free version, use a certified gluten-free yellow cake mix. For a dairy-free version, see the variations section above. It’s naturally egg-free, which is great if you’re avoiding eggs or have an allergy.
I personally love that this dessert feels indulgent but doesn’t leave me feeling overly stuffed or sluggish. It’s rich without being heavy, and a small slice is usually enough to satisfy that pumpkin craving.
Conclusion
This easy caramel pumpkin dump cake is the kind of recipe that makes you look like a kitchen wizard when you barely broke a sweat. It’s simple enough for a Tuesday night craving, impressive enough for a holiday table, and forgiving enough for beginner bakers. The combination of creamy pumpkin, buttery cake, and gooey caramel is honestly irresistible—I’ve yet to meet someone who didn’t ask for seconds.
I hope you give this recipe a try and make it your own. Maybe you’ll add nuts, maybe you’ll swap the caramel for chocolate, maybe you’ll serve it with a giant scoop of ice cream. Whatever you do, I’d love to hear about it. Drop a comment below and tell me how it turned out—did you make any changes? Was it a hit at your gathering? Your feedback helps other readers (and me!) discover new twists on this classic. And if you snap a photo, tag me on social media—I love seeing your creations. Happy baking, friends!
Frequently Asked Questions
Can I use pumpkin pie filling instead of pumpkin puree?
I wouldn’t recommend it. Pumpkin pie filling is already sweetened and spiced, so it will throw off the balance of the recipe. The sweetened condensed milk adds enough sweetness on its own, and using pie filling will make the pumpkin layer overly sweet and mushy. Stick with 100% pure pumpkin puree for the best texture.
Why is my dump cake soupy in the middle?
This usually happens for one of two reasons: either you didn’t bake it long enough, or you didn’t let it cool before serving. The center should have a slight jiggle when it comes out of the oven, but it will set as it cools. Give it at least 15-20 minutes of rest time. If it’s still soupy after that, it might need another 5-10 minutes in the oven. Also, make sure your butter pats are evenly distributed—too much butter in one spot can create a greasy pocket.
Can I make this ahead of time?
Absolutely. You can assemble the entire dish (without baking) up to 24 hours in advance. Just cover it tightly and refrigerate. When you’re ready to bake, add about 5-10 minutes to the bake time since you’re starting from cold. You can also bake it fully, let it cool, and reheat it the next day—the flavor actually gets better after a day in the fridge.
Do I need to refrigerate leftovers?
Yes, because of the dairy in the sweetened condensed milk and butter. Cover the dish tightly and store it in the refrigerator for up to 5 days. You can eat it cold or reheat it—both are delicious. If you’re taking it to a party, it’s fine at room temperature for a few hours, but don’t leave it out overnight.
Can I use a different flavor of cake mix?
Definitely. Yellow cake mix is the classic choice, but spice cake, butter pecan, or even white cake mix work beautifully. Chocolate cake mix creates a surprisingly good combination with the pumpkin and caramel. Just avoid anything with a strong fruit flavor (like lemon or strawberry)—it won’t pair well with the pumpkin.
Pin This Recipe!
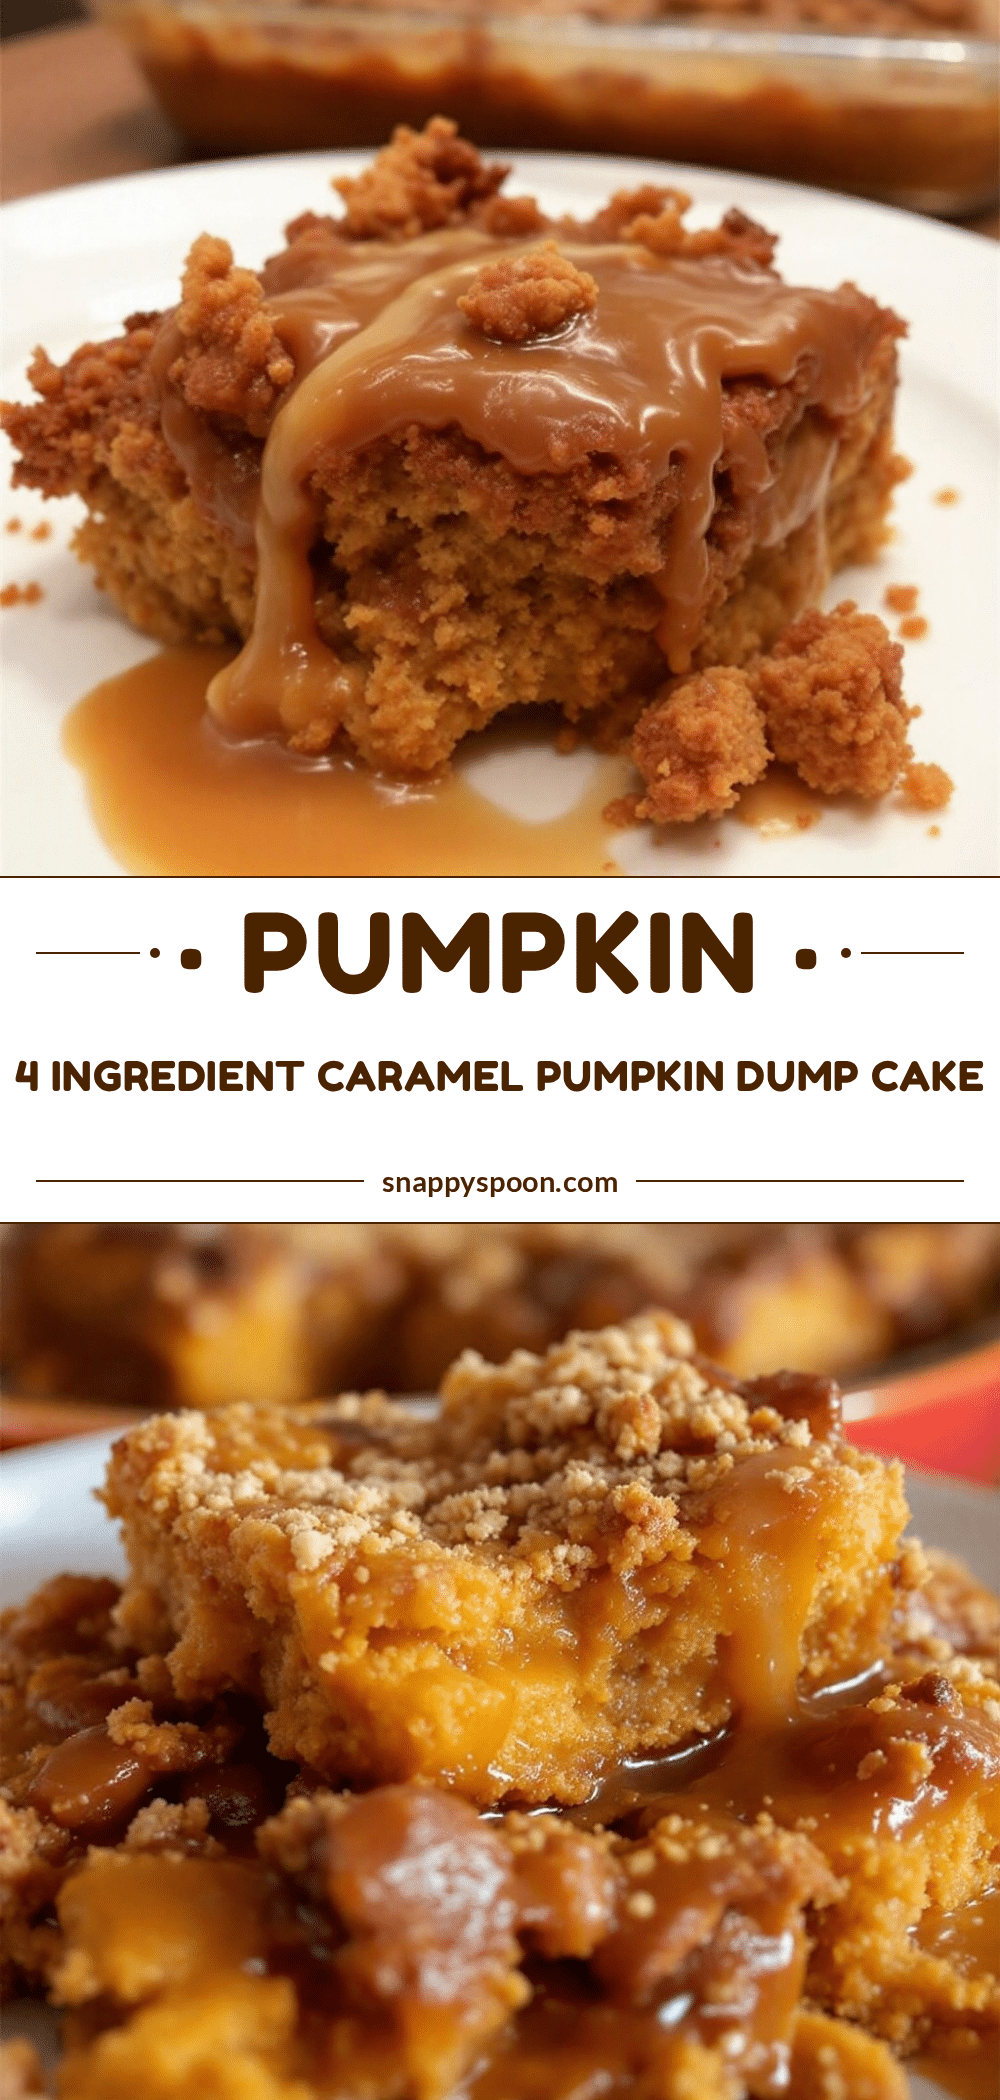
Easy Caramel Pumpkin Dump Cake
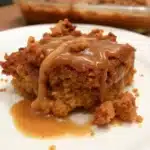
This easy caramel pumpkin dump cake is the perfect last-minute dessert with only 5 ingredients. It’s a dump-and-bake recipe that creates a buttery, crispy top with a soft pumpkin-spiced middle and gooey caramel pockets.
- Prep Time: 10 minutes
- Cook Time: 45 minutes
- Total Time: 55 minutes
- Yield: 12 servings 1x
- Category: Dessert
- Cuisine: American
Ingredients
- 1 can (15 oz) pumpkin puree (not pumpkin pie filling)
- 1 can (14 oz) sweetened condensed milk
- 1 box (15.25 oz) yellow cake mix
- 1/2 cup salted butter, cold and sliced into thin pats
- 1/2 cup caramel sauce, plus more for drizzling
- 1 teaspoon pumpkin pie spice (optional)
- 1/2 cup chopped pecans or walnuts (optional)
- A pinch of flaky sea salt (optional)
Instructions
- Preheat your oven to 350°F (175°C). Lightly grease a 9×13-inch baking dish with butter or non-stick spray.
- In a medium mixing bowl, whisk together the pumpkin puree and sweetened condensed milk until smooth and fully combined. If using, whisk in pumpkin pie spice.
- Spread the pumpkin mixture evenly into the prepared baking dish, smoothing it out to the edges.
- Sprinkle the dry cake mix evenly over the pumpkin layer, covering every inch. Tilt the dish and tap it gently to settle the powder.
- Place the thin pats of cold butter evenly over the top of the cake mix, spacing them about an inch apart.
- Drizzle the caramel sauce over the top in a zigzag pattern.
- Bake for 40-45 minutes, or until the top is golden brown and the edges are bubbly. The center should still have a slight jiggle. If browning too fast, tent loosely with foil for the last 10 minutes.
- Let it cool for at least 15-20 minutes before serving to allow the caramel to thicken and layers to settle.
- Drizzle with extra caramel sauce and sprinkle with flaky sea salt before serving, if desired.
Notes
For best results, use a glass or ceramic baking dish to prevent burning. Cold butter pats create crispy pockets. Let the cake cool for at least 15-20 minutes before serving to avoid a soupy texture. For a gluten-free version, use a certified gluten-free yellow cake mix. For dairy-free, use plant-based butter and dairy-free caramel sauce.
Nutrition
- Serving Size: 1 slice (1/12 of cak
- Calories: 380
- Sugar: 40
- Sodium: 380
- Fat: 16
- Saturated Fat: 9
- Carbohydrates: 56
- Fiber: 2
- Protein: 5
Keywords: pumpkin dump cake, caramel pumpkin dessert, easy fall dessert, 5-ingredient dessert, dump cake recipe