Love this? Save it for later!
Share the inspiration with your friends
My neighbor swore she hated sliders. For years. “They’re just tiny sandwiches that fall apart,” she’d say, wrinkling her nose every time I mentioned making a batch. I mean, I get it. Soggy bread, cold cheese, meat that slides out the back—bad sliders are a genuine disappointment. So I just kept making my version for my own family, not bothering to argue the point.
Then came the Tuesday I found myself staring into a fridge full of leftover turkey from a dinner party I’d hosted three nights prior. Honestly, I was tired. The last thing I wanted was another turkey sandwich. But I had those soft Hawaiian rolls sitting there, and a block of Swiss cheese, and suddenly the idea of tiny, buttery, toasty sliders felt like the only thing that made sense. I threw them together, brushed them with a little garlic butter, and popped them in the oven.
About twenty minutes later, I heard a knock. It was my neighbor, drawn by the smell that had drifted right through the wall. She stood there, a little embarrassed, and asked what that was. I handed her a warm slider before she could say no. She took a bite, and you know that moment when someone’s entire worldview shifts in a single mouthful? That happened. She didn’t say much, just finished the slider and asked for the recipe. That was three years ago, and she still texts me every Thanksgiving asking if I’m making “those little turkey things.” This version—the one I’m sharing today—is the one that finally won her over. It’s the one I keep coming back to because it’s forgiving, it’s fast, and honestly? It makes you look like you planned way ahead when you really didn’t.
Why You’ll Love This Recipe
Let me tell you, I’ve tested this recipe more times than I care to count. I’ve made it with fresh rolls, day-old rolls, and even slightly stale rolls that I revived with a spritz of water. I’ve baked it right away and I’ve frozen it for a month. The result is always the same—perfectly melty cheese, tender turkey, and a buttery, golden-brown top that shatters just a little when you bite into it. Here’s what makes it a winner:
- Quick & Easy: From start to finish, these sliders take about 25 minutes. If you’re prepping them for the freezer, it’s only 10 minutes of active work.
- Simple Ingredients: You probably have everything you need already. Hawaiian rolls, deli turkey, Swiss cheese, butter, and a few pantry staples. No fancy grocery trip required.
- Perfect for Meal Prep: Make a batch, freeze them, and pull out as many as you need for lunches, snacks, or last-minute dinners.
- Crowd-Pleaser: I’ve brought these to potlucks, game day parties, and even a casual book club meeting. They disappear every single time.
- Unbelievably Delicious: The secret is in the butter sauce. It soaks into the rolls just enough to make them soft and rich, but the tops stay crisp and golden.
What makes these different from every other slider recipe out there? It’s the method. Instead of just brushing butter on top, I make a quick garlic butter sauce that gets brushed over the tops and also drizzled between the rolls. It seeps into every crevice, so every bite is flavorful, not dry. Plus, they freeze beautifully—something I learned the hard way after a few failed attempts with soggy, freezer-burned sliders. This version comes out of the oven tasting just as fresh as the day you made it.
This recipe isn’t just good—it’s the kind that makes you close your eyes after the first bite. It’s comfort food reimagined. Faster, easier, but with the same soul-soothing satisfaction. Perfect for impressing guests without stress, or turning a simple Tuesday night into something memorable.
What Ingredients You Will Need
This recipe uses simple, wholesome ingredients to deliver bold flavor and satisfying texture without the fuss. Most of these are pantry staples, and the rest are easy to find at any grocery store.
- Hawaiian sweet rolls (12-count package, such as King’s Hawaiian) – These are the foundation. Their soft, slightly sweet texture is perfect for soaking up the butter sauce without getting mushy.
- Deli turkey (1 pound, thinly sliced) – I prefer oven-roasted turkey for its mild flavor, but smoked turkey works beautifully too. For the best texture, ask for it sliced fresh at the deli counter rather than buying pre-packaged.
- Swiss cheese (8 slices) – Swiss melts beautifully and has a nutty flavor that pairs perfectly with turkey. You can substitute provolone or havarti if you prefer.
- Unsalted butter (1/2 cup, 1 stick, melted) – Unsalted gives you control over the salt level. If you only have salted butter, reduce the added salt in the sauce.
- Dijon mustard (1 tablespoon) – Adds a tangy kick that cuts through the richness. Whole grain mustard works great too.
- Worcestershire sauce (1 teaspoon) – This is the secret depth-maker. Don’t skip it.
- Garlic powder (1/2 teaspoon) – I use powder instead of fresh garlic here because it distributes more evenly and doesn’t burn under the broiler.
- Onion powder (1/2 teaspoon) – Adds savory undertones without overpowering the other flavors.
- Poppy seeds (1 tablespoon) – Optional, but I love the little crunch they add. You can substitute sesame seeds or omit them entirely.
- Salt and black pepper (to taste) – A pinch of each in the butter sauce is all you need.
For the freezer method, you’ll also need aluminum foil and a freezer-safe baking dish or heavy-duty zip-top bags.
Equipment Needed
You don’t need any fancy gadgets for this recipe, which is part of why I love it. Here’s what you’ll need:
- 9×13-inch baking dish – A glass or ceramic dish works best. Metal pans can sometimes cause the bottoms to brown too quickly.
- Sharp knife or serrated knife – For cutting the entire slab of rolls in half horizontally. A serrated knife gives you the cleanest cut without squishing the rolls.
- Small bowl – For whisking together the butter sauce.
- Pastry brush – For brushing the butter sauce onto the rolls. A silicone brush is easiest to clean.
- Aluminum foil – Essential for the freezer method and for covering the sliders while they bake.
If you don’t have a pastry brush, you can use a spoon to drizzle the butter sauce over the rolls. It won’t be as even, but it’ll still taste great. And if you don’t have a 9×13 dish, a rimmed baking sheet works in a pinch—just make sure the sliders fit snugly so the sauce doesn’t run off.
Preparation Method
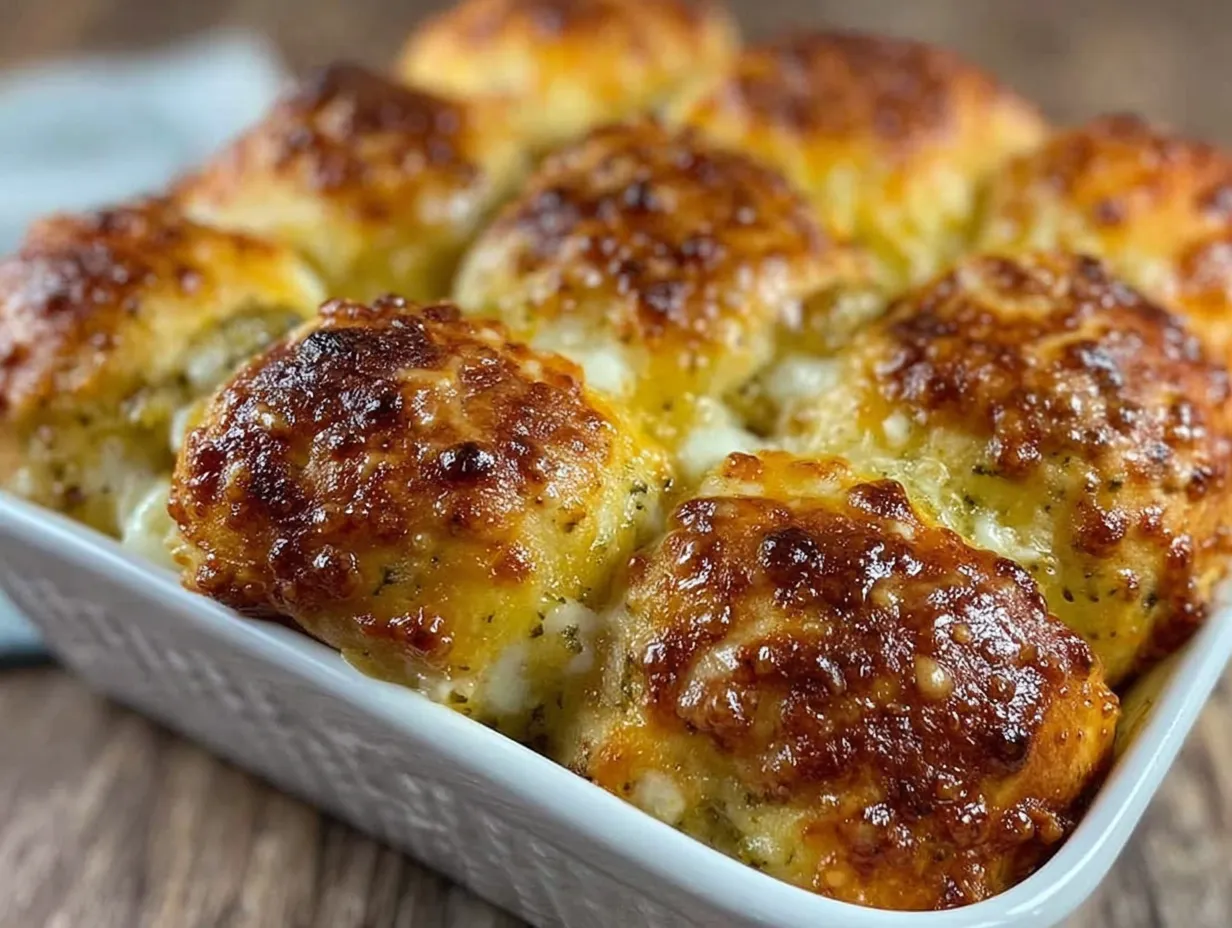
Let’s get cooking. This method works for both immediate baking and freezer prep, so I’ll note the differences as we go.
-
Preheat your oven to 350°F (175°C). If you’re freezing the sliders, skip this step for now.
-
Prepare the butter sauce. In a small bowl, whisk together the melted butter, Dijon mustard, Worcestershire sauce, garlic powder, onion powder, and a pinch of salt and pepper. Set aside.
-
Slice the rolls. Keeping the slab of rolls intact, use a serrated knife to carefully cut the entire block in half horizontally. You want a top half and a bottom half. Don’t separate the individual rolls—keep them connected. This is the trick to keeping everything together.
-
Layer the bottom half. Place the bottom half of the rolls in your greased 9×13 baking dish. Arrange the slices of Swiss cheese evenly over the bottom half. I like to slightly overlap them so every bite gets cheese.
-
Add the turkey. Layer the sliced turkey evenly over the cheese. Don’t pile it too thick—you want a generous but even layer. About 1 pound is perfect for 12 sliders.
-
Top with more cheese. Place the remaining slices of Swiss cheese over the turkey. This double-cheese layer is what gives you that gorgeous, gooey pull when you bite into a slider.
-
Place the top half. Gently place the top half of the rolls over the filling, cut side down. Press down lightly to help everything settle.
-
Brush with butter sauce. Use your pastry brush to generously brush the entire top surface of the rolls with the butter sauce. Make sure you get the edges and the crevices between the rolls. If you have extra sauce, drizzle it down the sides of the slab so it seeps into the layers.
-
Sprinkle with poppy seeds. If using, sprinkle the poppy seeds evenly over the top. This is optional, but I love the visual appeal and the tiny crunch.
-
Cover and bake. Cover the dish with aluminum foil and bake for 15 minutes. Then remove the foil and bake for another 5-7 minutes, until the tops are golden brown and the cheese is bubbly. If you want extra-crispy tops, switch the oven to broil for the last 1-2 minutes—but watch them closely so they don’t burn.
-
Rest and serve. Let the sliders rest in the dish for 5 minutes before cutting. This allows the cheese to set slightly so the sliders hold their shape. Use a sharp knife to cut along the individual roll lines. Serve warm.
For the freezer method: Follow steps 1-9, but instead of baking, cover the dish tightly with two layers of aluminum foil. Label and date it, then freeze for up to 3 months. When you’re ready to bake, you have two options:
- Bake from frozen: Place the frozen, covered dish in a cold oven. Set the oven to 350°F (175°C) and bake for 30 minutes. Remove the foil and bake for another 10 minutes until golden and bubbly.
- Thaw first: Transfer the dish to the refrigerator and thaw overnight. Then bake as directed, adding 5 minutes to the covered baking time.
Cooking Tips & Techniques
I’ve made these sliders more times than I can count, and I’ve learned a few things along the way—mostly through my own mistakes.
Don’t skip the foil. The first time I made these, I thought I’d save time by baking them uncovered the whole time. The tops got beautifully brown, but the cheese inside wasn’t fully melted, and the rolls were dry. The foil traps steam, which gently melts the cheese and softens the rolls without making them soggy.
Let them rest. I know it’s tempting to dive right in, but those 5 minutes of resting are crucial. The cheese needs a moment to set, otherwise everything slides apart when you try to pick up a slider. Trust me on this—I’ve served sloppy sliders more than once because I was impatient.
Make extra butter sauce. If you think you might need more, double the sauce recipe. You can always store extra in the fridge for another batch. Sometimes the rolls absorb more than expected, especially if they’re a day or two old.
Use room temperature ingredients. Let the butter melt and cool slightly before mixing the sauce. If the butter is too hot, it can cause the Worcestershire sauce to separate. And if your turkey is straight from the fridge, let it sit out for 10 minutes before assembling—it’ll heat through more evenly.
Watch the broiler. If you decide to broil the tops at the end, don’t walk away. I’ve burned more batches than I’d like to admit because I got distracted by a text message. Broilers work fast. Thirty seconds can be the difference between golden perfection and charcoal.
Variations & Adaptations
One of the best things about this recipe is how flexible it is. Here are a few variations I’ve tried and loved:
- Turkey and Cranberry: Spread a thin layer of whole-berry cranberry sauce on the bottom half of the rolls before adding the cheese. It adds a sweet-tart pop that’s perfect for using up holiday leftovers.
- Spicy Southwest: Swap the Swiss cheese for pepper jack, add a layer of pickled jalapeños, and use smoked turkey. Brush the tops with a mixture of butter and hot honey instead of the classic sauce.
- Vegetarian Version: Replace the turkey with thinly sliced roasted portobello mushrooms or a layer of crispy tofu. Use the same cheese and sauce—it’s hearty enough that even meat-eaters won’t miss the turkey.
- Gluten-Free: Use gluten-free Hawaiian rolls or any soft gluten-free slider buns. The rest of the ingredients are naturally gluten-free, just double-check the Worcestershire sauce label.
- Low-Carb: Skip the rolls entirely and use large lettuce cups or low-carb tortillas cut into slider-sized rounds. You’ll lose a bit of the buttery roll magic, but the filling is still delicious.
My personal favorite variation? I once added a thin layer of caramelized onions under the cheese. It took an extra 20 minutes, but honestly, it was the best batch I’ve ever made. The sweetness of the onions against the salty turkey and nutty Swiss—perfection.
Serving & Storage Suggestions
These sliders are best served warm, straight from the oven. I like to arrange them on a large platter with a small bowl of extra Dijon mustard for dipping. They’re fantastic on their own, but they also pair beautifully with a simple side salad, a bowl of tomato soup, or some crunchy pickles on the side.
Refrigerator: Store leftover sliders in an airtight container in the fridge for up to 4 days. To reheat, wrap them in foil and warm them in a 350°F (175°C) oven for 10 minutes. You can also microwave them, but the rolls will be softer and less crispy.
Freezer: As I mentioned, these freeze beautifully. If you have leftover baked sliders, wrap each one individually in plastic wrap, then place them in a freezer bag. They’ll keep for up to 2 months. Reheat from frozen in a 350°F (175°C) oven for 15 minutes.
Make-Ahead Tip: You can assemble the sliders up to 24 hours in advance and keep them covered in the fridge. Just add 5 minutes to the covered baking time to account for the cold start.
One thing I’ve noticed—the flavors actually deepen overnight. The butter sauce continues to soak into the rolls, making them even more flavorful the next day. So if you can resist eating them all fresh, the leftovers are a real treat.
Nutritional Information & Benefits
Here’s the estimated nutritional breakdown per slider (based on 12 servings):
- Calories: 320
- Protein: 18g
- Fat: 18g
- Carbohydrates: 24g
- Fiber: 1g
- Sugar: 8g
- Sodium: 680mg
These sliders are a good source of protein from the turkey and cheese, which helps keep you full and satisfied. Swiss cheese is also rich in calcium and vitamin A. If you’re watching your sodium, you can use low-sodium turkey and reduce the added salt in the butter sauce.
For a lighter option, you can use reduced-fat cheese and a butter substitute, but honestly, the full-fat version is where the magic happens. This is comfort food, after all—sometimes you just need the real thing.
Conclusion
These Easy Freezer-Friendly Turkey and Cheese Sliders have become a staple in my kitchen for good reason. They’re quick, they’re forgiving, and they always deliver that warm, melty, buttery satisfaction that makes everyone at the table happy. Whether you’re making them for a crowd, meal-prepping for busy weeks, or just craving something cozy on a Tuesday night, this recipe won’t let you down.
I’d love to hear how yours turn out. Did you try a fun variation? Did you freeze a batch for later? Drop a comment below and let me know—I read every single one, and your ideas might just inspire my next batch. And if you share a photo on Pinterest, tag me so I can see your beautiful sliders. Happy cooking, friends!
Frequently Asked Questions
Can I use chicken instead of turkey?
Absolutely. Thinly sliced deli chicken or shredded rotisserie chicken both work perfectly. The cooking time stays the same.
Do I have to use Hawaiian rolls?
No, but they’re my top recommendation. Their soft, slightly sweet texture is ideal. You can use any soft slider buns or even dinner rolls in a pinch.
Can I add vegetables to these sliders?
Yes. Sautéed spinach, roasted red peppers, or thinly sliced red onions all work well. Just make sure any vegetables are well-drained so they don’t make the rolls soggy.
How do I prevent the bottoms from getting soggy?
Make sure you don’t overdo the butter sauce on the bottom half. Brush it generously on the tops and let it seep down naturally. Also, baking them uncovered for the last few minutes helps dry out any excess moisture.
Can I double this recipe for a crowd?
Yes. Use two 9×13 baking dishes or one large half-sheet pan. Just make sure the sliders fit snugly in a single layer. You may need to add a few minutes to the baking time if the pan is crowded.
Pin This Recipe!
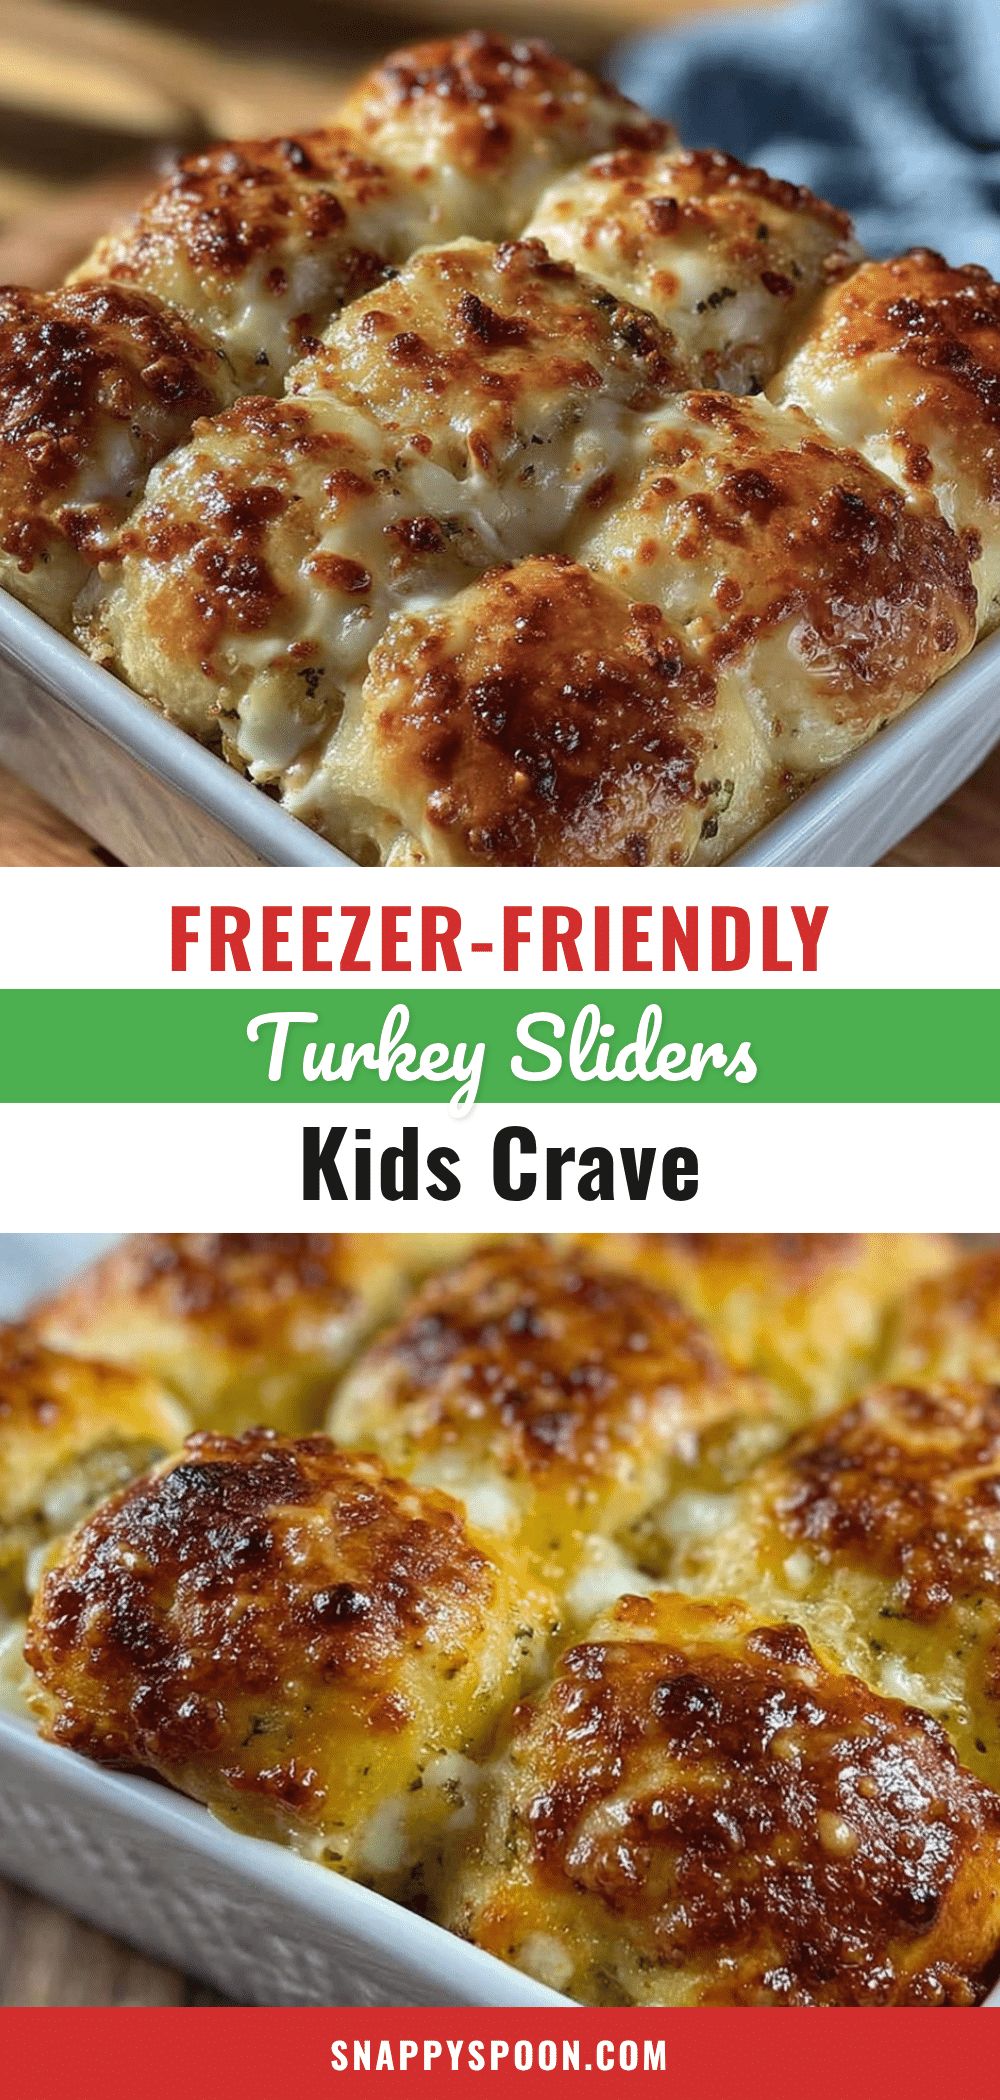
Easy Freezer-Friendly Turkey and Cheese Sliders

These buttery, cheesy turkey sliders are quick to assemble, freezer-friendly, and perfect for meal prep or feeding a crowd. Made with soft Hawaiian rolls, Swiss cheese, and a savory garlic butter sauce, they deliver warm, melty comfort in every bite.
- Prep Time: 10 minutes
- Cook Time: 20 minutes
- Total Time: 30 minutes
- Yield: 12 servings 1x
- Category: Main Course
- Cuisine: American
Ingredients
- 12-count package Hawaiian sweet rolls (such as King’s Hawaiian)
- 1 pound deli turkey, thinly sliced
- 8 slices Swiss cheese
- 1/2 cup (1 stick) unsalted butter, melted
- 1 tablespoon Dijon mustard
- 1 teaspoon Worcestershire sauce
- 1/2 teaspoon garlic powder
- 1/2 teaspoon onion powder
- 1 tablespoon poppy seeds (optional)
- Salt and black pepper to taste
Instructions
- Preheat oven to 350°F (175°C). If freezing, skip this step.
- In a small bowl, whisk together melted butter, Dijon mustard, Worcestershire sauce, garlic powder, onion powder, and a pinch of salt and pepper. Set aside.
- Keeping the slab of rolls intact, use a serrated knife to carefully cut the entire block in half horizontally, creating a top half and a bottom half. Do not separate individual rolls.
- Place the bottom half of the rolls in a greased 9×13-inch baking dish. Arrange 4 slices of Swiss cheese evenly over the bottom half, slightly overlapping.
- Layer the sliced turkey evenly over the cheese.
- Top with the remaining 4 slices of Swiss cheese.
- Gently place the top half of the rolls over the filling, cut side down. Press down lightly.
- Brush the entire top surface of the rolls with the butter sauce, including edges and crevices. Drizzle any extra sauce down the sides.
- If using, sprinkle poppy seeds evenly over the top.
- Cover the dish with aluminum foil and bake for 15 minutes. Remove foil and bake for another 5-7 minutes, until tops are golden brown and cheese is bubbly. For extra-crispy tops, broil for 1-2 minutes, watching closely.
- Let sliders rest in the dish for 5 minutes before cutting along individual roll lines. Serve warm.
- For freezer method: Assemble through step 9, then cover tightly with two layers of foil. Freeze for up to 3 months. To bake from frozen, place covered dish in a cold oven, set to 350°F, and bake 30 minutes. Remove foil and bake 10 more minutes. To thaw first, refrigerate overnight, then bake as directed, adding 5 minutes to covered baking time.
Notes
For best results, do not skip the foil covering—it ensures the cheese melts fully without drying out the rolls. Letting the sliders rest for 5 minutes after baking helps them hold their shape. The butter sauce can be doubled if needed. For a vegetarian version, replace turkey with roasted portobello mushrooms or crispy tofu.
Nutrition
- Serving Size: 1 slider
- Calories: 320
- Sugar: 8
- Sodium: 680
- Fat: 18
- Saturated Fat: 10
- Carbohydrates: 24
- Fiber: 1
- Protein: 18
Keywords: turkey sliders, cheese sliders, freezer-friendly, Hawaiian rolls, easy appetizer, game day food, meal prep