Love this? Save it for later!
Share the inspiration with your friends
This was supposed to be a slow-cooker chili. The kind you simmer all afternoon while the game is on, filling the house with that deep, smoky smell. I had the beans soaking, the ground beef browning, and a big pot ready to go. Then the power went out halfway through. Not the whole house, just the outlet in the kitchen. The stove was dead, the crockpot was useless, and I was already running late for the pre-game gathering at my friend’s place. I stood there staring at a pile of seasoned meat, a block of cheddar, and a bag of tortilla chips feeling completely defeated.
Honestly, I almost gave up and ordered pizza. But I grabbed the biggest baking sheet I owned, dumped the meat on top of a layer of chips, and started piling on everything I could find in the fridge. I mean, I threw black beans on there, a handful of pickled jalapeños, and that sad leftover dollop of sour cream that had been sitting in the back for a week. It was chaos. I slid it into the one working toaster oven—which, let me tell you, is not designed for this level of ambition—and hoped for the best.
What came out was nothing like the plan. And it was better. Way better. That messy, improvised sheet pan of nachos disappeared in about ten minutes flat. People were standing around the coffee table, forks in hand, fighting over the crispy edges. Someone actually asked me for the recipe. The recipe! For a dish I made out of pure desperation.
I’ve made that nacho bar at least a dozen times since that night. It’s become my go-to for any crowd situation—game days, birthday parties, Tuesday nights when I just can’t. It’s forgiving, flexible, and somehow always the star of the show. Maybe you’ve been there, staring at a kitchen fail and wondering how to save the day. Let me tell you, this loaded tailgate nacho bar is your answer.
Why You’ll Love This Recipe
Let’s be real—feeding a crowd is stressful. You want something that feels special but doesn’t chain you to the stove. This loaded tailgate nacho bar checks every box. I’ve tested this setup for everything from Super Bowl parties to family reunions, and it never fails. Here’s why it works.
- Quick & Easy: From fridge to table in under 30 minutes. No layering, no fussing. Just pile, bake, and serve.
- Simple Ingredients: You probably have half of this in your pantry right now. No fancy grocery store runs required.
- Perfect for a Crowd: This scales up beautifully. Double the pan, double the fun. Everyone can build their own plate.
- Crowd-Pleaser: I’ve yet to meet someone who doesn’t love a good loaded nacho. It’s the great equalizer at any party.
- Unbelievably Delicious: The combination of crispy chips, melty cheese, seasoned meat, and fresh toppings is pure comfort food magic.
What makes this version different from the rest? It’s the texture. I’ve learned that the key is to bake the chips with the cheese and meat first, then add the cold toppings after. That way, every bite has that perfect crunch-to-melt ratio. No sad, soggy nachos here. It’s not just another nacho recipe—it’s your new best friend for game day.
This recipe is the kind that makes you close your eyes after the first bite. It’s comfort food reimagined—faster, simpler, but with the same soul-soothing satisfaction. Perfect for impressing guests without the stress, or turning a simple gathering into something memorable.
What Ingredients You Will Need
This recipe uses simple, hearty ingredients to deliver bold flavor and that satisfying crunch. Most of these are pantry staples, but I’ve included a few notes to help you pick the best options.
For the Base
- 1 large bag (13-16 oz) restaurant-style tortilla chips – I prefer Tostitos Scoops for sturdiness. They hold up better under the weight of the toppings.
- 1 lb ground beef (80/20) – The fat adds flavor. You can use ground turkey or plant-based crumbles if you prefer.
- 1 packet (1 oz) taco seasoning – Store-bought is fine, but I like to use half a packet to control the salt. (Homemade works great too!)
- 1/4 cup water – For blooming the seasoning.
For the Cheesy Layer
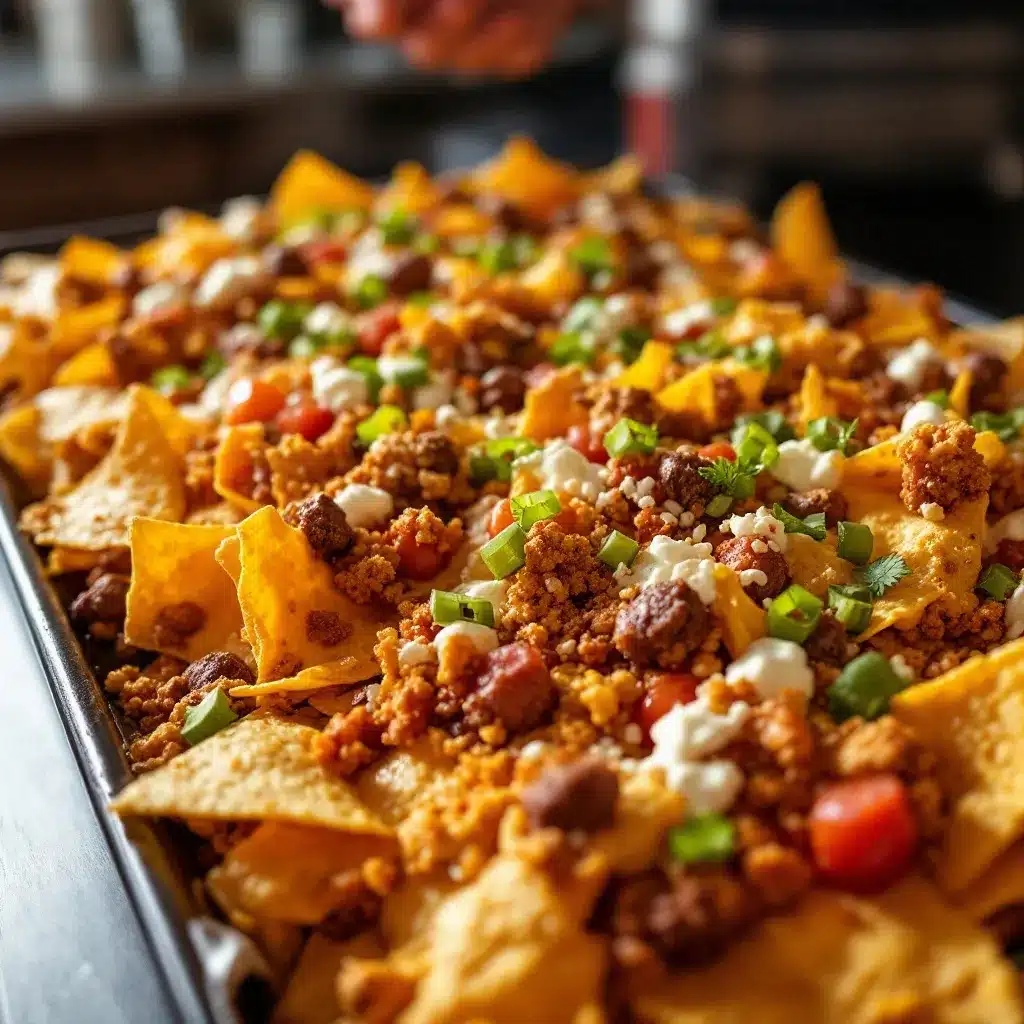
- 2 cups shredded sharp cheddar cheese – Pre-shredded works, but freshly shredded melts better. I recommend Tillamook or Cabot for best flavor.
- 1 cup shredded Monterey Jack cheese – Adds creaminess. Pepper Jack is a great swap if you want heat.
For the Toppings Bar
- 1 (15 oz) can black beans, drained and rinsed – Adds fiber and texture. Pinto beans work too.
- 1 cup pickled jalapeños – For tang and heat. Adjust to your crowd’s tolerance.
- 1 cup cherry tomatoes, diced – Use Roma tomatoes if you prefer less juice.
- 1/2 cup red onion, finely diced – Soak in cold water for 10 minutes to mellow the bite.
- 1 avocado, diced – Toss with a squeeze of lime to prevent browning.
- 1/2 cup sour cream – Full-fat is best, but Greek yogurt is a great substitute.
- 1/4 cup fresh cilantro, chopped – For that fresh finish.
- Lime wedges – For squeezing over the top.
Ingredient Selection Tip: Look for firm avocados that yield slightly to pressure. For the beans, low-sodium cans are best so you can control the salt level. If you’re feeding a big crowd, double the meat and cheese—the chips and toppings usually stretch fine.
Equipment Needed
You don’t need much for this one. Here’s what I use.
- Large rimmed baking sheet (half-sheet pan) – 18×13 inches is ideal. The rim keeps everything contained.
- Parchment paper or aluminum foil – For easy cleanup. Trust me, you’ll thank yourself later.
- Large skillet – For browning the meat. Cast iron works beautifully.
- Chef’s knife and cutting board – For prepping the fresh toppings.
- Small bowls or ramekins – For setting up the toppings bar. I use mismatched ones from my cabinet.
- Spatula – For spreading the layers evenly.
Personal Note: I used a cheap baking sheet for years, and it always warped in the oven. Splurging on a heavy-duty Nordic Ware pan made a huge difference. If you don’t have a rimmed sheet, a 9×13 baking dish works—just layer the chips in batches.
Preparation Method
- Preheat your oven to 400°F (200°C). Line your baking sheet with parchment paper or foil. This step is non-negotiable for easy cleanup.
- Cook the ground beef. In a large skillet over medium-high heat, add the beef. Break it apart with a spatula and cook until browned, about 6-8 minutes. Drain off any excess fat—leave about a tablespoon for flavor.
- Season the meat. Reduce heat to low. Add the taco seasoning and water. Stir and let it simmer for 2-3 minutes until the liquid thickens. The meat should be moist but not watery. Set aside.
- Layer the chips. Spread half the tortilla chips in an even layer on the baking sheet. Don’t overlap too much—you want each chip to get some love.
- Add the first layer of toppings. Sprinkle half the seasoned beef over the chips. Then scatter half the black beans and half the pickled jalapeños. Top with half the shredded cheddar and Monterey Jack.
- Repeat the layers. Add the remaining chips, then the rest of the beef, beans, jalapeños, and cheeses. This double-layer method ensures every chip has something on it.
- Bake. Place the sheet in the preheated oven and bake for 10-12 minutes. The cheese should be fully melted and bubbly, and the edges of the chips should be lightly golden. Watch it closely—oven temps vary, and you don’t want burnt edges.
- Add fresh toppings. Remove from the oven. Immediately sprinkle the diced tomatoes, red onion, and avocado over the top. Dollop the sour cream in small spoonfuls. Finish with cilantro and a squeeze of fresh lime juice.
- Serve immediately. Place the baking sheet on a trivet in the center of the table. Let everyone dig in with forks or their hands. Provide small plates for easy serving.
Sensory Cue: When the cheese is perfectly melted, it should stretch slightly when you lift a chip. If it’s still solid, give it another minute. If the chips are browning too fast, tent loosely with foil.
Cooking Tips & Techniques
I’ve made this nacho bar enough times to know where things can go wrong. Here’s what I’ve learned the hard way.
Don’t overload the chips. It’s tempting to pile everything on at once, but too many toppings will make the chips soggy. Stick to the double-layer method—it’s the sweet spot.
Preheat your pan. For extra-crispy chips, place the empty baking sheet in the oven while it preheats. Then carefully add the chips and toppings. The hot pan gives the bottom layer a head start on crunchiness.
Watch the salt. Taco seasoning, chips, and cheese all have salt. Taste the meat before you season it heavily. I learned this after a batch that was so salty it made everyone thirsty for hours.
Time your toppings. Dice the avocado and tomatoes right before serving. If you prep them too early, they get watery and dull. I usually chop them while the nachos are baking.
Use a fork. I know, I know—nachos are finger food. But with a loaded bar like this, a fork helps you get every last bit of cheese and topping. Set out a stack of forks with the plates.
Variations & Adaptations
This recipe is a blank canvas. Here are a few ways I’ve adapted it over the years.
- Vegetarian Version: Swap the ground beef for a can of black beans and a can of corn. Add a sprinkle of smoked paprika for depth. My vegetarian cousin requests this for every gathering.
- Spicy Upgrade: Add a diced jalapeño to the meat while it cooks. Use pepper jack cheese and top with a drizzle of hot honey. It’s a crowd favorite among heat seekers.
- Breakfast Nachos: Replace the beef with scrambled eggs, cooked chorizo, and a drizzle of queso. Top with pico de gallo. I made this for a tailgate that started at 9 AM, and it was a hit.
- Gluten-Free Friendly: Most tortilla chips are naturally gluten-free, but check the label. Use certified gluten-free taco seasoning and you’re good to go.
- Sheet Pan Nachos for Two: Halve all the ingredients and use a quarter-sheet pan. Bake for 8 minutes instead of 10. Perfect for a quiet game night.
Serving & Storage Suggestions
This nacho bar is best served hot, straight from the oven. Place the baking sheet on a heat-safe surface and let everyone serve themselves. I like to set out small bowls of extra sour cream, salsa, and guacamole on the side so people can customize.
Storage: Leftover nachos are tricky. The chips lose their crunch pretty quickly. If you have leftovers, transfer them to an airtight container and refrigerate for up to 2 days. To reheat, spread them on a baking sheet and bake at 350°F for 5-7 minutes. The chips won’t be as crispy, but the flavor is still there.
Make-Ahead Tip: You can cook the seasoned beef up to 3 days in advance. Prep all the fresh toppings and store them in separate containers in the fridge. When you’re ready to serve, just layer and bake. It takes the stress out of party prep.
Flavor Development: The flavors actually meld together beautifully overnight. If you’re making this for a potluck, assemble the nachos (without the fresh toppings) and bake them at the venue. Then add the cold toppings right before serving.
Nutritional Information & Benefits
This is indulgent food, no doubt. But it does have some redeeming qualities. Here’s a rough estimate per serving (about 1/8 of the full recipe).
| Nutrient | Amount |
|---|---|
| Calories | ~450 |
| Protein | 22g |
| Fat | 28g |
| Carbohydrates | 35g |
| Fiber | 6g |
| Sodium | ~800mg |
Health Benefits: The black beans add fiber and plant-based protein. The avocado provides healthy monounsaturated fats. Tomatoes and cilantro offer vitamins A, C, and K. If you’re watching sodium, use low-sodium chips and seasoning, and go easy on the cheese.
Dietary Considerations: This recipe is easily made gluten-free (check labels) and can be vegetarian with a simple swap. It’s not low-carb, but you can serve it with lettuce cups instead of chips for a lighter option.
I’m not a nutritionist, but I believe in balance. This nacho bar is a treat, and there’s nothing wrong with that. Enjoy it with friends, drink some water, and maybe go for a walk the next day.
Conclusion
This loaded tailgate nacho bar is more than just a recipe—it’s a solution. It’s the dish you make when you need to feed a crowd, impress your friends, and still have time to actually watch the game. It’s forgiving enough for beginners and flexible enough for seasoned cooks.
I love this recipe because it reminds me that the best things in life are often unplanned. That night the power went out, I thought I’d ruined dinner. Instead, I stumbled onto something that has become a staple in my kitchen. I hope it becomes one in yours too.
Customize it, mess with it, make it your own. Add pineapple, swap in carnitas, or load it up with extra cheese. Whatever you do, just make it for people you care about. That’s what this dish is really about.
I’d love to hear how yours turns out. Drop a comment below and tell me your favorite topping combination. Or tag me in your photos—I’m always looking for new ideas. Now go make some nachos. You’ve got a game to watch.
Frequently Asked Questions
Can I make this nacho bar ahead of time?
Yes! Cook the meat and prep all the toppings up to 3 days in advance. Store everything separately in the fridge. When you’re ready, just layer and bake. The fresh toppings should be added right before serving.
What’s the best way to keep the chips from getting soggy?
The double-layer method is key. Don’t drown the chips in sauce or wet toppings. Bake the nachos first with just the meat, beans, and cheese, then add the fresh toppings after. This keeps the crunch intact.
Can I use a different type of meat?
Absolutely. Ground turkey, shredded chicken, or carnitas all work great. For a vegetarian option, use seasoned black beans or a plant-based crumble. Just make sure the meat is well-seasoned so it stands up to the other flavors.
How do I scale this recipe for a larger crowd?
Use two baking sheets instead of one. Double the meat and cheese, but you can usually keep the chips and toppings at 1.5 times the original. Bake both sheets at the same time, rotating them halfway through for even cooking.
What if I don’t have a rimmed baking sheet?
No problem. Use a 9×13 baking dish or a large oven-safe skillet. You’ll need to layer the chips in smaller batches, but the result is the same. Just watch the baking time—smaller pans may cook faster.
Pin This Recipe!
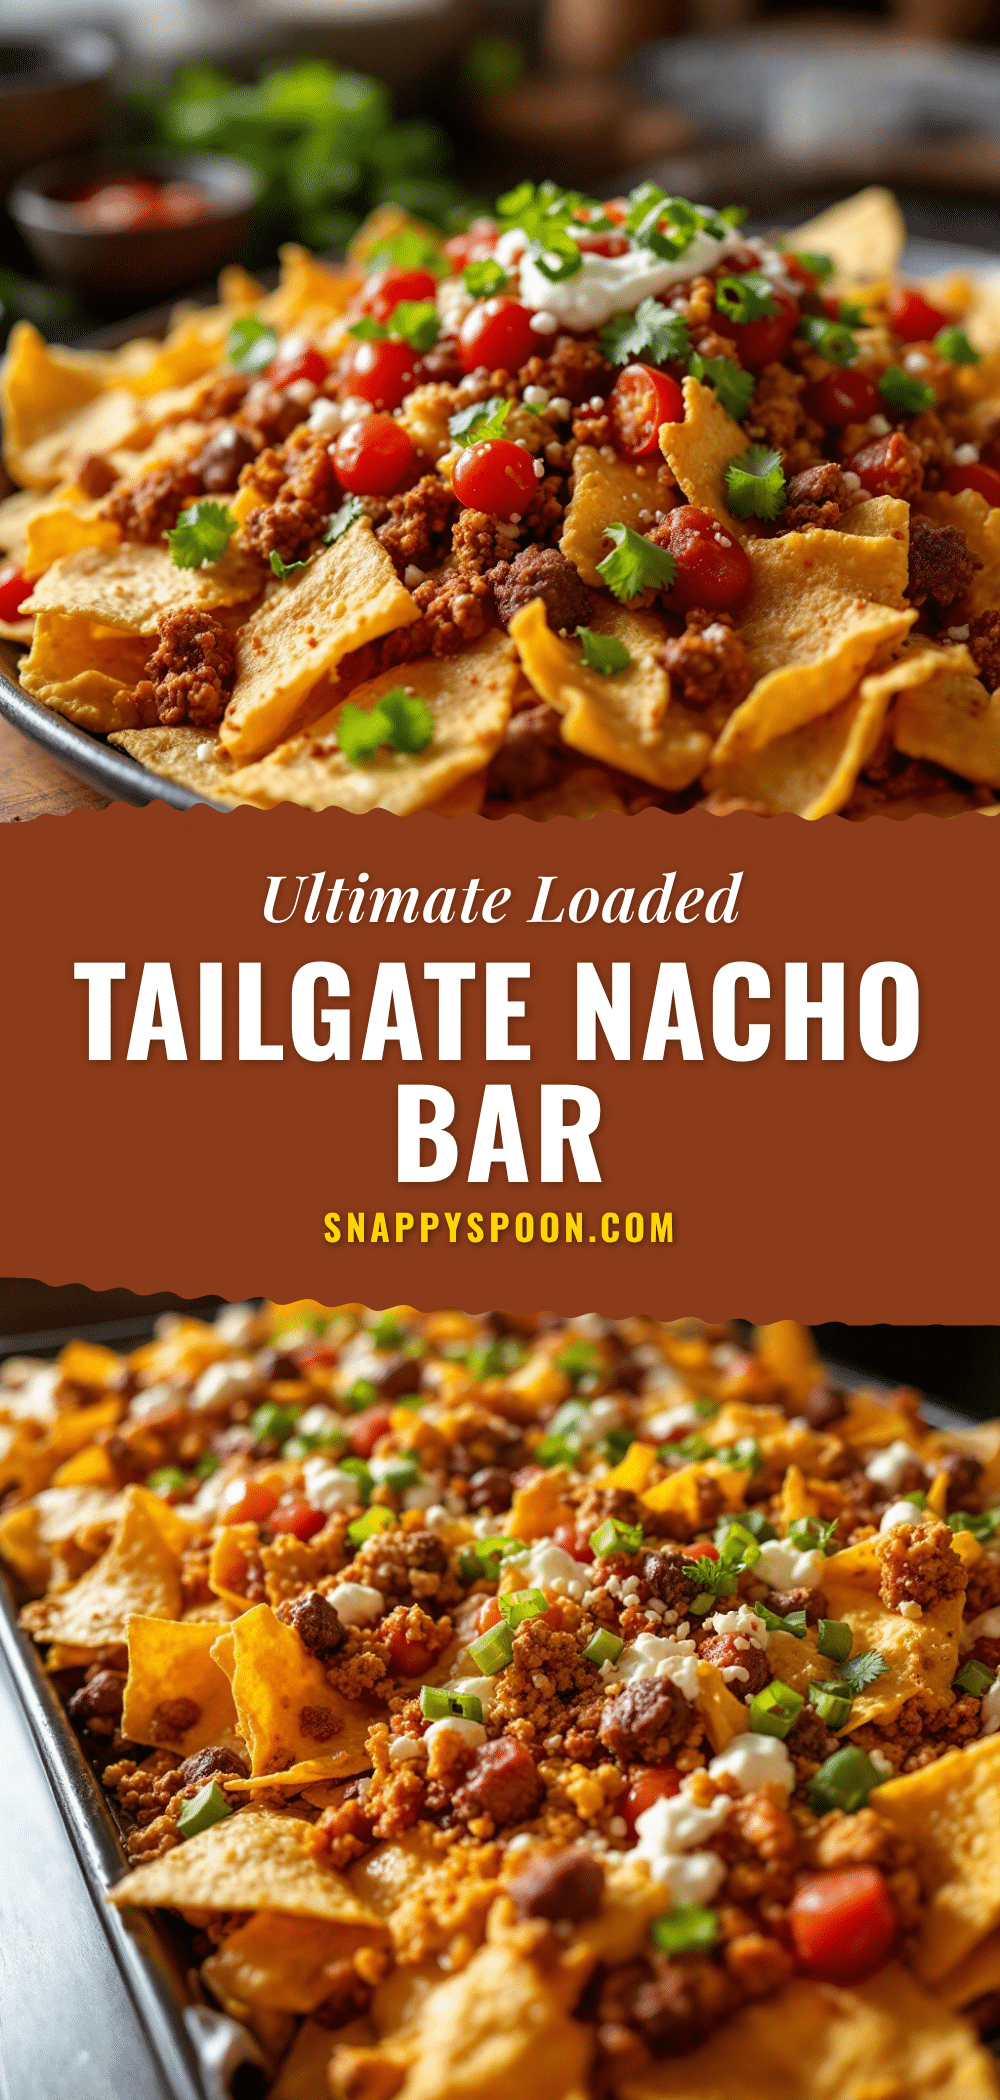
Easy Ultimate Loaded Tailgate Nacho Bar for a Crowd

A quick and easy loaded nacho bar perfect for feeding a crowd, featuring crispy chips, seasoned ground beef, melted cheese, and fresh toppings. This forgiving recipe is ideal for game days, parties, or any gathering.
- Prep Time: 15 minutes
- Cook Time: 12 minutes
- Total Time: 27 minutes
- Yield: 8 servings 1x
- Category: Appetizer
- Cuisine: Mexican-American
Ingredients
- 1 large bag (13–16 oz) restaurant-style tortilla chips (e.g., Tostitos Scoops)
- 1 lb ground beef (80/20)
- 1 packet (1 oz) taco seasoning
- 1/4 cup water
- 2 cups shredded sharp cheddar cheese
- 1 cup shredded Monterey Jack cheese
- 1 (15 oz) can black beans, drained and rinsed
- 1 cup pickled jalapeños
- 1 cup cherry tomatoes, diced
- 1/2 cup red onion, finely diced
- 1 avocado, diced
- 1/2 cup sour cream
- 1/4 cup fresh cilantro, chopped
- Lime wedges
Instructions
- Preheat your oven to 400°F (200°C). Line your baking sheet with parchment paper or foil.
- In a large skillet over medium-high heat, cook the ground beef, breaking it apart, until browned (6-8 minutes). Drain excess fat, leaving about a tablespoon.
- Reduce heat to low. Add taco seasoning and water. Stir and simmer for 2-3 minutes until thickened. Set aside.
- Spread half the tortilla chips in an even layer on the baking sheet.
- Sprinkle half the seasoned beef, half the black beans, half the pickled jalapeños, and half the cheddar and Monterey Jack cheeses over the chips.
- Repeat layers with remaining chips, beef, beans, jalapeños, and cheeses.
- Bake for 10-12 minutes until cheese is melted and bubbly, and chip edges are lightly golden.
- Remove from oven. Immediately top with diced tomatoes, red onion, avocado, sour cream, cilantro, and a squeeze of lime juice.
- Serve immediately, placing the baking sheet on a trivet in the center of the table.
Notes
For extra-crispy chips, preheat the empty baking sheet in the oven. Dice avocado and tomatoes just before serving to prevent sogginess. Use a fork to help get every bit of topping. Leftovers can be stored in an airtight container for up to 2 days and reheated at 350°F for 5-7 minutes.
Nutrition
- Serving Size: 1/8 of recipe
- Calories: 450
- Sugar: 3
- Sodium: 800
- Fat: 28
- Saturated Fat: 12
- Carbohydrates: 35
- Fiber: 6
- Protein: 22
Keywords: nachos, tailgate, game day, loaded nachos, crowd-pleaser, easy appetizer, sheet pan nachos